Leaderboard


Popular Content
Showing content with the highest reputation on 03/03/2020 in all areas
-
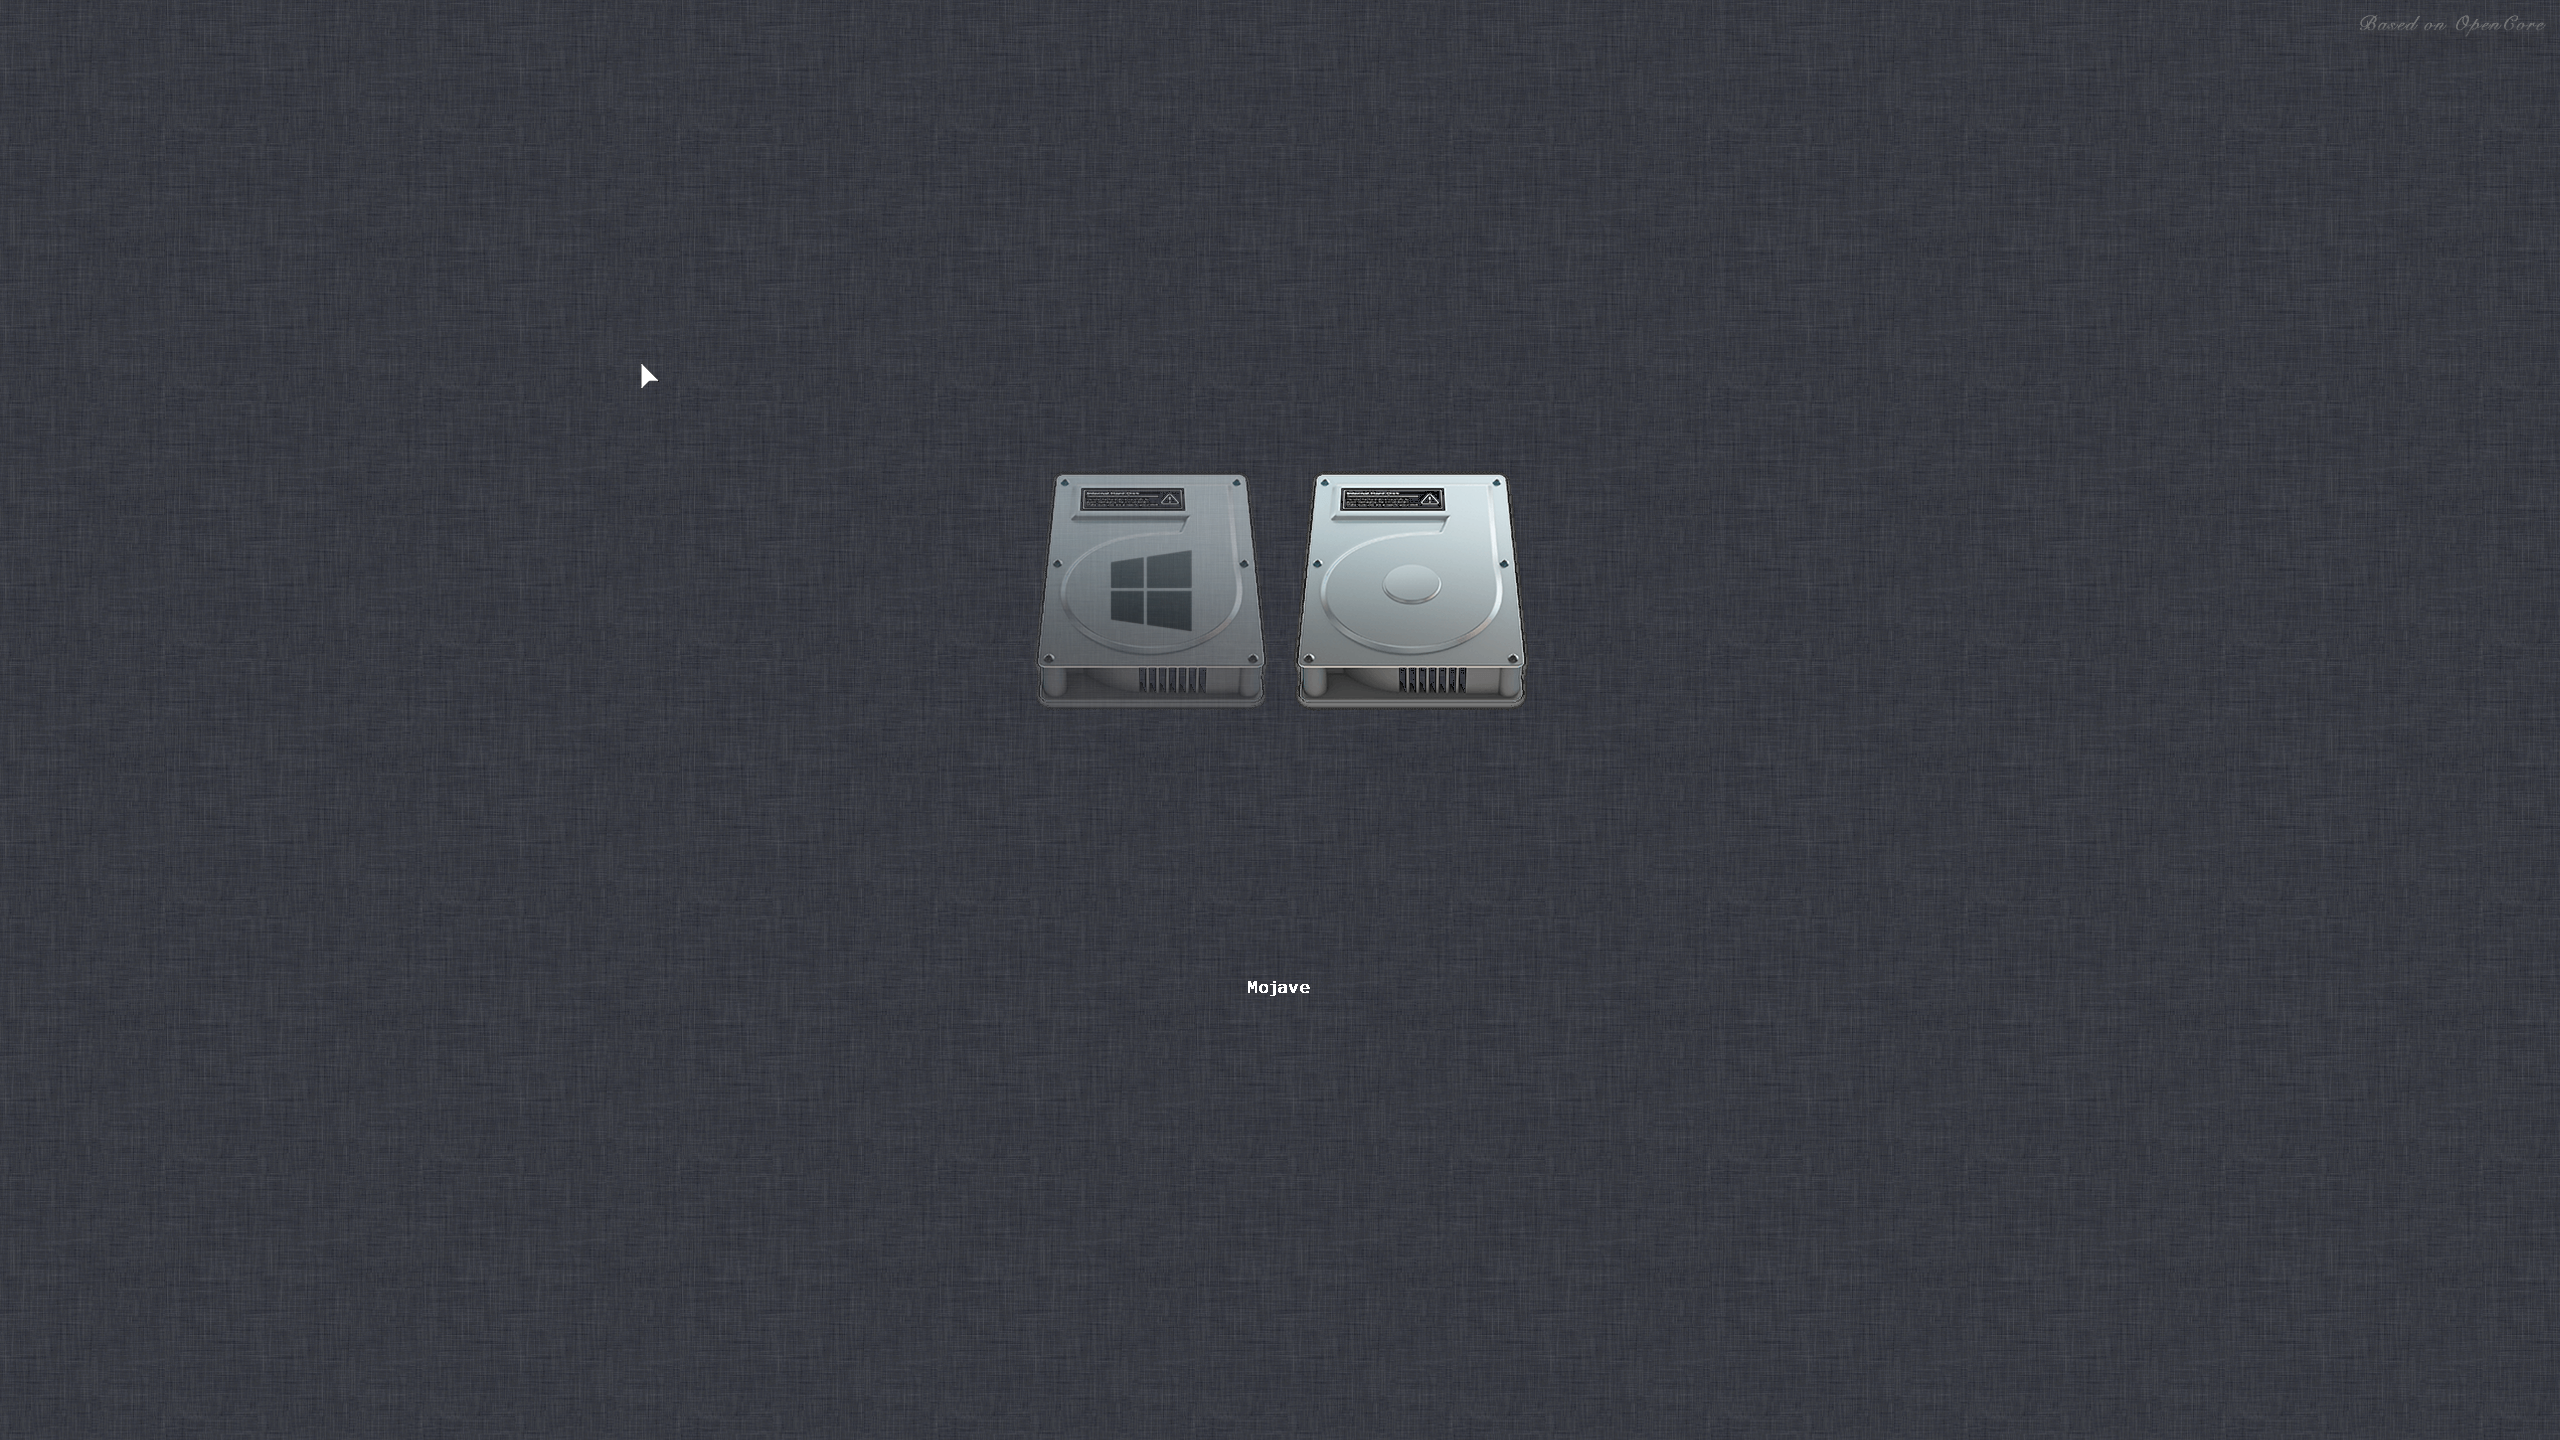
You can use the theme icon or background, the so-called changes, just changed the default icon size and more screen resolution judgment, just to match the theme, I did not change more, because I am not a developer, just like to design their own style!You don't mind! Just some of my own designs, I hope the NDK doesn't mind! OcSimpleBootMenu.c3 points
-
Like this?
 3 points
 -
@MaLd0n Is the Jedi Master of this world, Without him all my work would be for nothing. I bow to he's mighty powers and always will and am dedicated decibel of he's and what he says goes simple as. Thats enough brown nosing from me now...2 points
-
You mean something like this :?
 2 points
 -
Beta 4 19E250c2 points
-
You need to compile from source which contains the icon fix today, 0.1.7 binary release was yesterday. And i don't know why you get error when boot Catalina entry, I am not gonna do a guessing game here, log log log...please. By the way, that theme of yours look quite nice, can i have the link to download it?2 points
-
Hi @metacollin You are the man for the year. Your modded bios v. 3003 worked like a treat. Just tell me what you did and which modules you changed in bios. I can now boot without any kernel quirk (AppleXcpmExtraMsrs and AppleXcpmCfgLock) enabled in OC. So your modded bios seemed to unlock both 0xe2 and some other locked register. Great!!!!!! I will now check manually with AppleIntelInfo.kext and report back. (Hackintool-tab AppleIntelInfo docent seems to work with this bios )2 points
-
So, how I modded the BIOSes: Using UEFITool, I extracted PpmInitialize (3FFCAE95-23CF-4967-94F5-16352F68E43B) from the BIOS, yielding the raw, uncompressed binary suitable for poking around with your favorite disassembler/reverse engineering tools. How writing to an MSR on intel CPUs works is an instruction, wrmsr (opcode 0F30h) will write the contents of two 32-bit registers, EDX and EAX, into the MSR whose address is stored in a third register, ECX. This means that prior to writing anything to a given MSR, the BIOS code must invariably load the register it is going to write to into the ECX register. In assembly, this would be (using MSR 0xE2 as an example) : mov ecx, E2h Basically, its moving E2h into ecx in preparation for doing something with either rdmsr (read) or wrmsr. And since various BIOS settings do interact with the 1AAh and E2h registers, a BIOS will typically need to write to each of these registers more than once, and more importantly, the last time it writes to the register must be to do only one thing: to write 1 to the lock bit. On supermicro BIOSes, this is vary obvious if you just search for E2h in the assembly, as they actually just load the lock bit (8000h for E2h, or 2000h for 1AAh) into the EDX register shortly before writing to the respective MSR. The mod is very simple and robust here, as all you have to do is zero out the lock bit. Which amounts of changing an 80h or 20h to a 00h. The ASUS bioses do not load the lock bit directly as a constant unfortunately, but dereference a pointer to a location in memory with the lock bit value stored, and doing some additional jumps/tests (if statements in assembly), so changing the constant directly was not an option. So I simply changed wrmsr to NOP NOP (wrmsr is a 2 byte instruction, so changing the 0F 30 to 90 90, which is nop or no operation, twice in a row will disable the one time the BIOS would normally write to the register to lock it). So I changed 2 bytes total in the supermicro BIOSes, and 4 bytes total (NOPing out the wrmsr operation that sets the lock bit for E2h and 1AAh) to the ASUS BIOSes. So I think these are relatively low risk mods. Regardless, if anyone flashes the BIOS, please report back here ASAP with the results. Also, be sure to do a full power-good reset (turn the switch on your power supply off and on again) after flashing the BIOS. It sometimes requires a power-good reset to clear lock bits, so it might appear to not work if you simply reboot normally.2 points
-
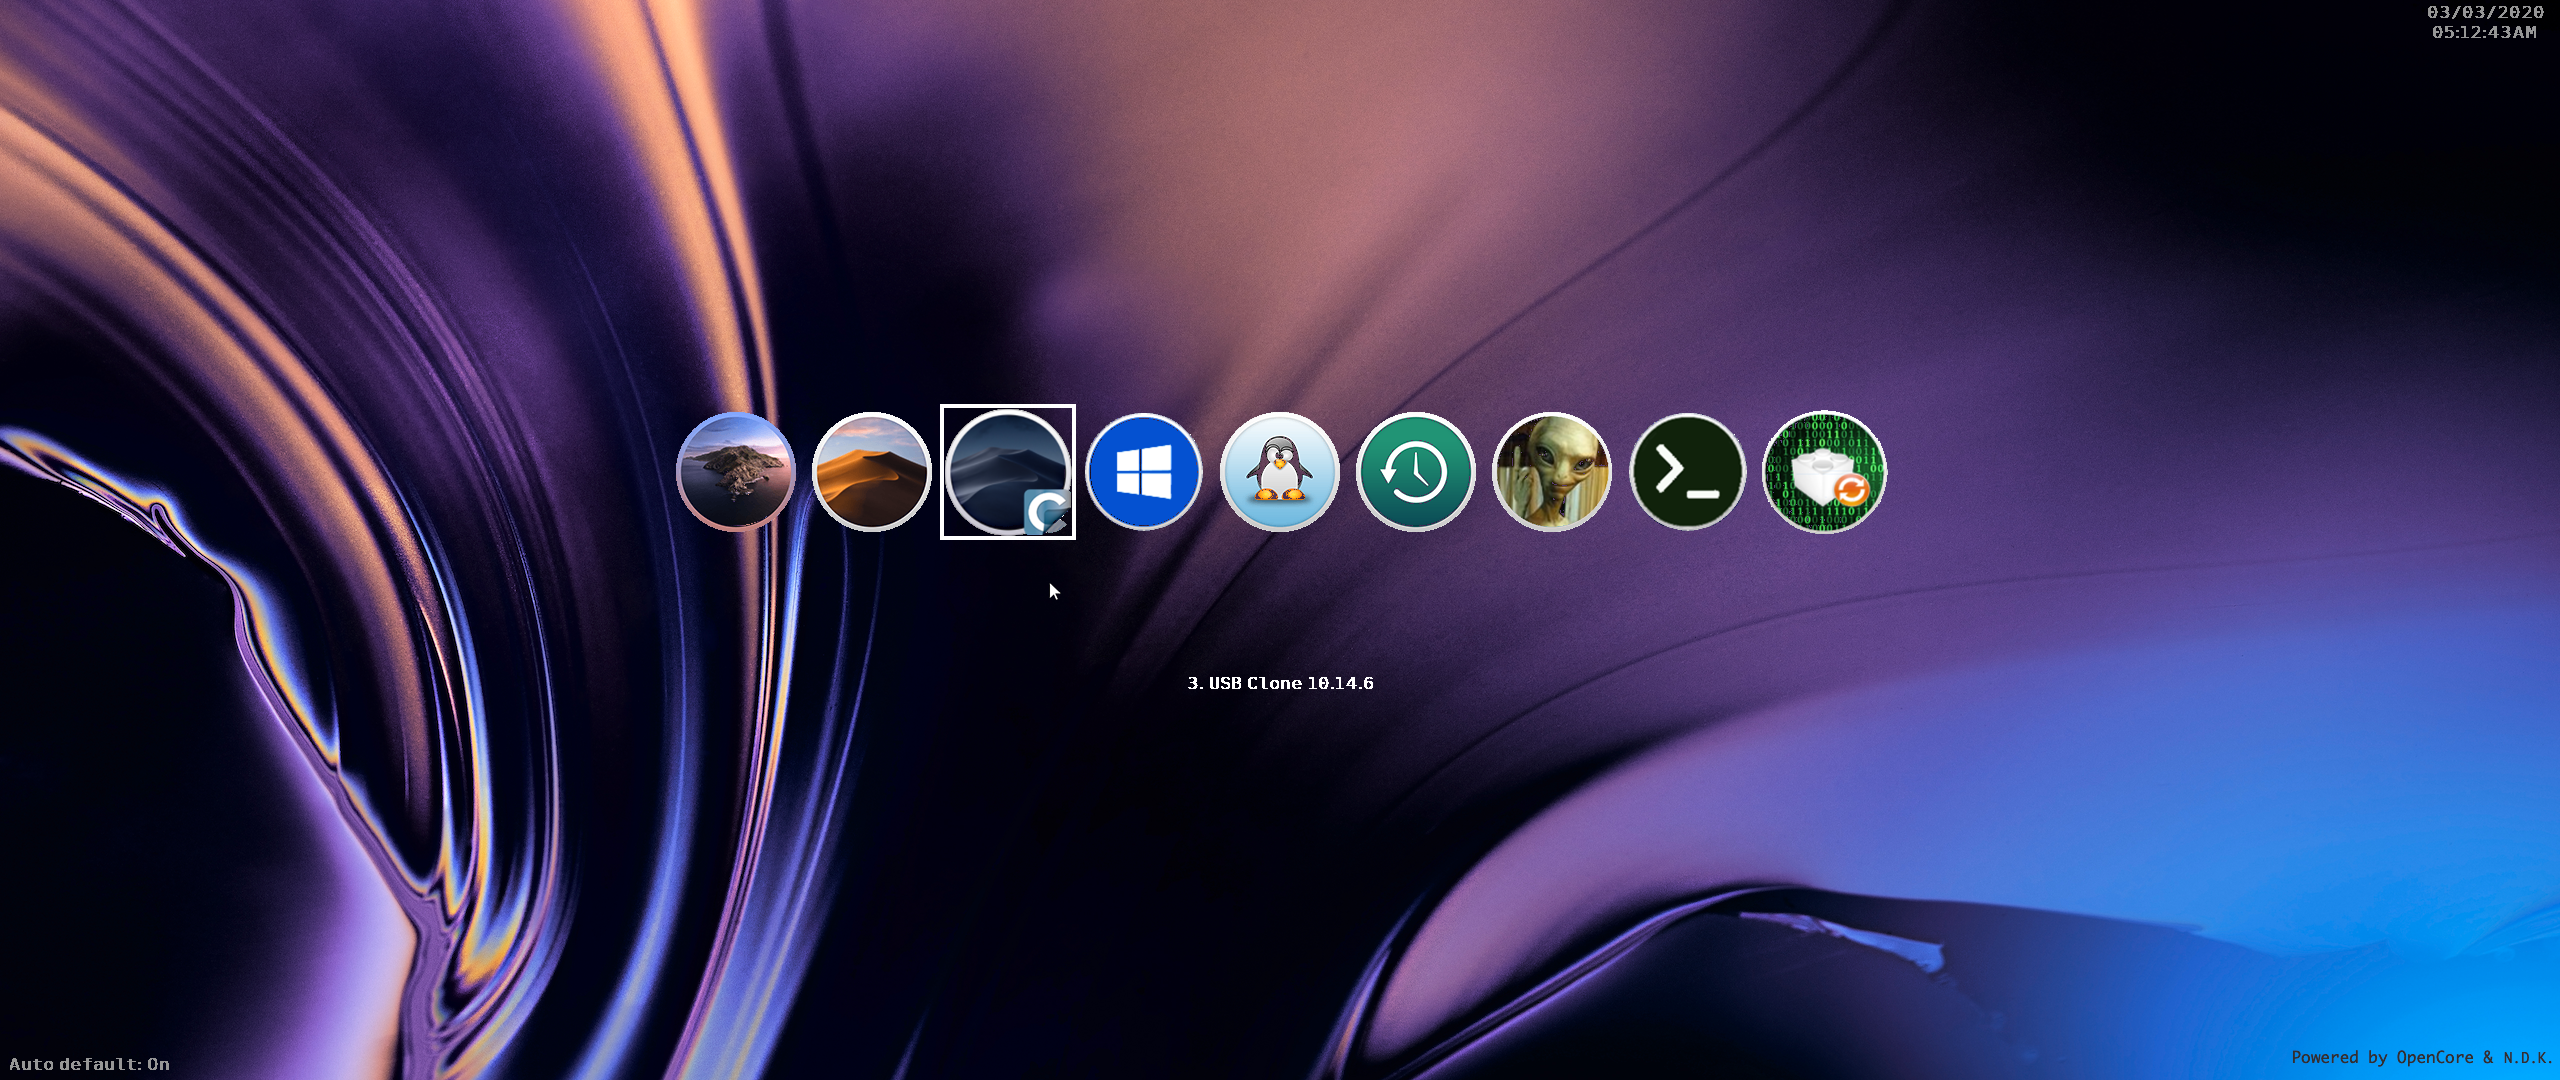
Added mouse support with recent commit, no configuration is needed, just copy pointer.png/pointer4k.png for 4k screen from Icons folder to EFI\OC\Icons. Left click = Selecting Entry Double left click = Selecting and boot Right click = toggle hide/show hidden entries2 points
-
Not sure if a generalized solution is feasible... your bios is very different. But thats ok. I have no way to test this and you flash this at your own risk, please be familiar with the bios recovery procedure for your motherboard in case it doesn't work. Unless it has IPMI, in which case no worries, you can just flash a working BIOS using that :). Anyway, this should prevent the bios from locking both E2 and 1AA MSRs on your motherboard: WS-C422-PRO-SE-ASUS-3003_UNLOCK.CAP.xz2 points
-

Version 2.0
29,982 downloads
Please read me: Ever since macOS Mojave came out (I mean the first DP) Apple removed the support for Atheros based WiFi Adapters from the IO80211Family.kext, so to fix it we need to add the AirPortAtheros40.kext to the Extensions manually. After each clean install the AirPortAtheros40.kext needs to be installed and after clean installing Mojave DPs after few times I decides to create this app to save some time. How to use it: This application will install the missing AirPortAtheros40.kext into /System/Library/Extensions and after the installation is done and once you reboot your computer the Atheros based WiFi adapters will be enabled. The installation is the first step of the process and it is fast but the next steps which are repairing the permission on /System/Library/Extensions and rebuilding the system caches might take a while so please wait until you were asked to reboot your computer. I'm using a TP-Link WDN4800 with an Atheros chipset and it works on other similar hardware. If this app helped you please consider donating; any amount is appreciated.1 point -
Simple steps to create macOS Installer for Vmware on Linux or Windows This guide describes how you can create a Vmware image (vmdk) for installing macOS in Vmware. Most tutorials about this topic require an ISO installer file that was typically created in macOS or you have to download some preinstalled image file from unknown source. None of them are ideal. But if you follow the steps below, you will not need to access macOS and will use official and trusted sources. First of all download gibMacOS from here and set up https://github.com/corpnewt/gibMacOS Run the script to download the full macOS installer: on Linux: gibMacOS.command on Windows: gibMacOS.bat Install qemu-img converter on Linux (Debian or Ubuntu): install qemu-tools package on Windows use this installer: https://qemu.weilnetz.de/w64/ when you run the installer, it is enough to select the "tools" and "dll library". Convert the downloaded BaseSystem.dmg to Vmware image run the following commmand in that directory where BaseSystem.dmg was downloaded (somewhere here: gibMacOS-master/macOS Downloads/publicrelease/061-44387 - 10.15.3 macOS Catalina) on Linux: qemu-img convert -O vmdk -o compat6 BaseSystem.dmg recovery.vmdk on Windows: c:\"Program Files"\qemu\qemu-img convert -O vmdk -o compat6 BaseSystem.dmg recovery.vmdk Use the previously created image to install macOS in Vmware I assume you have a patched and working Vmware already. If not, find another guide but in nutshell: - confirm the VT-x is supported on your Intel machine (if you are on AMD you may not able to virtualize macOS or you need to do more work) - install VMware Workstation or VMware Workstation Player (free for non-commercial use) - use an unlocker to patch the Vmware to support macOS guest currently this works well: https://github.com/BDisp/unlocker/ So when you are here you have a patched Vmware and a Vmware image (recovery.vmdk). Run Vmware and create a new virtual machine by choosing macOS guest. But add another hard disk as well with selecting to use an existing virtual disk. Browse the recovery.vmdk. You will get a warning about the image is not in the latest format but choose to keep the existing format. After you installed the macOS, install the vmware tools as well. Tested on Windows 10 with macOS Catalina 10.15.3 in Vmware 15.5 Player Comments are welcome.1 point
-
This is the perfect effect, I hope the NDK code default effect changed to this1 point
-
Nah Bro you just stating facts, MaLd0n is one of the few who's work I follow closely1 point
-
gpu and audio hdmi fix DSDT.aml.zip1 point
-
WEEE!!!!!!!!!!! It Works!!! Honored to have your details also listed hahah!!! Thank you so much!
 1 point
 -
Kinda quirky update (kept rebooting between the stages). But so far so good.
 1 point
 -
ryzentosh

 1 point
 -
I've noticed some delays like that when running iMac19,1 with the iGPU enabled. For example, you'll see a 4 second delay when opening activity monitor. This happens on a real iMac19,1 as well. I'm running on iMacPro1,1 - and the delay is no longer there for activity monitor. Not sure if this affects the issue you are seeing, but maybe worth a shot.1 point
-
OK, perdonami le mancanze di comunicazione: ho poca pratica di forum. Ti allego una cartella con i file creati attraverso le app che mi hai linkato ieri., spero ti siano di aiuto. Prima di rimuovere i driver che mi hai segnalato aspetto un tuo parere sulla config: shiki e intelgraphics sono stati aggiunti in postistallazione come tentativo, non hanno compromesso il boot o il funzionamento almeno a livello percettivo, ma sono stati inutili. Riguardo a mettere in firma la build spero di aver rimediato correttamente mojave02-3-2020.zip1 point
-
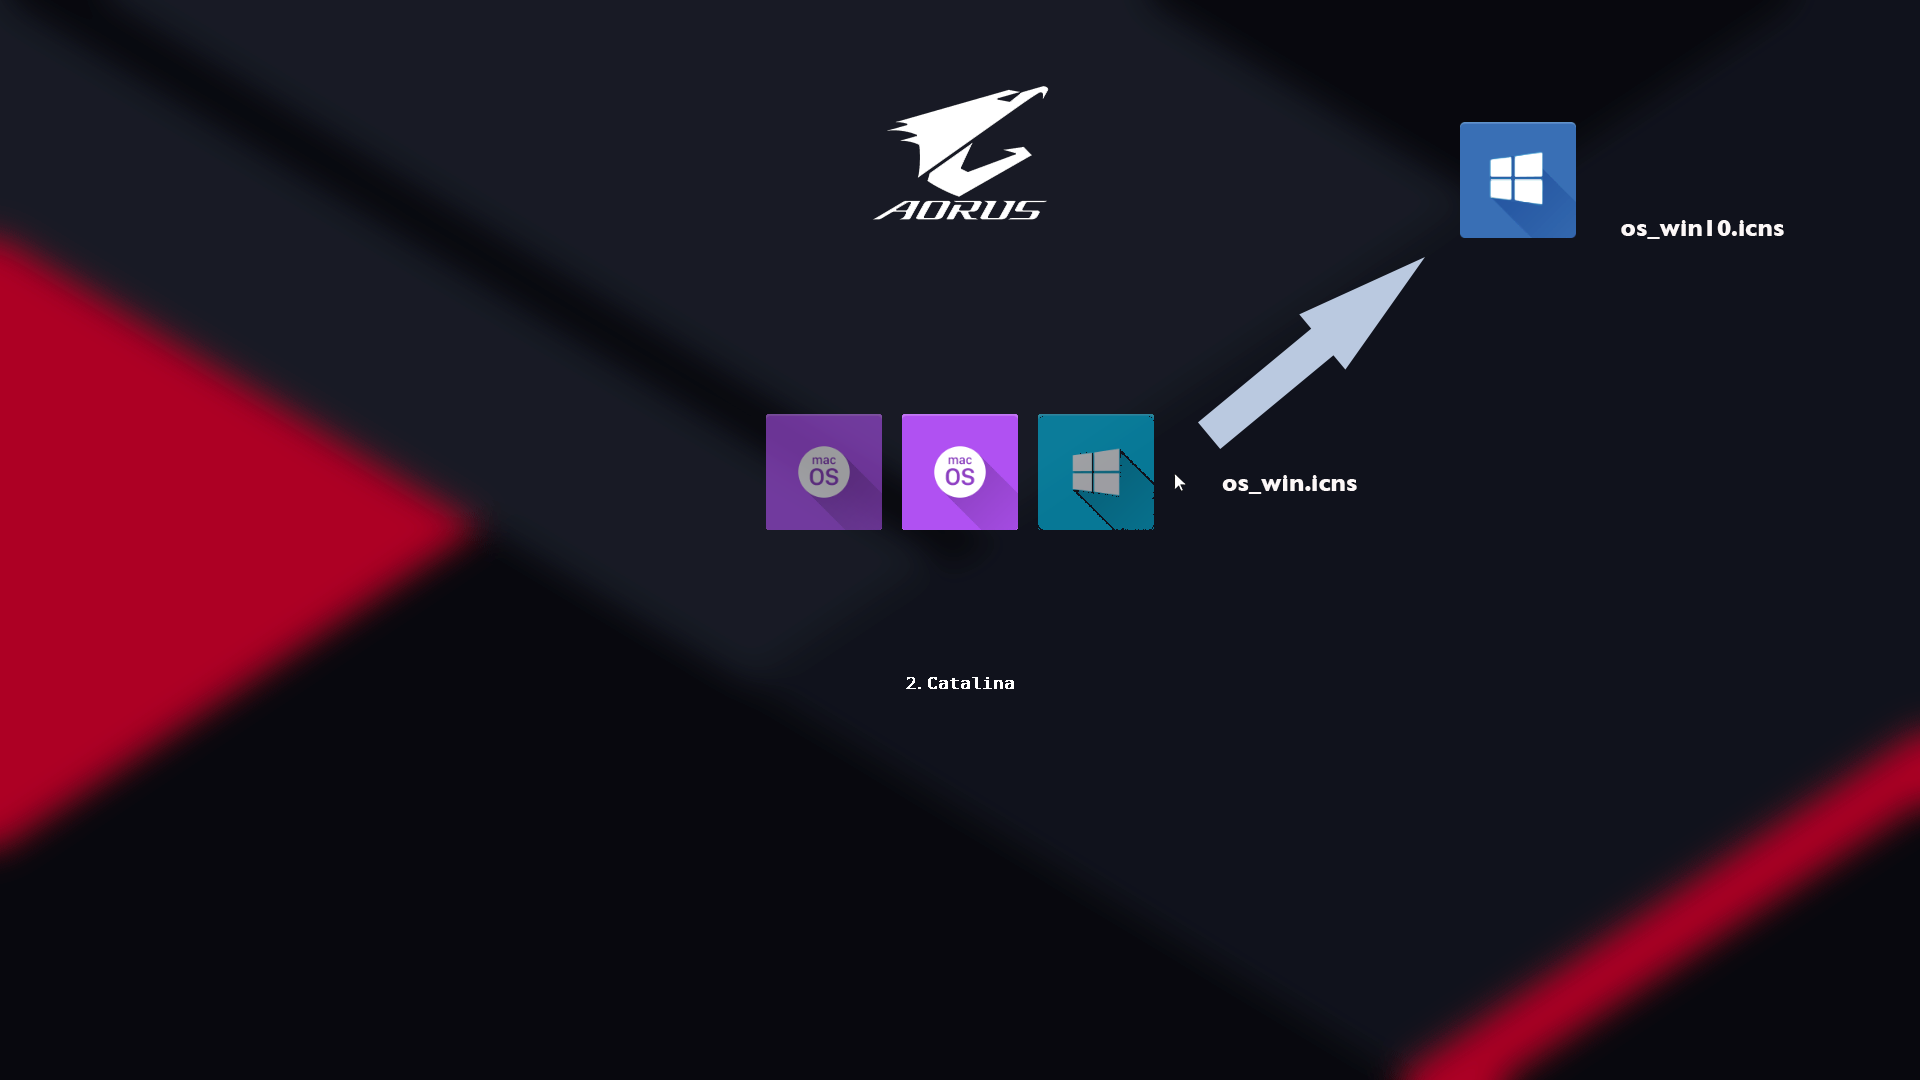
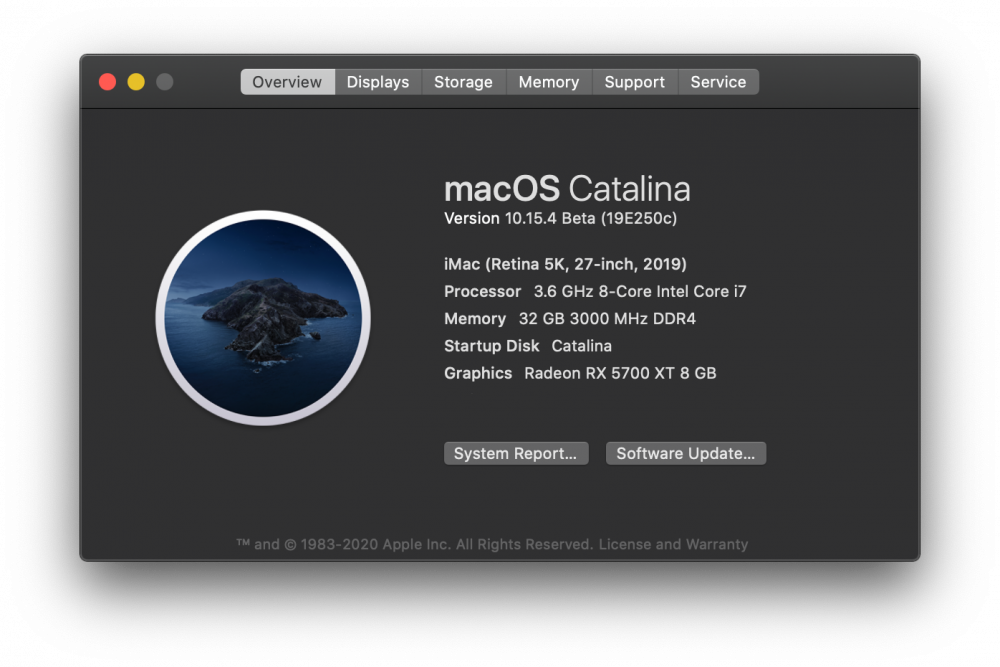
@n.d.k Thanks. I use latest v0.1.7 : Light blue os_win.icns instead dark blue os_win10.icns. See photoshop editing with the two icons. When I select Catalina: there are "hatling on critical error and a runtime alloc error" so on the fork with the same elements (kexts, config.plist, ssdt), I have no problems to boot.
 1 point
 -
1 point
-
Just put in your SMBIOS in config.plist and boot!!!!!! Works perfect in Clover. EFI_C422_clover.zip1 point
-
Sorry my bad. You need of course @lovest.fhd:s SSDT-RTC_patch too for booting with bios v.3003. So this attached SSDT and non kernel patch will do the trick. SSDT-RTC.aml1 point
-
You don't need anything of that with the new v. 3003 bios. Just flash and boot up. It will work at least with OC. I don't need the RTC SSDT either.1 point
-
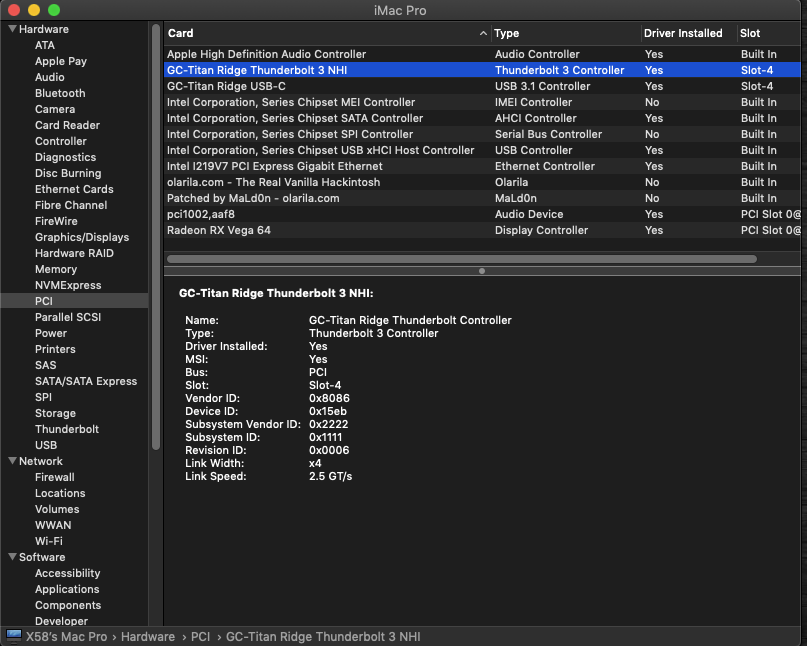
Hey Bud, I just had a go on my hack as I’ve never heard of that one before and it’s totally normal for me, bare in mind though I’m using the Z390 Master so just get somebody on a pro board to double confirm for you. PCI info is purely cosmetic with zero effect on the system but if you ask MaLD0n you can get your own dsdt made up. The pro WiFi and pro board are identical in layout and pcie lanes used and even the pcb so I can’t see a benefit personally. To Create Your Own Patched DSDT Message @MaLd0n using the link bellow https://www.olarila.com/forum/17-dsdt-patch-requests/ (If you want a perfect setup then getting your own patched DSDT made would be the best thing to do, Mine will work perfectly fine but different hardware no matter how small a change it is can tend to have some sort of effect on the DSDT and your setup) 1 point
-
I reworked SSDT-RTC.aml. Also try adding SSDT-AWAC.aml, if it won't help, problem may lay somwhere else. You'll have to put another rename: RTC _CRS to XCRS Find:5F435253 11180A15 47017000 70 Repl:58435253 11180A15 47017000 70 SSDT-RTC.aml1 point
-
Great job, as usual
 1 point
 -
Clover is in non-working state temporary.1 point
-
As an example of : - use ptr for OUT or IN/OUT parameter (IN/OUT parameter should generally be avoided). - use const reference for IN parameter - "never" use const ptr : that's useless because we have reference. - never ever use non-const ref for parameter : they are really confusing ! - use non-const ref instead ptr inside a method body : that's for convenience and they cost nothing in size or speed (no code generated for T& a = *aPtr) I've committed a small change to WaitForInputEventPoll in IO.cpp.1 point
-
Bravo !!! I can fast switch between entries now (press several arrow keys) , same like Builtin Picker. Thanks1 point
-
I don't want to use audio on my Hack, so I can't help you. Maybe others users will be able to.1 point
-
Hi everyone, I'm pleased to announce that I've discovered what I hope is a generalized way of unlocking both 0xE2 and 0x1AA MSRs regardless of whether or not the BIOS has a configuration option, hidden or otherwise, to do so. In other words, I think I figured out how to unlock any X299/C422/C620 series BIOS to allow fully native, patch-free power management in macOS. I'm working on a tool that will automatically apply the patch if given the correct PE32 BIOS image (extractable via UEFITool), but for now, if anyone has a BIOS image for their motherboard that they want those two registers unlocked on, post it here (either upload it or a link) and I'll try to do it manually. And it will help me make sure the module is similar enough for a generalized tool. But at least in my BIOS, tucked away in the PpmInitialize (3FFCAE95-23CF-4967-94F5-16352F68E43B) module is the code that writes a 1 to the lock bit of both 0xE2 and 0x1AA. I patched this module to, well, not do that, and it worked. I can now boot without a single power management related kernel patch. Here is the magic BIOS: X11DAi-N_3_2_E2_1AA_unlocked.rom.zip1 point
-
Yes, the size is correct. It contains only the recovery tool but it will download the full installer on the fly. Do you have any progress bar under the Apple logo? What operating system and vmware do you use?1 point
-
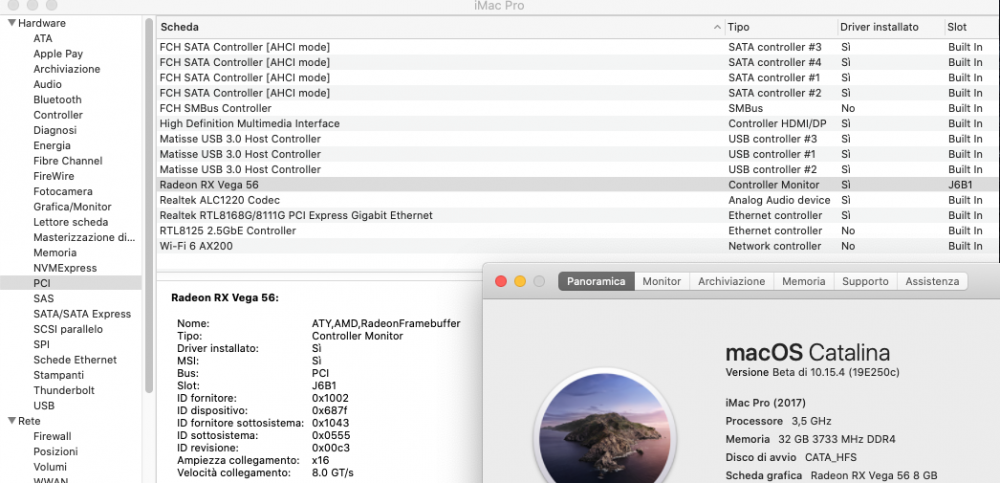
@macwanabe Starting with 10.15.4 Radeon VII shares all Navi bugs. It's insane how Apple's software quality is going downhill these days. Already have numerous bug reports open with them and no response.1 point
-
Thanks for this guide, I am having some trouble with the last step, when the recovery.vmdk is created its size is only 1,3 gb for Catalina, is this the correct size ? Because from some videos I've seen before that size should be much larger (around 7GB ?). Any way I tried to start the VM with that recovery.vmdk but it hangs at the first apple logo and nothing happens, I tried to wait for 20 minutes but still nothing. If someone can help to point me in what I might be doing wrong I would be grateful.1 point
-
Oh, one final thing: VirtualSMC and SMCProcessor.kext seem to have mostly non-working support for LGA2066 and LGA3647 CPU sensors. iStat, HWMonitor3/HWMonitorSMC likewise cannot find any sensors. However, the "latest" (its over 2 years old now) release of Rehabman's fork of FakeSMC, along with FakeSMC_CPUSensors, can be substituted for VirtualSMC without issue. It may be old, but it works:1 point
-
OK, I have 10.15.3 running quite well on the most recent Supermicro BIOS for my motherboard, v3.2. I have good news and bad news though. The bad news: I still haven't actually figured out what is causing the hang during PCI Device Configuration, but I have conclusively determined it is due to something the DSDT (and not any of the SSDTs) that changed from slightly older BIOSes in comparison to the most recent versions. The good news: While this is an extremely ugly and temporary workaround, if you have a DSDT dump from an earlier BIOS and drop the builtin DSDT and use the old table instead, it works. Thanks to @yapan4 for the idea. However, if you use an old DSDT, the memory addresses will be wrong so you might have problems such as non-working video or macOS failing to find the boot device. Fortunately, the fix for this is easy: In Clover, turn on the 'FixRegions' ACPI fix. Or, in OpenCore, turn on the 'RebaseRegions' quirk in the ACPI section (and don't forget to block the built-in DSDT!). Both of those fixes/quirks do the same thing, which is recalculate various physical MMIO addresses that can (and in my case, did) change from one BIOS version to the next.1 point
-
Hello, from our point of view there are serious terminology and organisation issues. — There exists a SMC emulator: FakeSMC or VirtualSMC. — There exists a driver providing sensor information: Intel Power Gadget kernel extension, macOS GPU kexts, Acidanthera Sensors or HWSensors. The driver does not necessary relate to the SMC emulator, as it can report sensor data with multiple methods. — There exists an application interpreting sensor information data: HWMonitor, HWMonitorSMC2, iStat Menus, etc. We believe it does not make sense to discuss sensor drivers and sensor applications in SMC emulator threads, they simply do not relate close enough to each other. The only case where we could imagine it be discussed is some API interaction with the emulator during driver development. From the presence of HWMonitorSMC2 in the first message we believe this is a joint thread for HWSensors (drivers) and HWMonitorSMC2 (sensor apps). So for us it makes good sense to request features for the latter here. If this thread is considered exclusive to HWSensors drivers, then it would be great if you create a dedicated thread for HWMonitorSMC2 for us to interact altogether. Moving messages to VirtualSMC thread is inadequare as VirtualSMC thread has nothing to do to sensors, and in fact it is even outside of the hardware sensors forum. Regarding our new sensors format, as we said previously, we added Super I/O data reporting through I/O Registry in raw format, and need application authors to interpret the data. The formats, modulators and demodulators differ a little, so we created a thread with datasheets here: https://applelife.ru/threads/datasheets-k-chipam-superio.2944734/. Cheers and thanks for understanding =)1 point
-
So I'm stumped on this one no amount of google-fu. There's a delay in emojis being placed into the message box. A long one. I've tested a real Mac and there is a slight one (.5s) but on my Hack it's a good 3-4s to go from emoji picker to message box. Is this the 5700 XT?0 points