Leaderboard


Popular Content
Showing content with the highest reputation on 02/29/2020 in all areas
-
After reboot BIOS will find clear CMOS and will restore NVRAM to initial state. Modern BIOSes must keep too many information to be fitted into CMOS but they required a user to be able to reset it. So user will clear CMOS and then BIOS will clear and restore NVRAM.4 points
-
OpenCore latest Commit with External GUI + Audio (Boot Chime and VoiceAssistant) IMG_4096.MOV3 points
-
Your AudioCodec and AudioOut is wrong, AudioCodec should be 0 and AudioOut looks like it is 0 or 2.2 points
-
RTC 0XF find:00 A0 0B 93 53 54 41 53 0A 01 A4 0A 0F A1 04 A4 0A 00 rep:00 A4 0A 0F A3 A3 A3 A3 A3 A3 A3 A3 A3 A3 A3 A3 A3 A3 awac 0x00 find:00 A0 0B 93 53 54 41 53 0A 00 A4 0A 0F A1 04 A4 0A 00 rep:00 A4 0A 00 A3 A3 A3 A3 A3 A3 A3 A3 A3 A3 A3 A3 A3 A32 points
-
I have always fork latest Acidanthera AppleALC resource first. Then make change to my forked ones. After that, make pull request.2 points
-
SMCAMDProcessor from trulyspinach AMD Processor power management plugin for VirtualSMC. Please note that this release is at very initial stage of development, make sure you have a proper backup of your EFI folder and never run on any system that matters. If you encounter any problems then please create an issue here. Now with AMD Power Tool Installation Download kext and application from Release page Add SMCAMDProcessor.kext to kext folder of your bootloader. Edit your bootloader's config file to make sure the kext is enabled. Done! Features Passive CPU power management. Supports for reading of temperature, energy and clock data on AMD 17h Processors. Manual switching of processor speed with AMD Power Tool. Passive Power Management This options serves as a temporary solution to CPU power management due to no active solution are currently available. Comparing to a true active power managment implementation, this option works in a passive way which results in less sensitivity, accuracy and a slow down in performance. I have been exploring possibilities for implementing a real active power management solution for AMD 17h platform. From what it looks like currently it is definitly possible. I will keep updating here with my latest progress. Editing PState Since the release 0.3.1, you can now edit your CPU PState using AMD Power Tool. To access PState editor: Open AMD Power Tool Go to 'Speed' tab Click 'Advanced Options' Safety Notes Incorrect PState setting can potentially cause permanent damage to your computer hardware. For safety concern, this function was limited to root user only. You can either launch AMD Power Gadget with root user or use -amdpnopchk to disable this check. Tested Processors Ryzen 9 3900X Ryzen 7 3700X Ryzen 7 2700X Ryzen 5 3600 Threadripper 2990WX What's Coming? PState Editing, a direct editing of PState definition may open up possibilities for overclocking in macOS. Active Power Management. Contribution If you want to support this project, please: Give it a star! Feel free to open up an issue if it works for you and not listed on supported processors. or if something breaks, please also open an issue. If you like to help with some coding, feel free to submit any pull request or just DM me on Discord. Notes I am still fairly new to macOS kernel development, this software project was initially a hobby project to get some reading on my newly built AMD hackintosh computer. With that being said, please bear with some of the spaghetti and not-idiomatic codes. Any criticism is much welcomed1 point
-
I have been around in xdadevelopers forum and been a mod there as well for a while. Sometimes many of us take the hard work and generosity for granted. You've always been helpful to me here. I'll wait for your reply. Sent from my SM-N975U1 using Tapatalk1 point
-
@AudioGod 1. Thank you so much for this post! 2. Can you please check what's the value of "ulimit -n" command on your terminal? I see 256 and I need to increase that but I haven't been able to do that. Sent from my SM-N975U1 using Tapatalk1 point
-
Does it show up in the list when you type 'kextstat | grep -v com.apple' into Terminal?1 point
-
There is many mobo "at work" ➧ Training center for video post production softwares ( Final Cut Pro X, Resolve, Adobe CC, Nuke) and cameras. it needs some CPU/GPU power on each computer plus the 10G ethernet is mandatory for shared storage. MacOS is still used (expect 3D softwares)1 point
-
I sent him a message Thanks1 point
-
it work for my mobo.And i check your acpis,these 2 patchs also useful for you I extracted patch information when the sys started 归档.zip1 point
-
@n.d.k, resolved in master.1 point
-
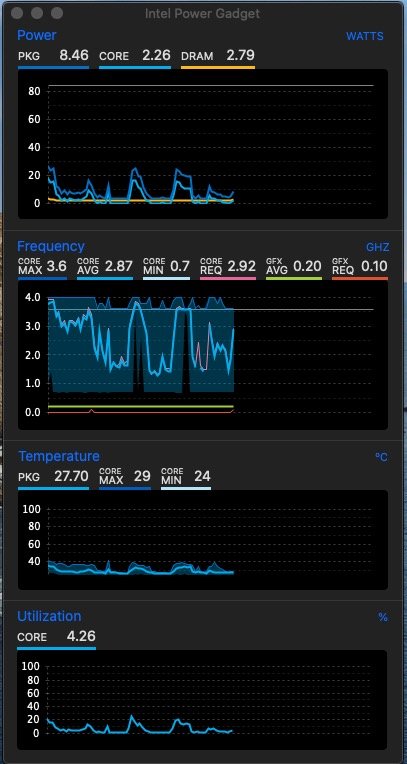
I use Intel Power gadget for that...
 1 point
 -
I moved the playaudio function call on VoiceOver Auxiliary entry switch to after Entries and Icons displayed process are done on version 0.1.5. Let me know if problem still exists.1 point
-
cd $HOME && git clone https://github.com/CloverHackyColor/CloverBootloader.git1 point
-
@obus r5102 ASUS.zip Note: do not use my serial numbers from SMBIOS, they are not valid !1 point
-
Its hard to believe but it works :))) I got 2 ssd-s (windows10 and osx) and DVD drive. Just unplugged the DVD drive and no reboots since few hours Thanks WizeMan And now how to fix to make it work with this DVD ? My PSU is RM750x so its not a problem.1 point
-
Done. https://github.com/acidanthera/AppleSupportPkg#audiodxe1 point
-
Yes it is normal. You shall understand that it for people with sight problems.1 point
-
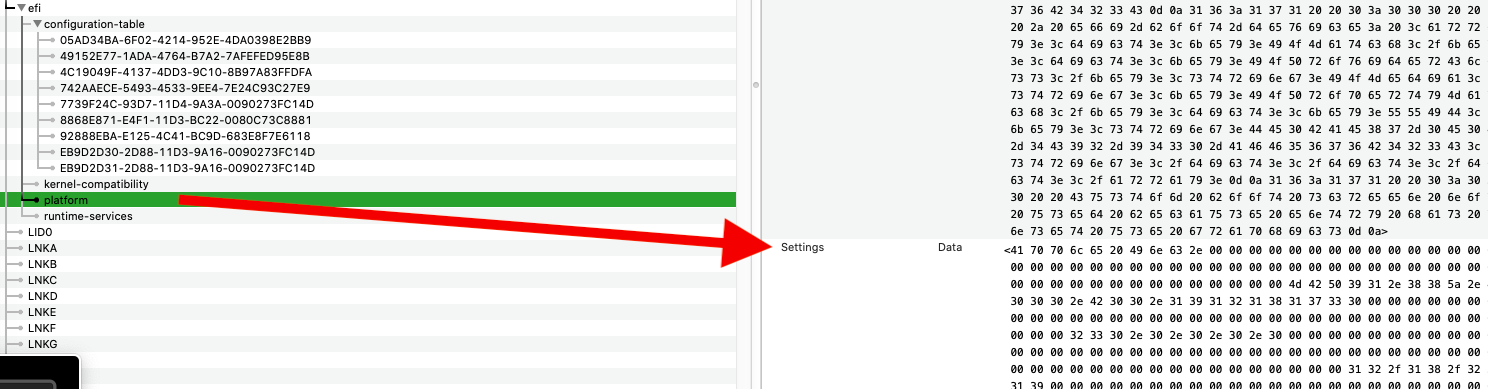
By the way, all Clover Settings are basically a big tuple saved in IODeviceTree->efi->platform->Settings which can be copied to a new copy of SETTINGS_DATA structure.
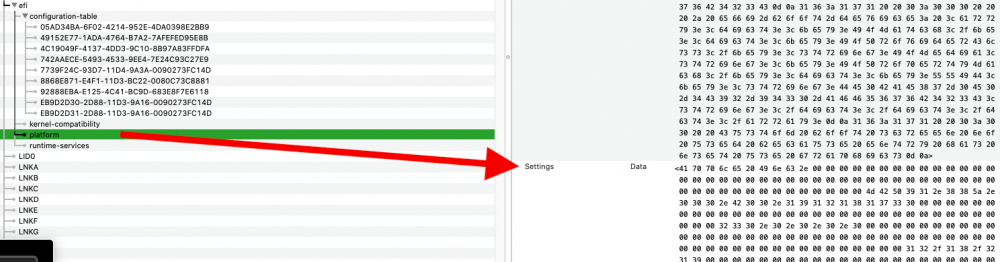 1 point
 -
I learn something every day : there is a difference when doing new TYPE and new TYPE(), when TYPE is a plain old data object. Both are valid and doesn't mean the same thing in C++ (yahoo!). The "new TYPE" is supposed to just alloc the memory and not initialize it. Good new is new TYPE() will zero init it, so it IS a replacement for AllocateZeroPool. I checked with the real time debugger and when issuing "new TYPE", our custom new implementation is not called. I don't know if the compiler try to call malloc, and just silently fail (because it's not linked), but that explains it. So a new rule : AllocateZeroPool is replaceable by new if we don't forget the () !!1 point
-
Another data point, I'm getting the same uninformative kernel panic as in my previous screenshot with OC 0.5.5 on an Asrock X99 Taichi board1 point
-
After you made change to your forked appleALC, then go to Acidanthera applealc repo and make pull request for it Sent from my iPhone using Tapatalk After you made change to your forked appleALC, then go to Acidanthera applealc repo and make pull request for it Sent from my iPhone using Tapatalk1 point
-
@n.d.k Your GUI seems to not handle entry hiding properly with VoiceOver (it takes 3 for 4, etc)1 point
-
NEW OpenCore include fog effects, AMAZING1 point
-
Ok, solving that right now.1 point
-
@MacPeetit looks like you are trying to push directly to the acid anthera repo from your local account. for that to work whoever is in charge of applealc would have to add you as a dev on the repo. for a push request you would have to fork the repo under your own github account repo fork then send the request1 point
-
Ok ragazzi grazie a tutti, li proverò entrambi (ho un hub usb alimentato) e poi dopo farò la scelta. Grazie a tutti per l'aiuto1 point
-
I've updated AnyAppleUSBMouse for Catalina. It requires 4 changes to the idProduct (Product ID) and idVendor (Vendor ID) to work. Enjoy AnyAppleUSBMouse.kext.zip1 point
-
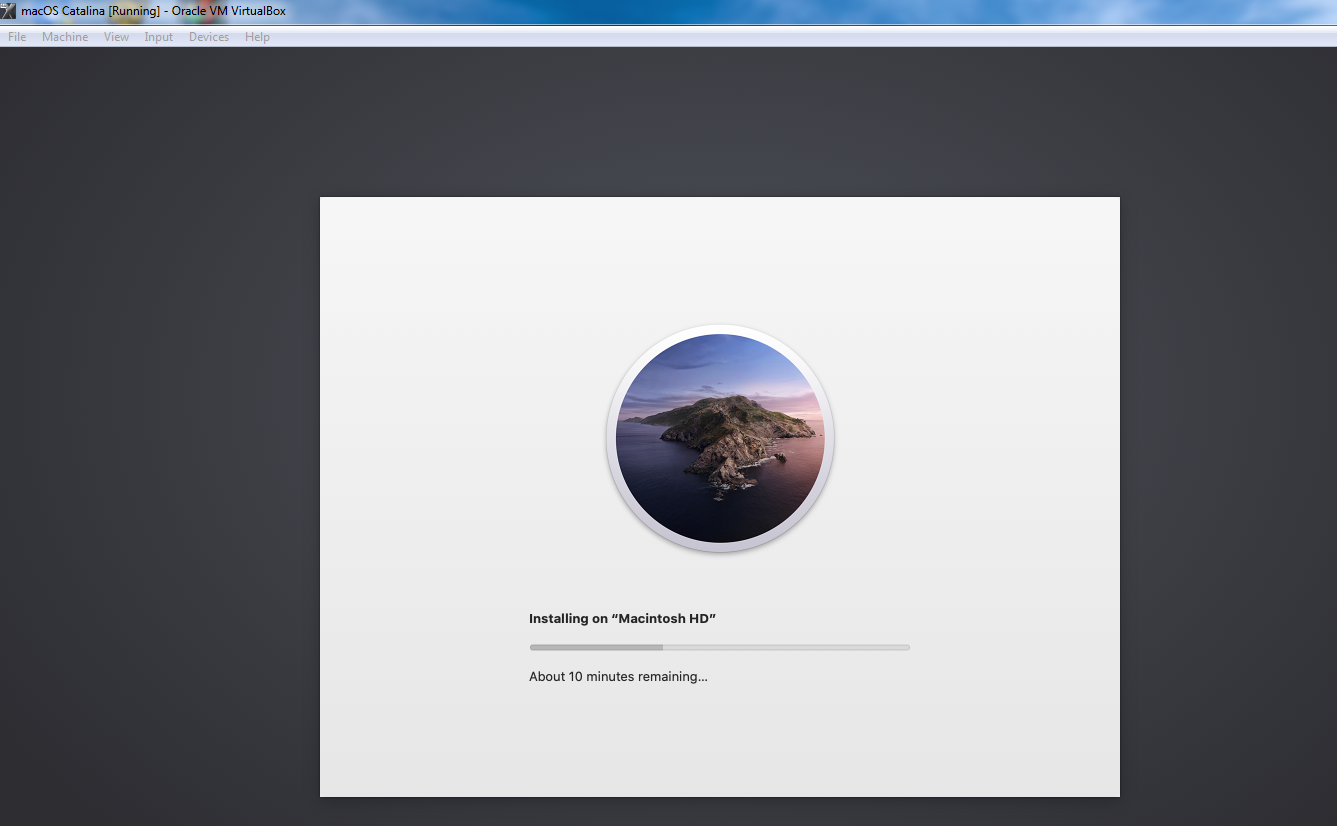
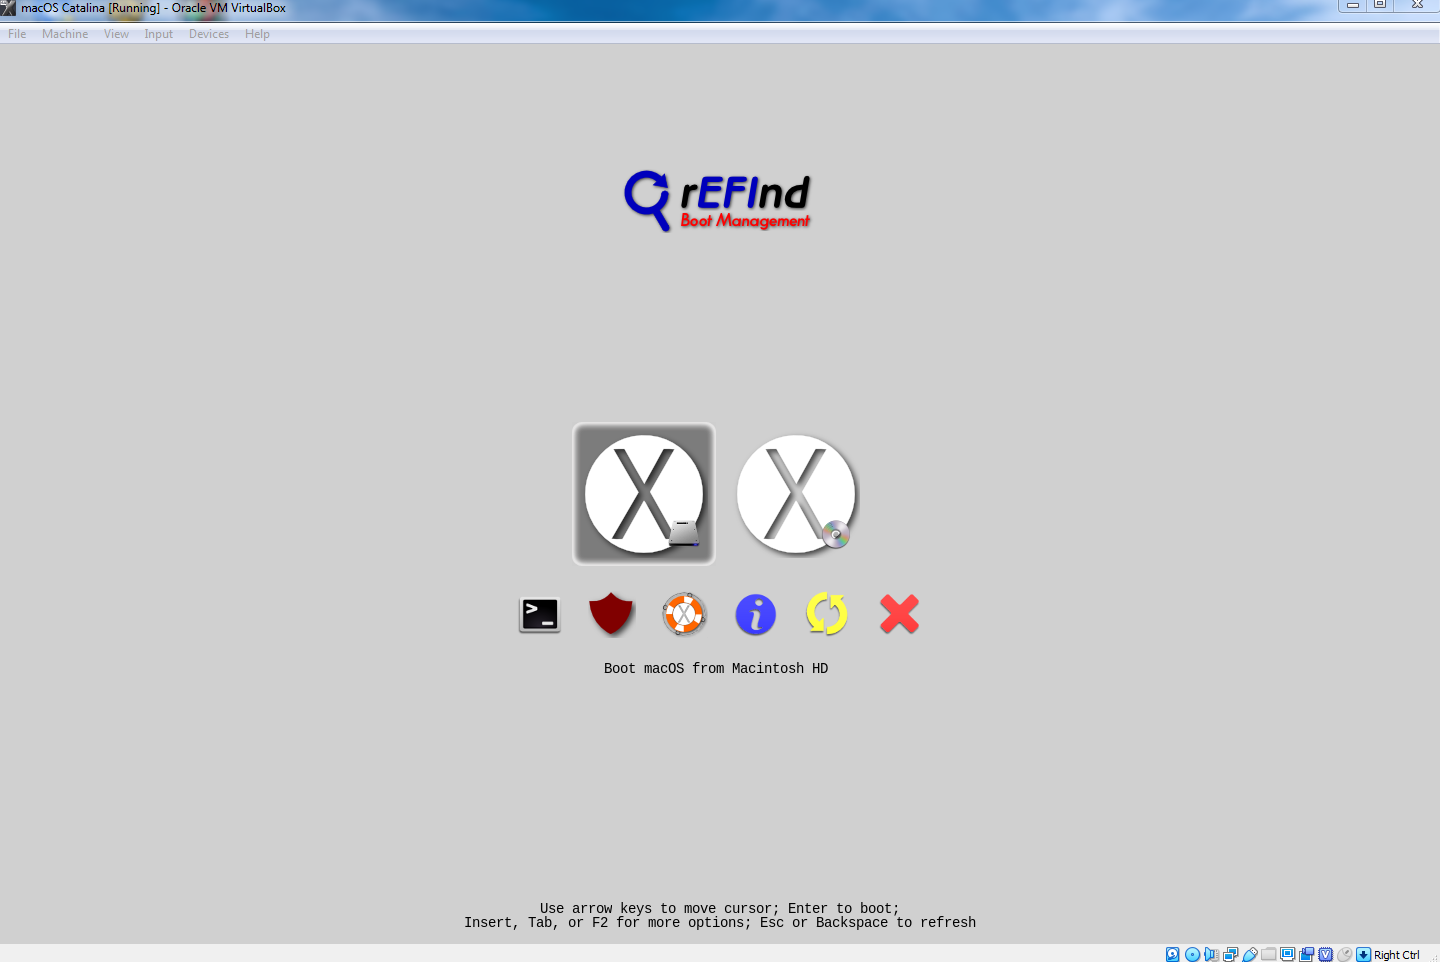
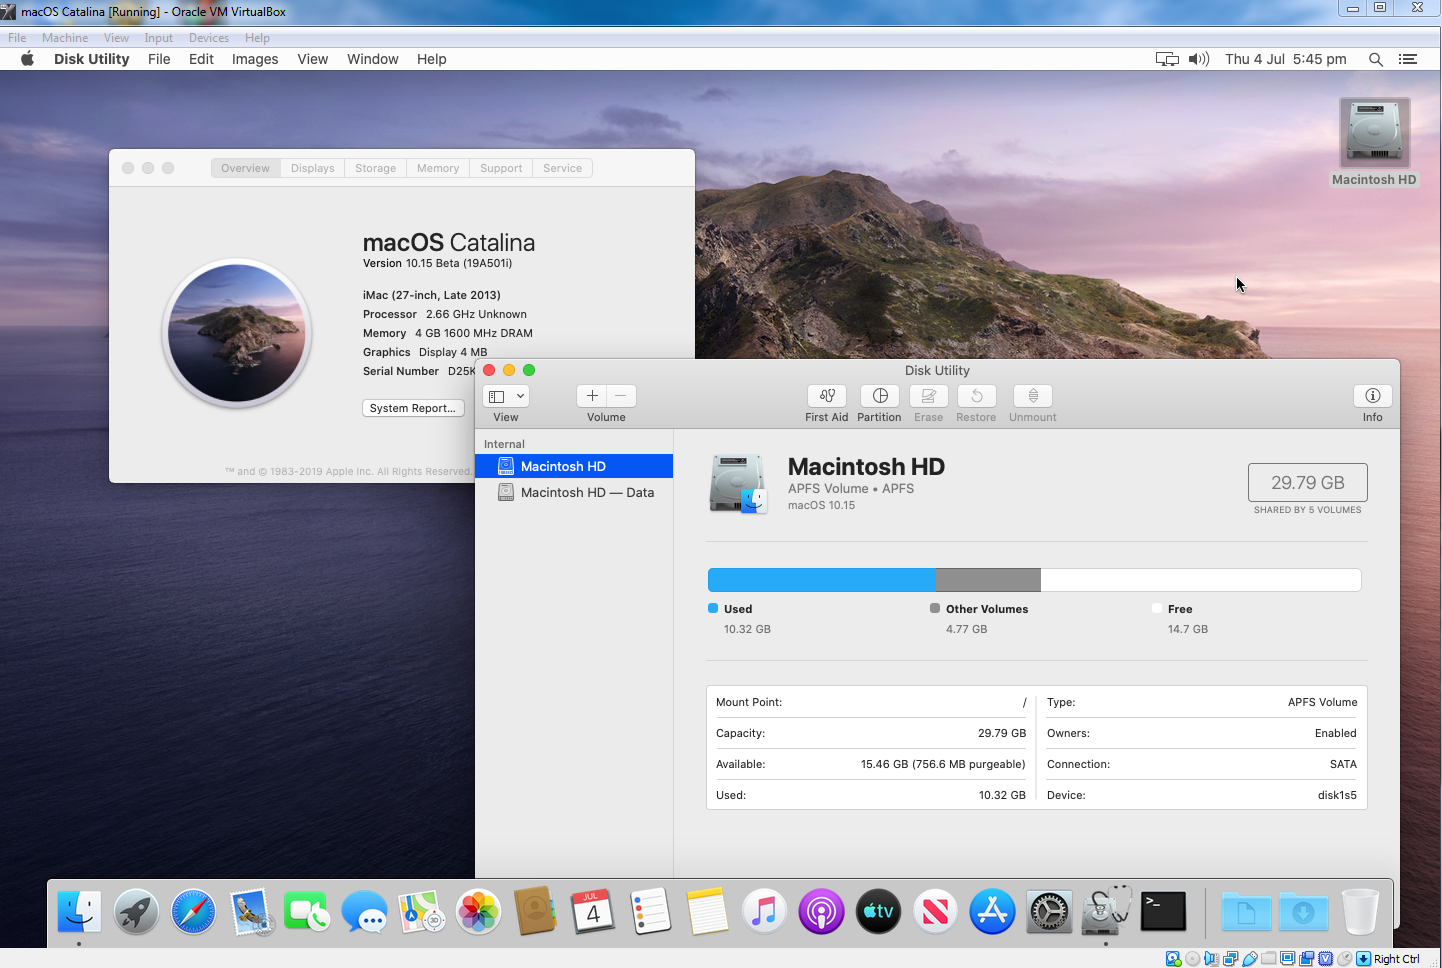
Kudos man, it works and makes the process much easier . New defaults are needed in order to install Catalina (iMac14,2 in @jpz4085's batch file is supported by 10.15 while the iMac11,3 SMBIOS in the first post no longer is). You can use the attached macOS_iso_creator.tool.zip to create the bootable Catalina ISO after downloading the installer app into /Applications. Procedure to prepare the Catalina ISO 1. On your Mac or Hack with SIP disabled, download/copy "Install macOS Catalina Beta.app" into your Applications folder. The app can be obtained from the App Store by enrolling in Apple's Public Beta program or directly from the software catalog with @crazybirdy's installScript_fullapp.zip. Note: You can verify the installer app by checking the SHA1 of InstallESD.dmg and BaseSystem.dmg (inside the /Install macOS Catalina Beta.app/Contents/SharedSupport folder) with the correct ones at this website. 2. Download and unzip macOS_iso_creator.tool.zip into your ~/Downloads folder. Note: you will need approx 18GB of free space on your hard disk for the script to complete. 3. Open terminal, then run the following commands to execute the script: cd ~/Downloads chmod +x macOS_iso_creator.tool ./macOS_iso_creator.tool 4. At the end of the process, you will have a macOS.iso on your desktop that you can attach to your Catalina VM. Some screenshots...

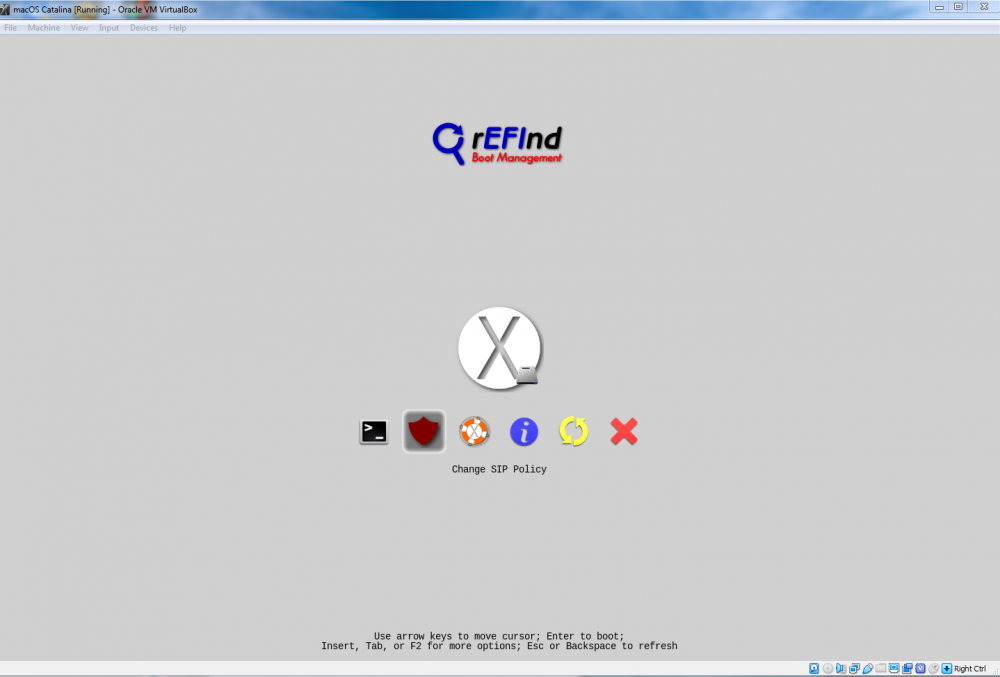

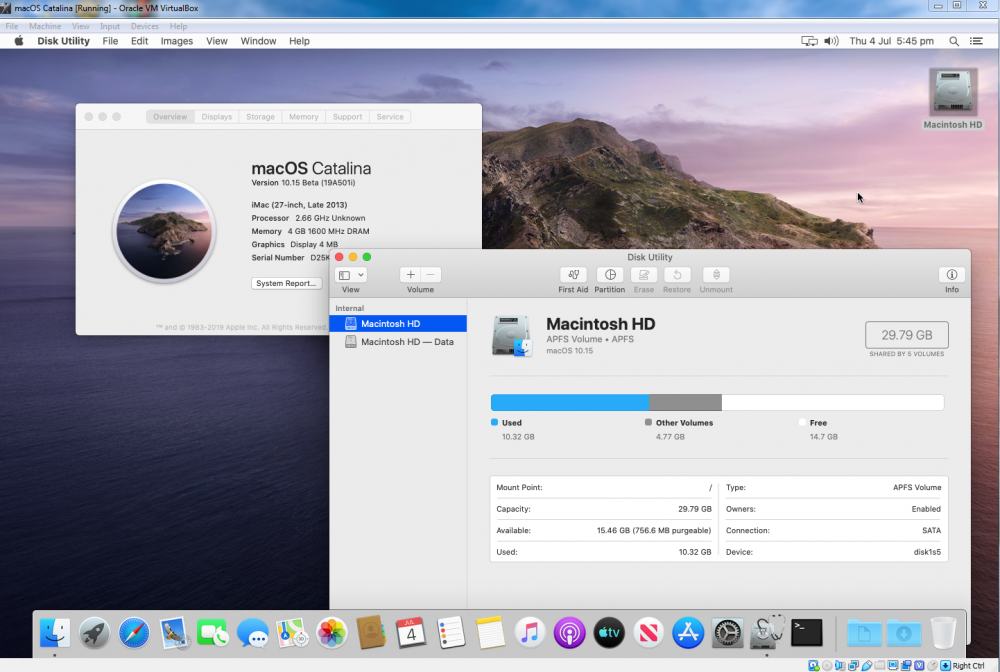 1 point
 -
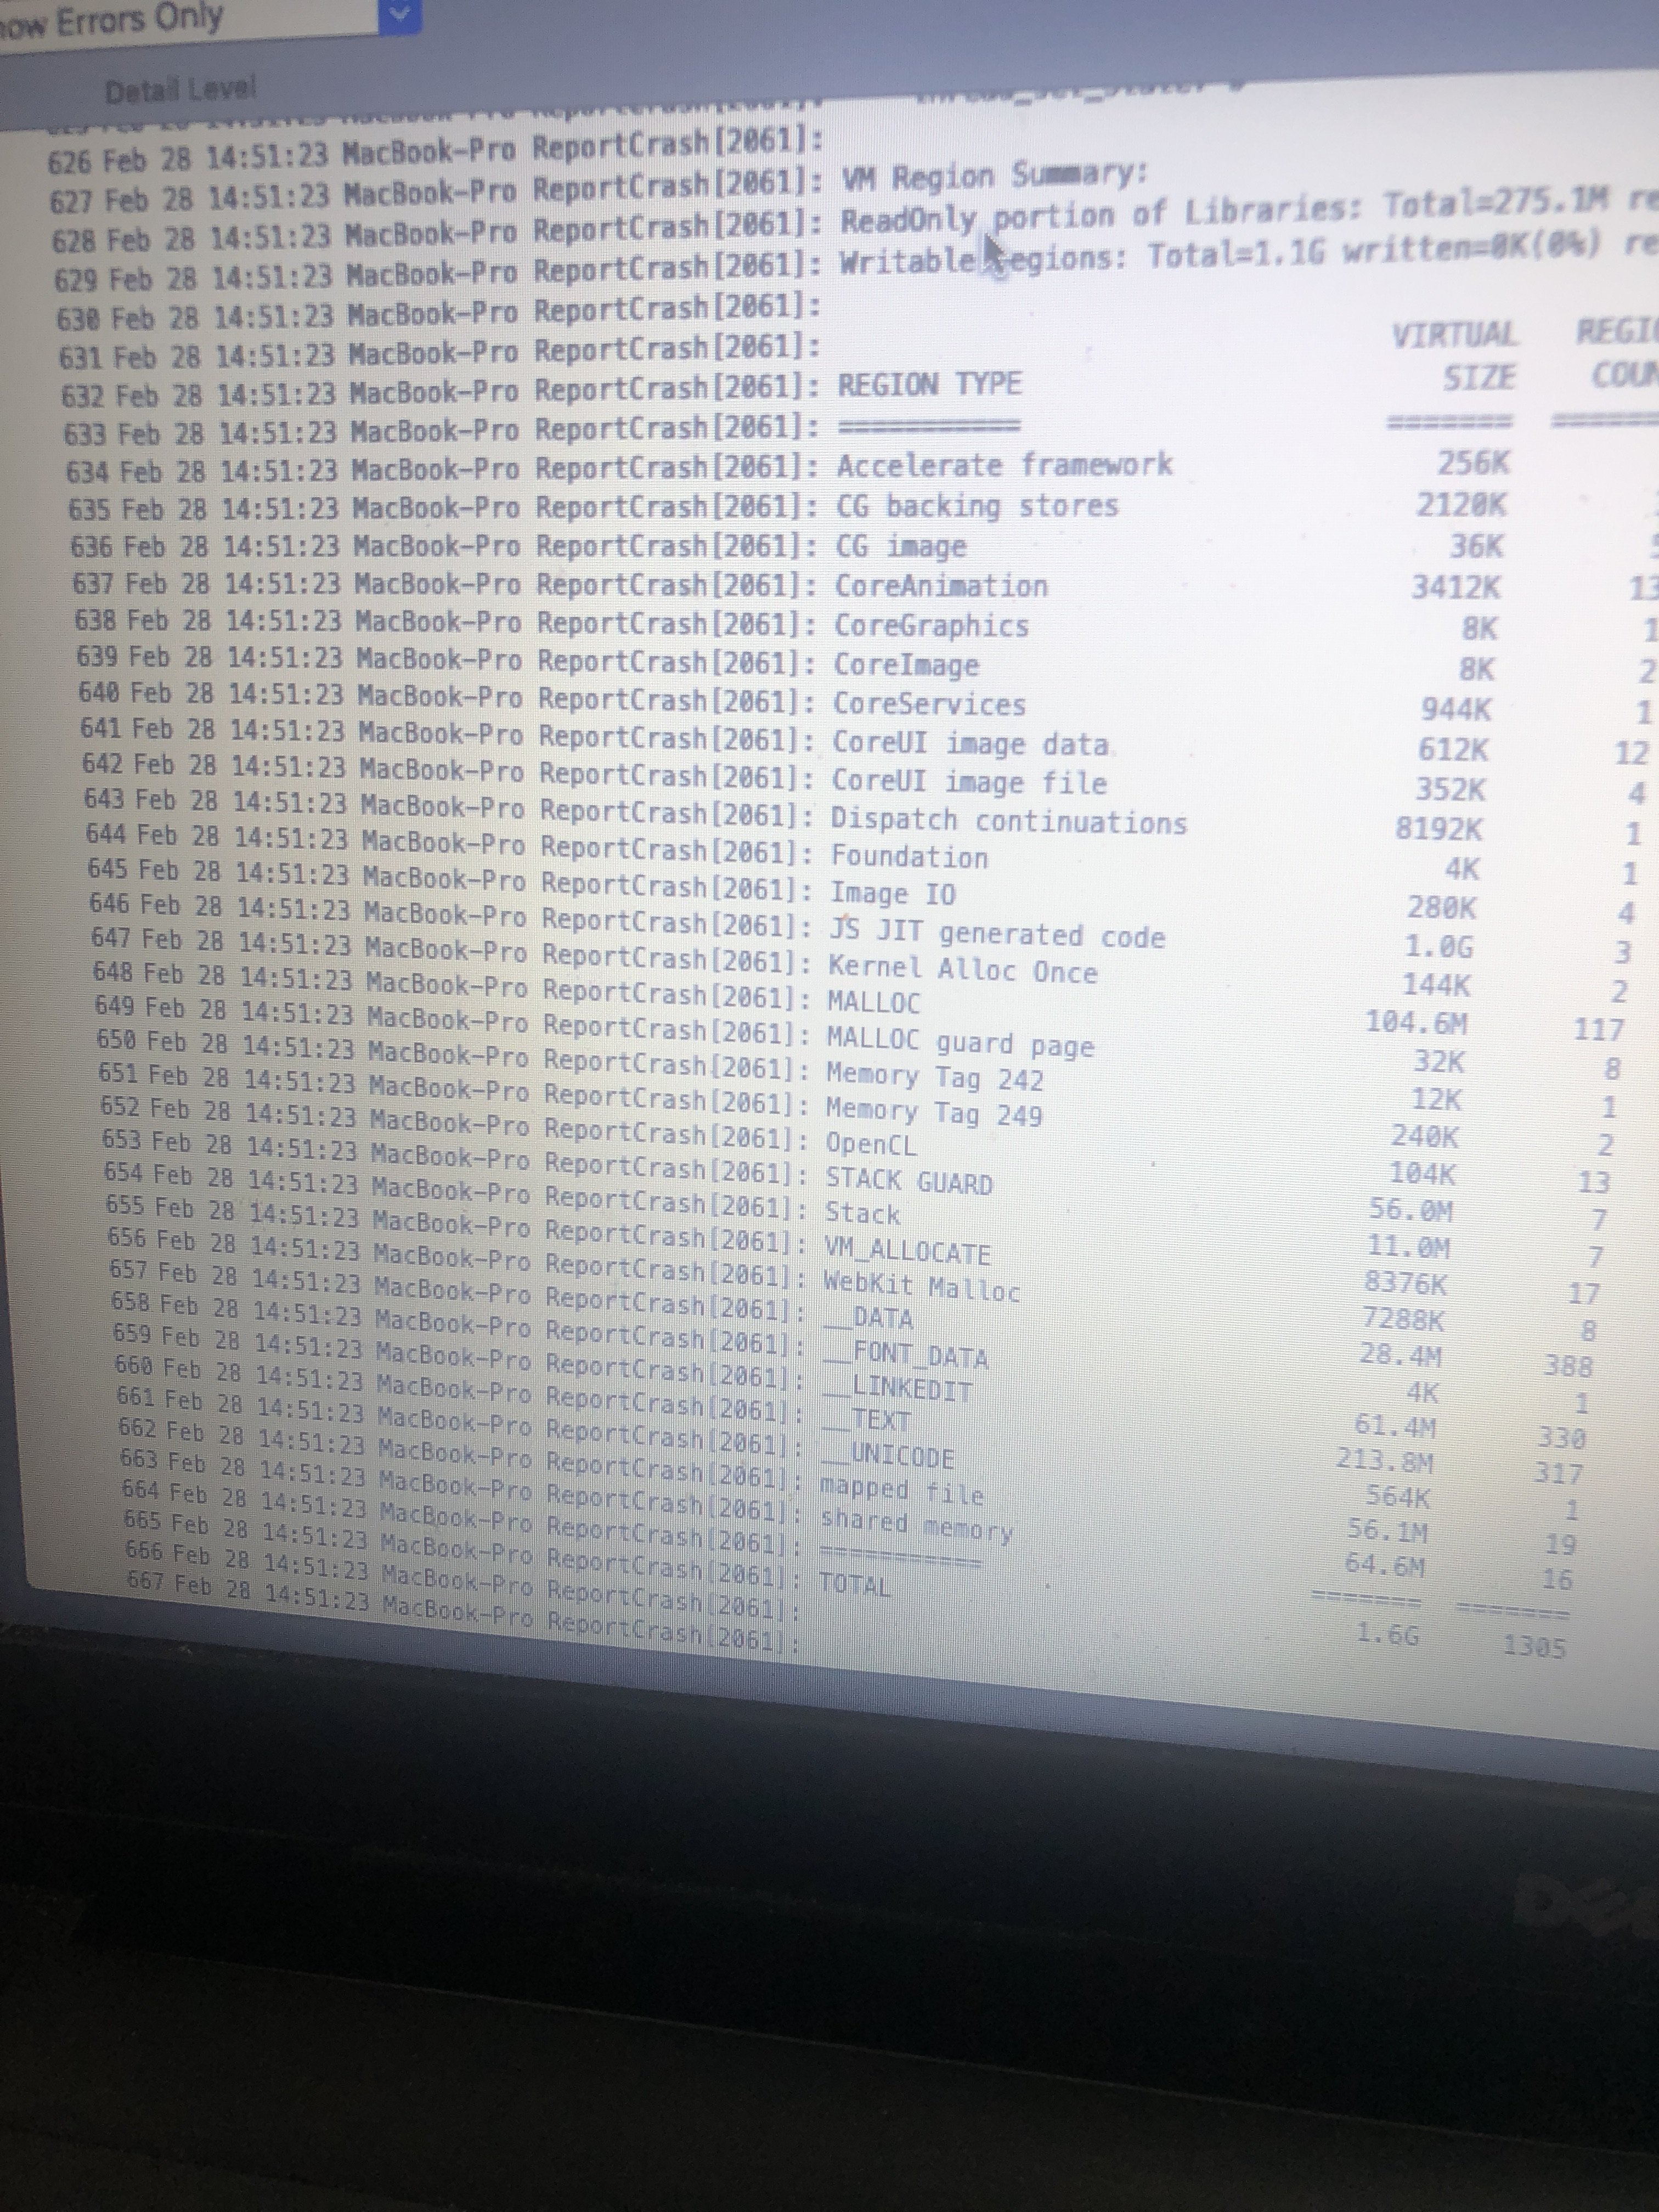
Hey there, I’m pretty new here. I wanted to boot into macos. I created the boot file and got it to the installation. It says MacOS installed and it need to reboot, but when it reboots, it shows me errors and says that it cannot finish installing. What do I do? i have an inspirion 5559 with Intel core i5, 8 gb ram. Can I even install Mac on this laptop? I’ve done the research and it boots to the installation.
 0 points
 -
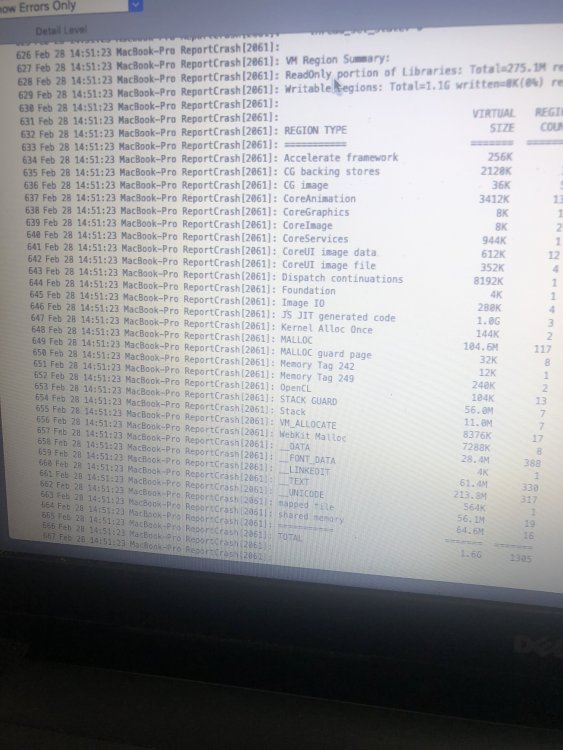
@ndk After updating to the latest version, I want to experience the sound effect of the boot interface, but I found that it could not play. After getting the log, I found that the prompt was not supported. I wonder if this is my sound card model not supported? My sound card model is like this!

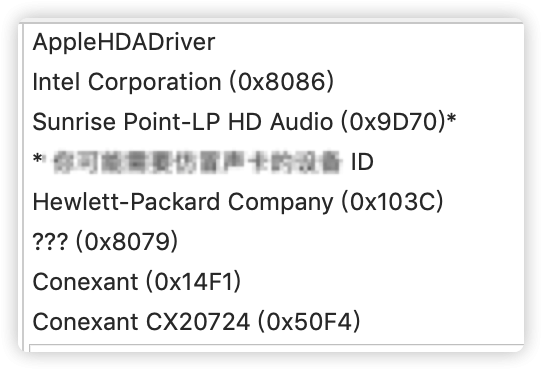 0 points
 -
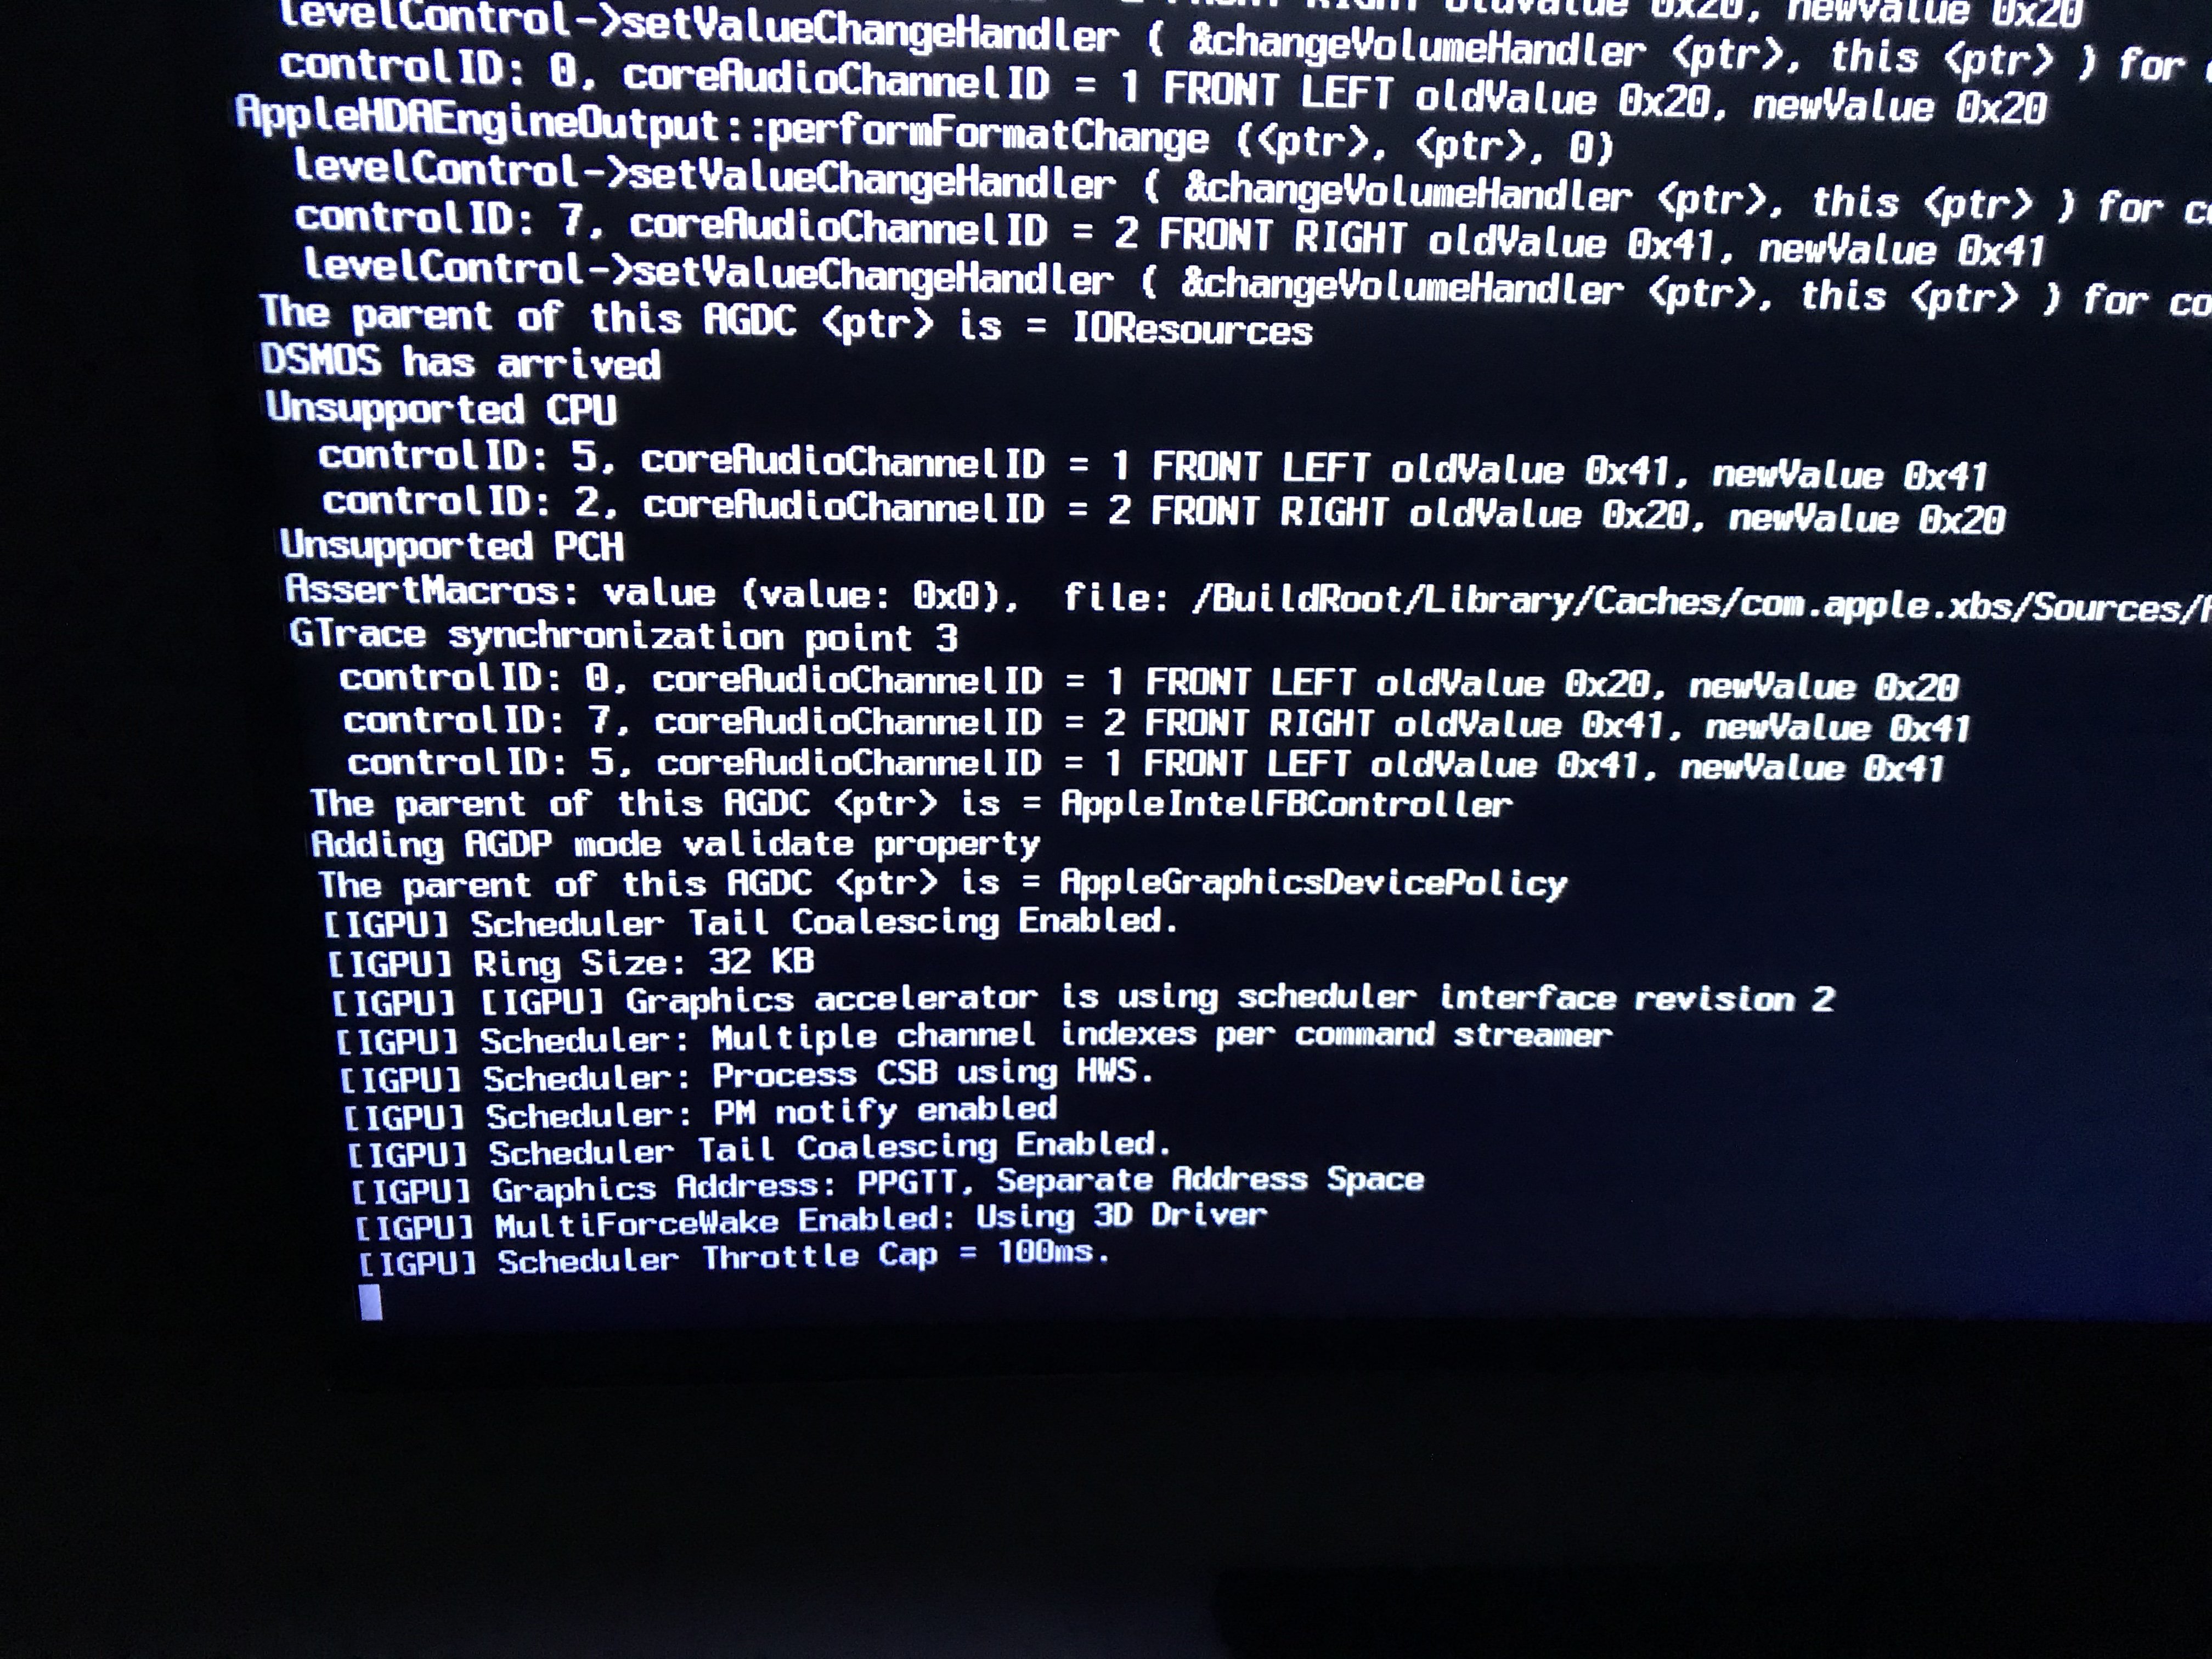
hi guys, did anybody install successfully a HD5500? I managed to install Mojave but after reboot its freezing at IGPU boot here‘s the EFI I use: https://www.chinamobilemag.de/tutorials/downloads/summary/27-beelink/60-beelink-u55-macos-hackintosh.html thanks in advance
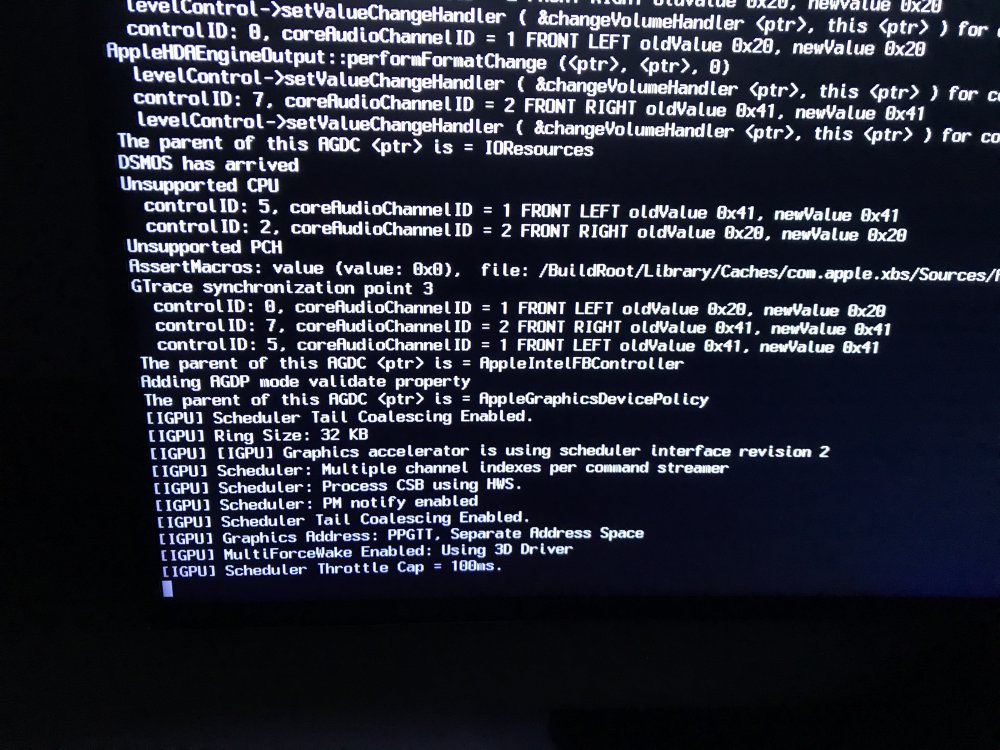 0 points


.thumb.png.a43579d9e280a5c4c80807bf93412ae7.png)