Leaderboard


Popular Content
Showing content with the highest reputation since 05/11/2024 in Posts
-
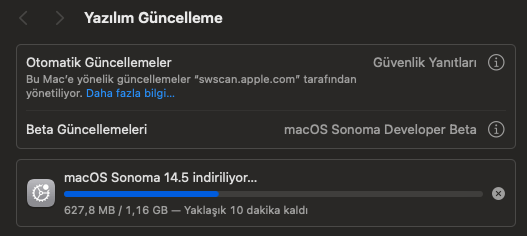
macOS Sonoma 14.5 (23F79) ( Same build as RC ) Full Installer https://swcdn.apple.com/content/downloads/32/06/062-01946-A_0PEP7JHIWA/1pfs4xh22555dj51fkep7w06s4eiezh21p/InstallAssistant.pkg14 points
-
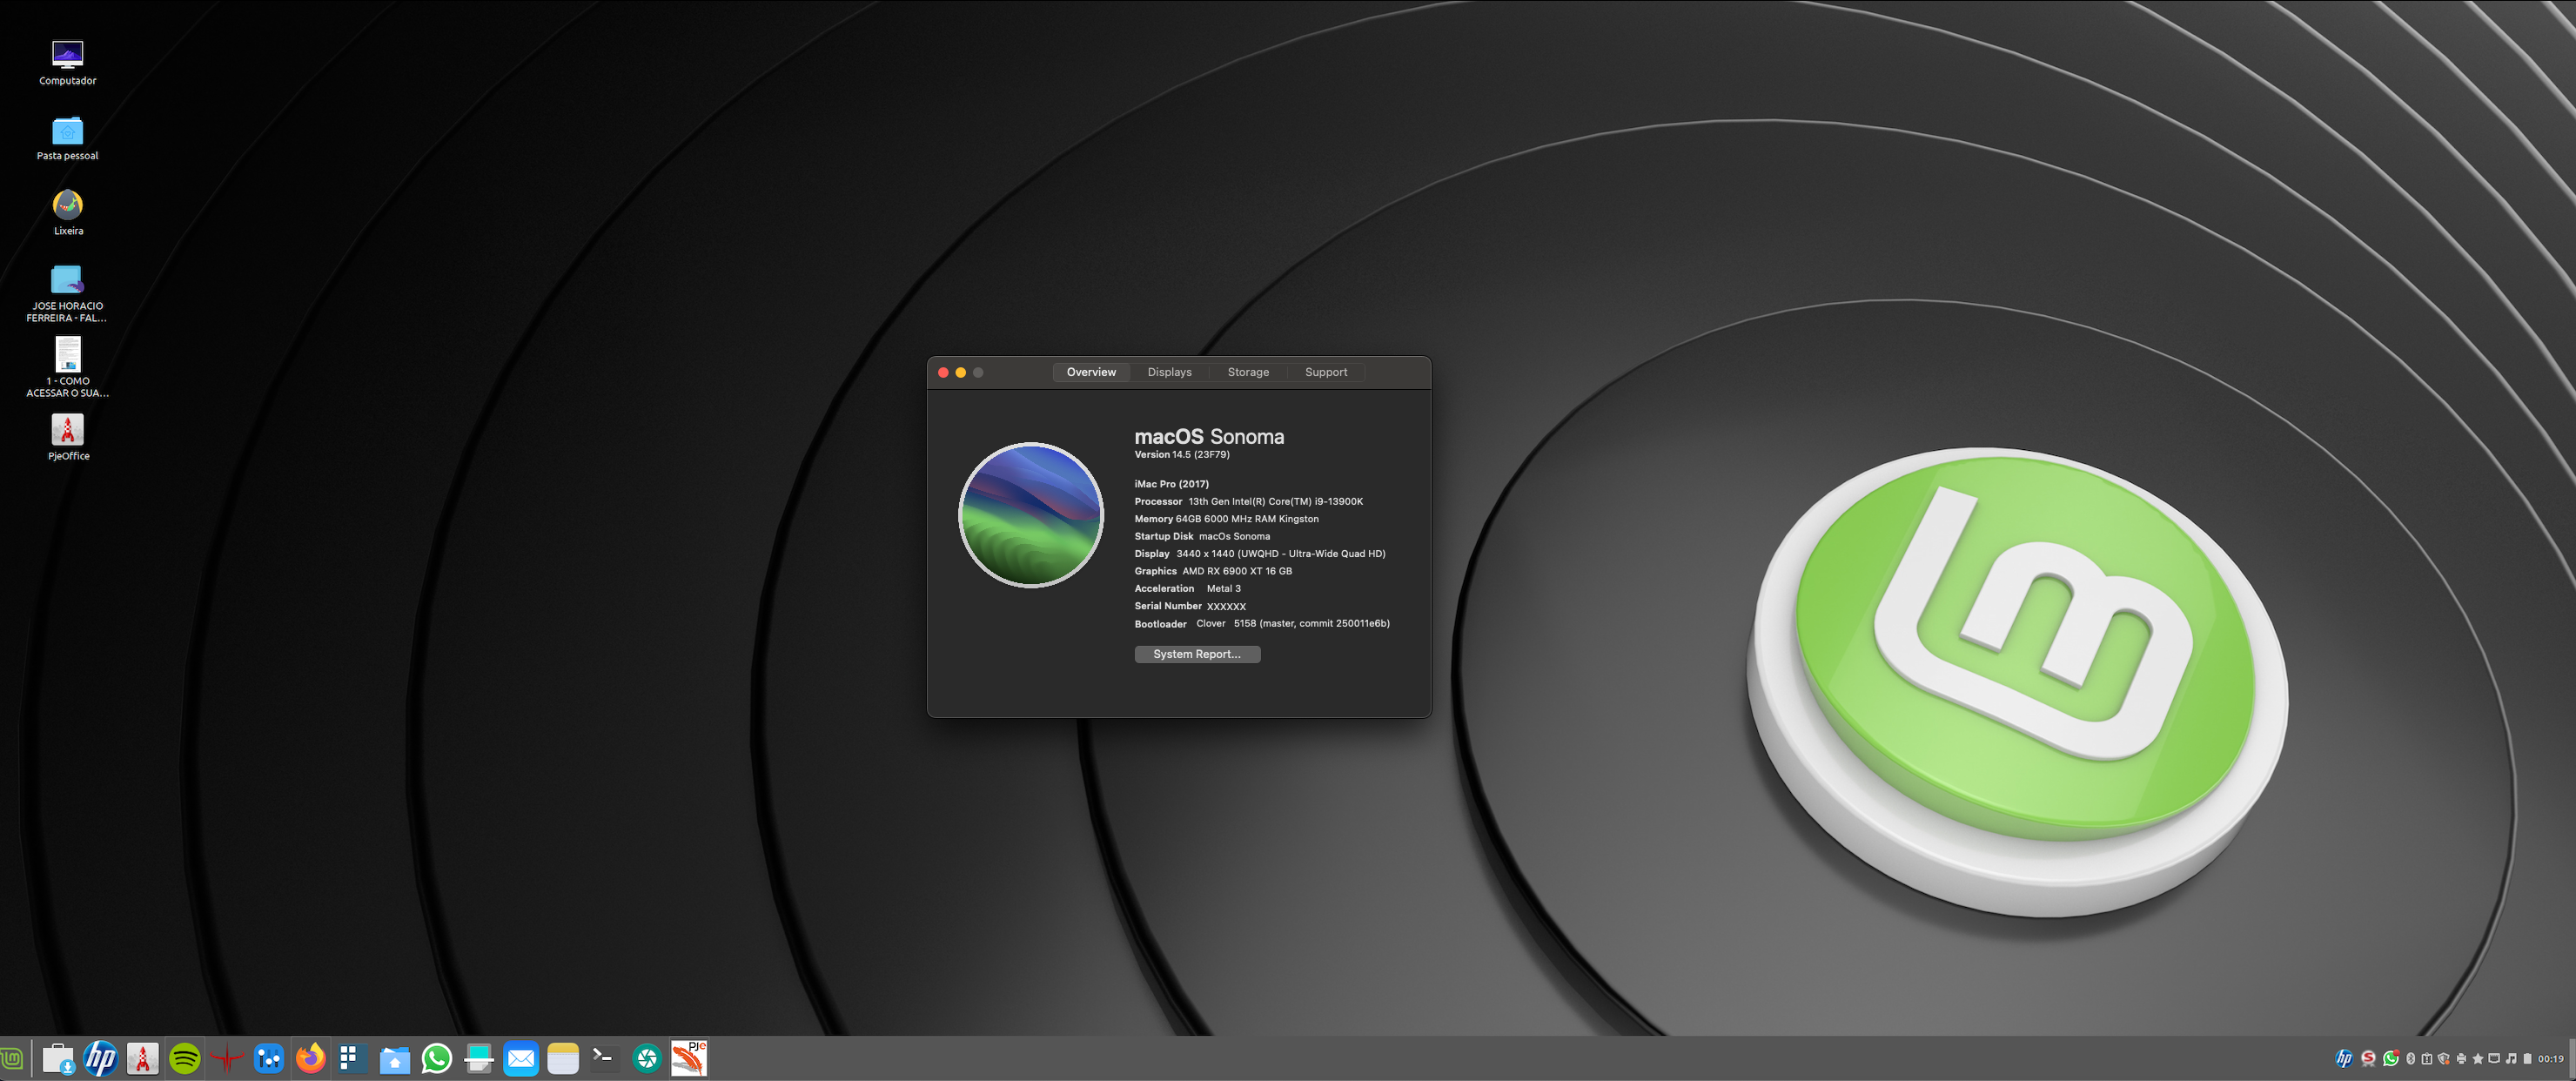
Here all fine too
 9 points
 -
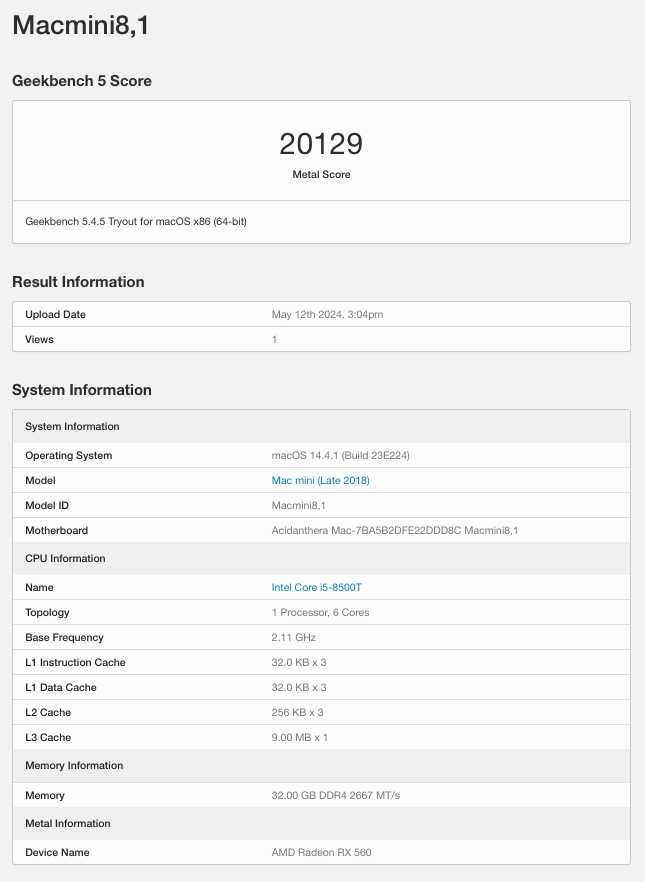
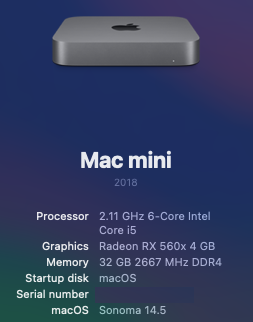
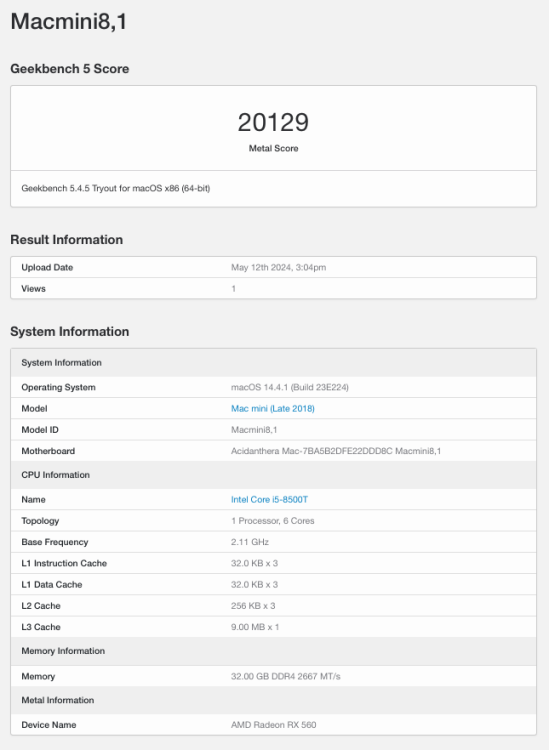
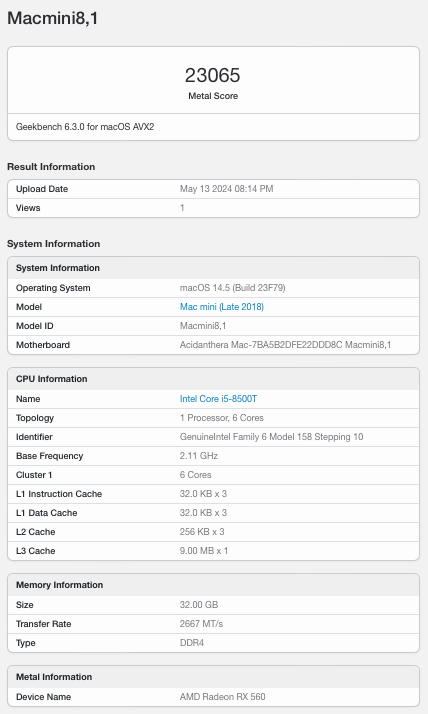
My "new" Hackmini8,1 with RX560x dGPU upgraded from Sonoma 14.4.1 to Sonoma 14.5 without issues. Booting with Open Core 1.0.0. About This Hack: Sonoma 14.5 GB5 Metal Score (Tested in Sonoma 14.4.1) Note that this hack uses the Mobile Radeon RX560x. GB6 Metal Score (Tested in Sonoma 14.5)
 7 points
 -
macOS Monterey 12.7.5 (21H1222) ( Same build as RC ) Full Installer https://swcdn.apple.com/content/downloads/02/18/052-96238-A_V534Q7DYXO/lj721dkb4wvu0l3ucuhqfjk7i5uwq1s8tz/InstallAssistant.pkg6 points
-
...nice, normal update from 14.4.1, took all of 20 minutes 💯
 6 points
 -
No issue
 6 points
 -
macOS Ventura 13.6.7 (22G720) ( Same build as RC ) Full Installer https://swcdn.apple.com/content/downloads/46/31/052-96247-A_MLN9N00Y8W/dmml3up52hrsb01krjtczmdhexiruv1b5m/InstallAssistant.pkg6 points
-
6 points
-
6 points
-
https://github.com/0xCUB3/About-This-Hack5 points
-
5 points
-
With iMac19.1 you don't need R.Event (in my case iMac19.1 the update was notified) ... anyway try this https://github.com/Lorys89/RestrictEvents/releases/tag/1.1.4 no need boot-args Normally in RCs the pkg is not released , also because perhaps the Release will be released on Monday then you will have the pkg so either you wait or download the full ... it's still 13 GB (also for the pkg) 💁♂️5 points
-
---All EFI folders is updated to OpenCore 1.0.1 and all Kexts to last version--- OpenCore MOD - https://www.olarila.com/topic/25111-hackintosh-efi-folders-with-opencore-mod/ OpenCore Official - https://www.olarila.com/topic/5676-hackintosh-efi-folder-with-clover-and-opencore/4 points
-
To get the incremental update, you need to revert OCLP patches if you're using it then reboot the machine. It will also help if you have revpatch=sbvmm in boot-args in config.plist. Won't hurt to have SIP fully enabled. After try to see if the small update is available. Obviously to use OCLP again, you'll have to revert all the changes you made. Good luck.4 points
-
OpenCore 1.0.0 is out. Despite the version number, it is not a major change but rather one more step in the continuous evolution of OpenCore. There are quite a few changes and improvements, updating is recommended. You can get it from Acidanthera. Main changes Updated builtin firmware versions for SMBIOS and the rest Utilities now require macOS 10.9+ (OpenCore itself still supports macOS 10.4+) Added AllowRelocationBlock support for 32-bit version Fixed problem loading non-firmware runtime drivers (e.g. OpenRuntime.efi) in OpenDuet Fixed alphabetical ordering in Configuration.pdf. Config.plist Added Booter -> Quirks -> AllowRelocationBlock (support for 32-bit OpenCore): this quirk is needed to boot macOS 10.6 and older with 32-bit kernel in 32-bit OVMF. Hibernation wake is not compatible with this quirk. Sample.plist and SampleCustom.plist: The settings required to reactivate the Broadcom Wi-Fi that have lost support in Sonoma have been added, they are the ones that we already use proposed by OCLP. Kexts AppleALC 1.9.0 HibernationFixup 1.5.0 VoodooInput 1.1.4.3 points
-
Without any basis other than naive optimism, I am expecting Apple to support Intel-based Macs in macOS 15. If that's the case, I'll continue to support this thread. If Apple does not include Intel-based Macs in macOS 15, then I won't be spending much more effort on this thread. The Open Core 1.0.0 EFI that I have attached to Post #1 is working very well for macOS versions through Sonoma 14.5.3 points
-
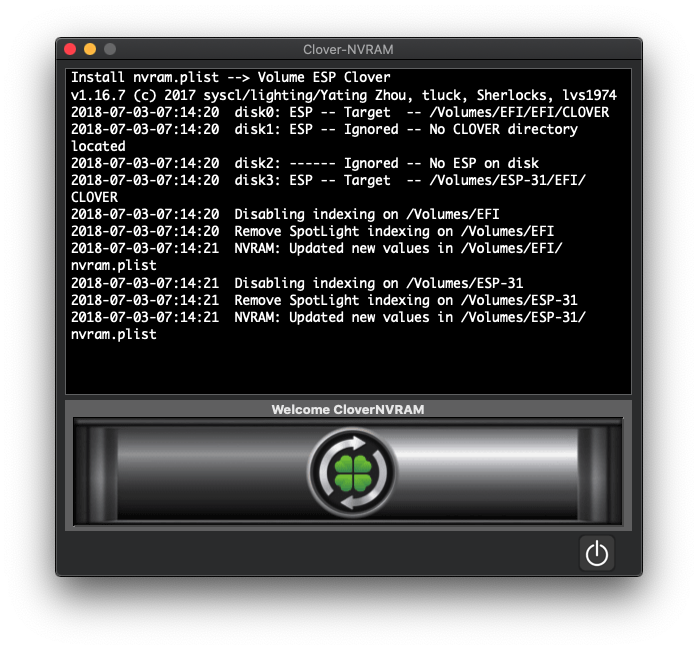
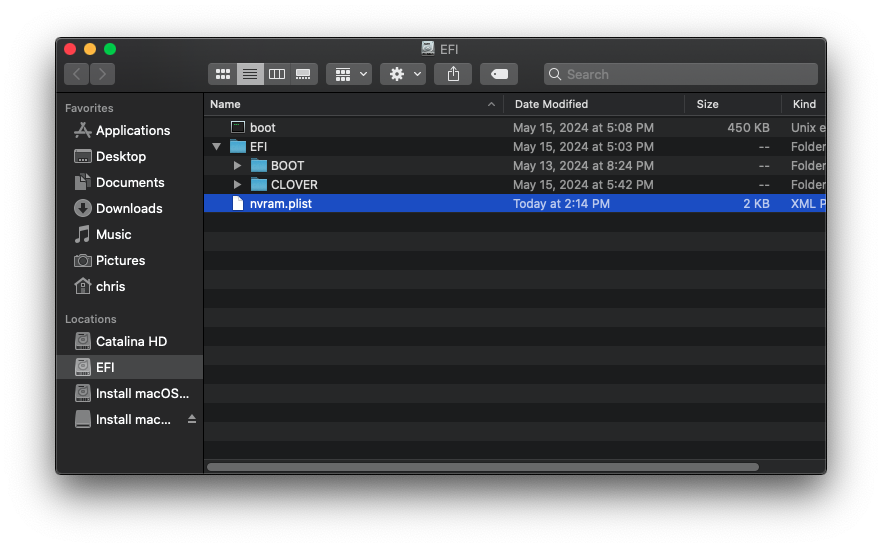
Installing Sonoma , Ventura, Monterey and Big Sur from Clover Duet its a differant story. but Booting Latest Sonoma already installed this is not an issue with clover duet. To make it possible I have to Add NVRAM creation from the Clover duet script but now I dont have the full time to do this. EDIT*** I will make some test tonight then let you know
 3 points
 -
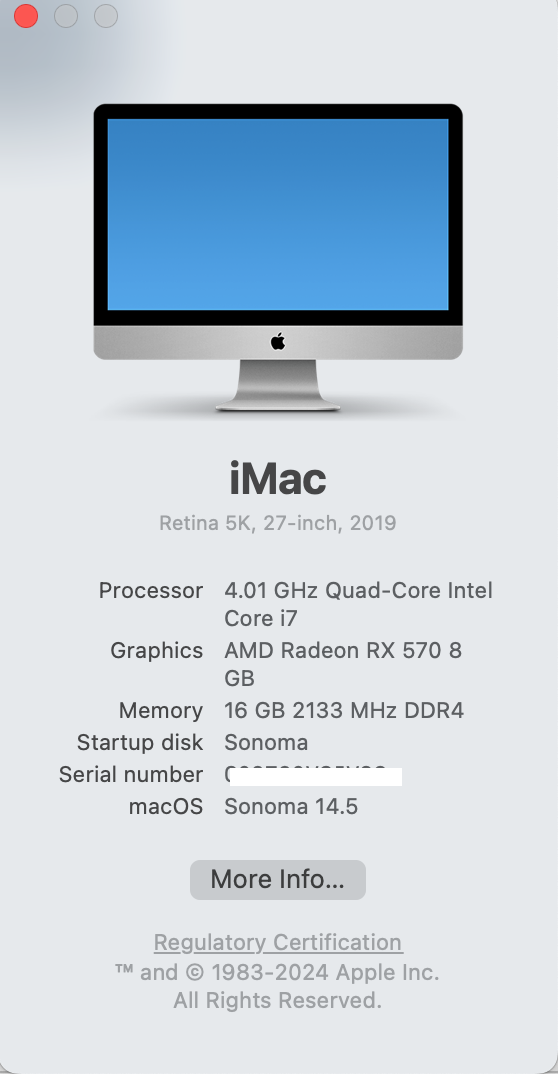
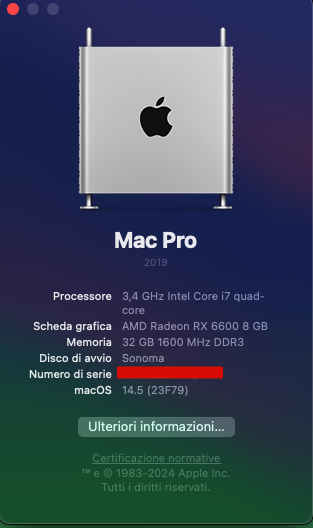
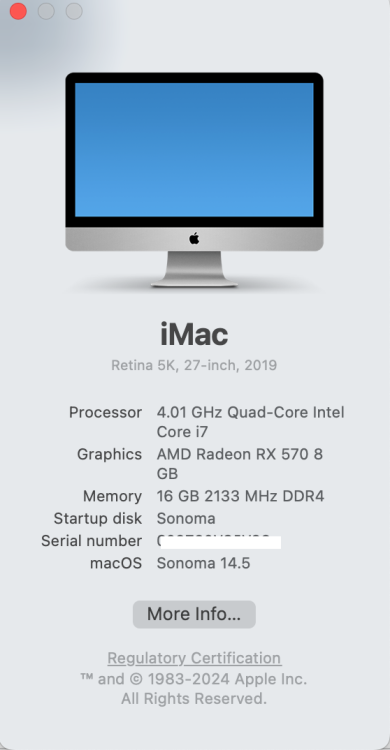
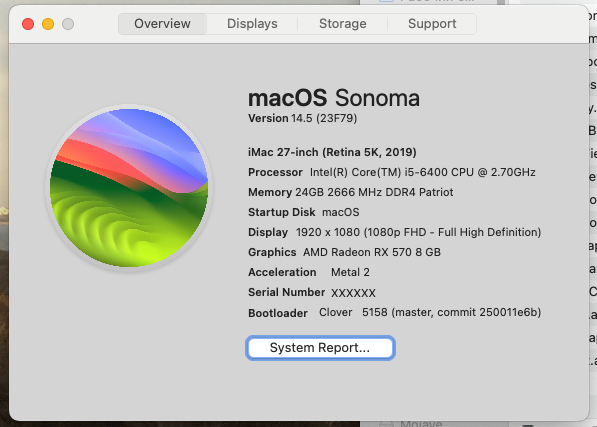
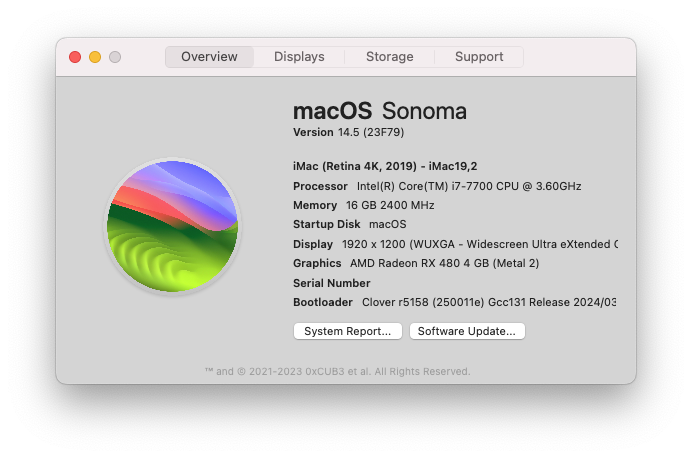
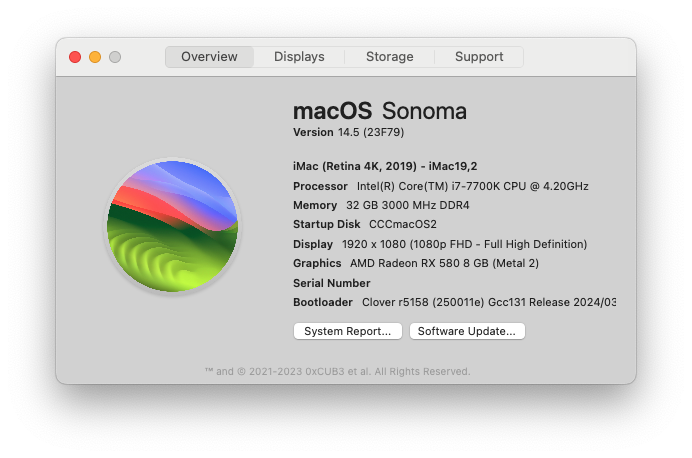
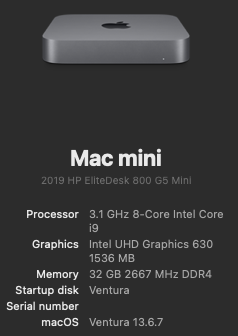
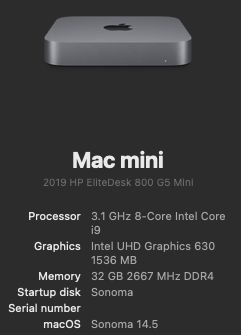
If you want your "About This Mac" screen in Sonoma 14.5 to show your EliteDesk 800 info, you'll need to edit ~/Library/Preferences/com.apple.SystemProfiler.plist. The format for the "CPU" in com.apple.SystemProfiler.plist is Description, Date For example, for my About This Mac screen below, I changed all instances of CPU description in com.apple.SystemProfiler.plist to "HP EliteDesk 800 G4 Mini, 2018" (without quotes). The iMac descriptions in my com.apple.SystemProfiler.plist become "iMac (HP EliteDesk 800 G4 Mini, 2018)" and the MacMini instances become "Mac mini (HP EliteDesk 800 G4 Mini, 2018)" (without quotes). About This Mac (iMac19,2) My GB6 scores with SMBIOS iMac19,2 EDIT: Performance on this hack, even with i5-8500T, is phenomenal. This little hack is very responsive. The RX560x graphics acceleration over the UHD630 iGPU makes a big difference.

 3 points
 -
Update failed to “prepare for upgrade”. Rebooted and upgrade went without issue.
 3 points
 -
@Anto65 The RestrictEvent kext and revpatch=sbvmm command have been deleted. This is the case when installing from scratch. Thanks again.
 3 points
 -
3 points
-
---All EFI folders is updated to OpenCore 1.0.1 and all Kexts to last version--- OpenCore MOD - https://www.olarila.com/topic/25111-hackintosh-efi-folders-with-opencore-mod/ OpenCore Official - https://www.olarila.com/topic/5676-hackintosh-efi-folder-with-clover-and-opencore/2 points
-
HP Z840 upgrade from Sonoma 14.4.1 to Sonoma 14.5 without issues.
 2 points
 -
Hi and Welcome, you need to read @fantomas post at the top of this page that directs you to the reason why as a new User you are limited and where you can only initially post.2 points
-
SDL3 version of dosbox-x with sdl2-compat library. This version also has glide support (Voodoo graphics card). Enjoy Minimum deployment target is 14.0. dosbox-x-SDL3.zip2 points
-
I have built dosbox-x for Intel and Apple Silicon. Works on 10.13 and better. Enjoy dosbox-x-2024.03.01-Universal.zip2 points
-
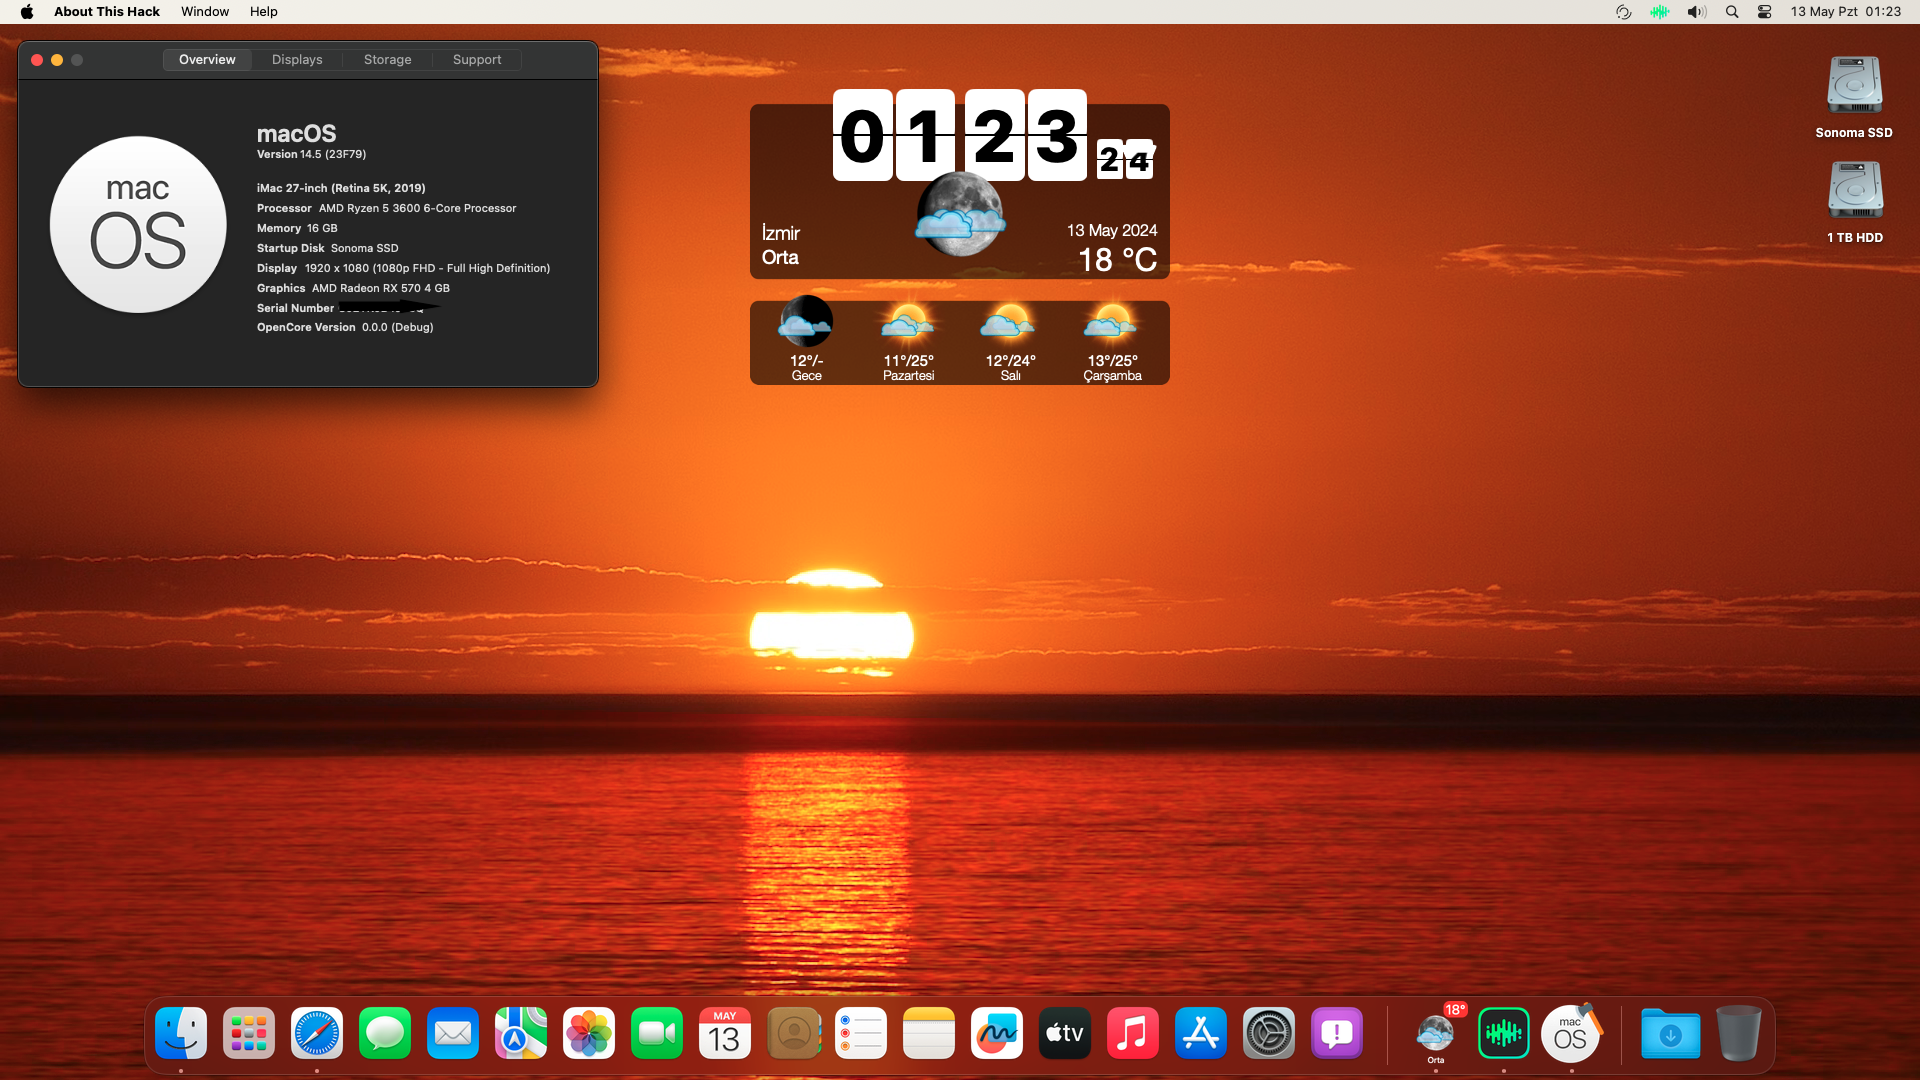
Using the Open Core 1.0.0 EFI attached to Post #1, I upgraded from Sonoma 14.4.1 to 14.5 without issues. About This Hack: Sonoma 14.5 Note that SecureBootModel is already Disabled, so I did not need to change this for the Sonoma upgrade. I'm currently testing this hack with the EFI attached to Post #1 (Macmini8,1 SMBIOS with DeviceProperties for both RX560x and UHD630 for multi-display operation), but I have only a single physical display connected to the RX560x DP port and I have Internal Graphics set as Boot VGA in BIOS. This hack works fine with the single physical display and the multi-display EFI. Note that with the single physical display connected to the RX560x DP port and the multi-display EFI, the "About This Hack" screen shot above reports graphics as Radeon RX 560x. It appears to me that the multi-display EFI (configured for a combination of RX560x and UHD630 graphics ports) works just fine, regardless of the physical graphics configuration. GB6 Metal Score after upgrade to Sonoma 14.5

 2 points
 -
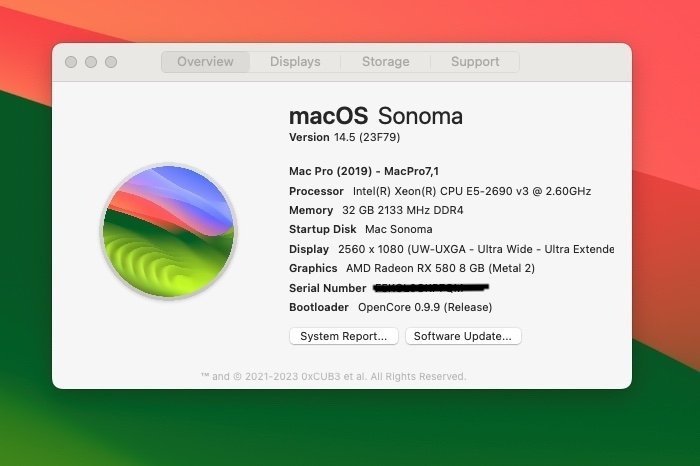
macOS upgrades to Ventura 13.6.7 and Sonoma 14.5 proceeded without issues using the new Open Core 1.0.0 EFI attached to Post #1. Before upgrading Sonoma from 14.4.1 to 14.5, I set OpenCore's SecureBootModel = Disabled. After the Sonoma upgrade, I restored SecureBootModel to j174. About This Hack: Ventura 13.6.7 About This Hack: Sonoma 14.5
 2 points
 -
I implemented gcc-14.1.0 compilation with some Clover sources changed. The sources can be still compiled by gcc-13 and by xcode-15. Don't know about older versions.2 points
-
Upgraded my HackBookPro6,2 to Open Core 1.0.0. LegacyBoot, LogoutHook and Vault all working perfectly. Running Big Sur, Monterey, Ventura and Sonoma. Well done, Devs!2 points
-
Thanks my Genius brother, nice solution !!!
 2 points
 -
Rename Mint.icns -> Ubuntu Ubuntu.icns -> -Ubuntu.icns 😁2 points
-
Ok. Thanks.2 points
-
I can't get an incremental update; 13.65 GB. Please, installer.can you share the pkg?2 points
-
2 points
-
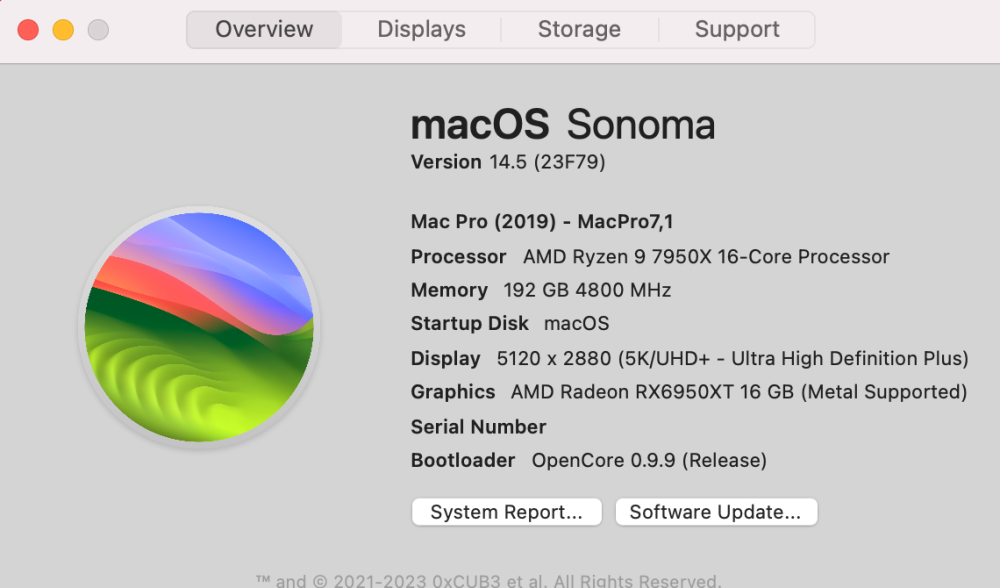
AMD is alive & kicking
 2 points
 -
All set.
 2 points
 -
@BALDY_MAN - Hello old friend, old boy here to the rescue No need for anything complicated, this is an easy fix. On Finder, goto /Library/Logs/DiagnosticReports. Delete all the Files in this folder, reboot, clean Nvram and you're good to go. Cheers!!!2 points
-
This thread extends the EliteDesk 800 G4/G5 Mini thread here which provides a macOS solution using the UHD630 iGPU. This thread provides a macOS solution for the HP EliteDesk 800 G4 / G5 Mini with the AMD Radeon RX560x dGPU. With this solution, all video ports are enabled / accelerated. The EFI for this hack is attached. Instructions for using this EFI are below. My methodology for developing this EFI is here. GB5 Metal scores comparing UHD630 with RX560x are here. GB6 Metal score for RX560x is here Unigine Heaven Benchmark is here The EFI change log is here Known issues, observations and solutions are here The specifications for the PC that I am using for this solution are as follows: HP EliteDesk 800 G4 Mini i5-8500T CPU AMD Radeon RX560x 4GB dGPU 32GB DDR4 (2 x 16GB) 500GB WD Black SN750 M.2 NVMe SSD 150W Power Adapter Instructions for using the attached EFI This thread is an extension of this thread. I will not be rehashing the entire methodology that resulted in this solution, so if you want to know the history and the basics, read this. The attached EFI drives multiple displays connected to both the RX560x DP port and UHD630 iGPU ports. It uses SMBIOS model Macmini8,1. For those wishing to connect only a single display to the RX560x DP port, a configuration similar to this or this may be desirable. Add your own PlatformInfo to the Open Core config.plist iGPU DeviceProperties work with my DP->DVI adapters. You may need to revise iGPU and Audio DeviceProperties for your own hack depending on your graphics ports/adapters In order for iGPU ports to work, Integrated Video must be enabled (Integrated Video checkbox checked) in BIOS. For multiple display configurations, BIOS selection of the Boot VGA display appears to only affect which display shows the BiOS boot sequence and doesn't appear to affect macOS multi-display operation after macOS is booted. The attached EFI keeps the configured Framebuffer definition for the RX560x DP port. I have found that this enables the RX560x to drive my DP->DVI adapter/display without issues. I suspect that it will work with a DP->HDMI adapter as well, but this needs to be tested SecureBootModel is Disabled in config.plist to permit installation of Sonoma 14.4+. Change to your preferred SecureBootModel after installing macOS if desired. This EFI assumes that VT-d is enabled in BIOS. A revised DMAR table is included in the EFI. This EFI assumes that TPM is enabled in BIOS (for those who want to dual-boot with Windows). An ACPI patch removes the TPM device in macOS. There are threads that provide performance tweaking properties to add to the GFX0 properties (via config.plist DeviceProperties or SSDT). So far, I have not experimented with RX560x performance tweaks since my primary goal was providing a solution for a working hack. Notes: DAGPM.kext (derived from a kext original provided by Toleda) may not be necessary. I haven't tested without it. I'm sure there are other things in my EFI that are unnecessary, but it works. EFI-UHD630-RX560x-OC100-01.zip1 point
-
Hello Chris, Have you managed to install BigSur and newer versions with Clover on Legacy Machines? thank you for your reply Have a good day1 point
-
I believe I have an example of a Radeon Graphics card that will not work in Sonoma without WEG. See here. This particular RX560x needs a connector patch and unless I'm mistaken, this requires WEG (unless you create your own kext to perform the framebuffer patching). EDIT: I did test my hack with SMBIOS iMac18,2 and without WhateverGreen.kext (using boot-arg -no_compat_check to boot Sonoma). The result is no display. The only way that I have been able to have working RX560x graphics on my hack is with WhateverGreen.kext to implement a connector patch. EDIT2: I learned that iMac19,2 offers an option with RX560x. I tested SMBIOS iMac19,2 on my hack without WEG, but still no display. Even with SMBIOS iMac19,2, I must use WEG to modify the Radeon connector definition.1 point
-
added cd clock similiar patch test also with whatevergreen patch (not the same) i think this code only works for icl family displays why? cause of this code void __thiscall AppleIntelFramebufferController::setCDClockFrequency (AppleIntelFramebufferController *this,ulonglong param_1) { byte bVar1; uint uVar2; long lVar3; int iVar4; _DAT_0010b828 = _DAT_0010b828 + 1; hwWriteMailbox(this,7,3,false); if ((long)param_1 < 0x42603000) { if (param_1 == 0x249f0000) { _DAT_0010b838 = _DAT_0010b838 + 1; } else { if (param_1 != 624000000) { if (param_1 != 0x41cdb400) { LAB_00083ef8: _DAT_0010b868 = _DAT_0010b868 + 1; _kprintf("[IGFB][ERROR][%-10s] Invalid CD clock frequency %llu\n","DISPLAY",param_1); goto LAB_00083f17; } _DAT_0010b850 = _DAT_0010b850 + 1; goto LAB_00083ee8; } _DAT_0010b840 = _DAT_0010b840 + 1; } lVar3 = 0; } else { if (param_1 != 0x42603000) { if (param_1 == 0x4d3f6400) { _DAT_0010b860 = _DAT_0010b860 + 1; } else { if (param_1 != 0x4dd1e000) goto LAB_00083ef8; _DAT_0010b858 = _DAT_0010b858 + 1; } LAB_00083f17: lVar3 = 2; goto LAB_00083f1c; } _DAT_0010b848 = _DAT_0010b848 + 1; LAB_00083ee8: lVar3 = 1; } LAB_00083f1c: _DAT_0010b830 = _DAT_0010b830 + 1; bVar1 = (&fPllRatioCdClkPair) [lVar3 * 0xc + (ulong)*(uint *)&(this->m_AppleIntelFramebufferController).field_0xe90 * 0x24]; WriteRegister32(this,0x46070,(uint)bVar1); WriteRegister32(this,0x46070,bVar1 | 0x80000000); iVar4 = 200; do { _DAT_0010b870 = _DAT_0010b870 + 1; uVar2 = ReadRegister32(this,0x46070); if ((uVar2 >> 0x1e & 1) != 0) { _DAT_0010b878 = _DAT_0010b878 + 1; _DAT_0010b890 = _DAT_0010b890 + 1; __os_log_internal(0,PTR___os_log_default_000eb0b0,0, "[IGFB][LOG ][%-10s] CD Clock PLL is locked\n","DISPLAY"); uVar2 = ReadRegister32(this,0x46000); WriteRegister32(this,0x46000, (*(uint *)(&UNK_000b0904 + lVar3 * 0xc + (ulong)*(uint *)&(this->m_AppleIntelFramebufferController). field_0xe90 * 0x24) & 0x7ff) + (uVar2 & 0xff07f800) + 0x380000); *(ulonglong *)&(this->m_AppleIntelFramebufferController).field_0xe80 = param_1; uVar2 = calculateVoltageLevel(); hwWriteMailbox(this,7,uVar2,false); return; } _IODelay(1); iVar4 = iVar4 + -1; } while (iVar4 != 0); _DAT_0010b880 = _DAT_0010b880 + 1; _DAT_0010b888 = _DAT_0010b888 + 1; /* WARNING: Subroutine does not return */ _panic("\"[IGFB][PANIC][%-9s] \" \"CD clock PLL lock failed\\n\" @%s:%d","DISPLAY", "AppleIntelClocks.cpp",0x55); } this means that for unsupported displays more patches will be needed btw i also got a hang with no panic it was caused by a bad function definition inside nblue that caused lilu (or nblue) to hang it was here {"__ZN31AppleIntelFramebufferController14ReadRegister32Em",orapReadRegister32, this->owrapReadRegister32}, should be {"__ZN31AppleIntelFramebufferController14ReadRegister32Em",wrapReadRegister32, this->owrapReadRegister32}, i think i have more of this bugs in nblue to catch there's a patch for ppl who have 4k display laptops if you have one of those don't tell me1 point
-
I have attached the first fully working EFI to Post #1. Enjoy! The EFI is based on Open Core 1.0.0. Instructions are included in Post #1 Methodology to develop this solution is here1 point
-
Everything works without problems1 point
-
1 point
-
1 point
-
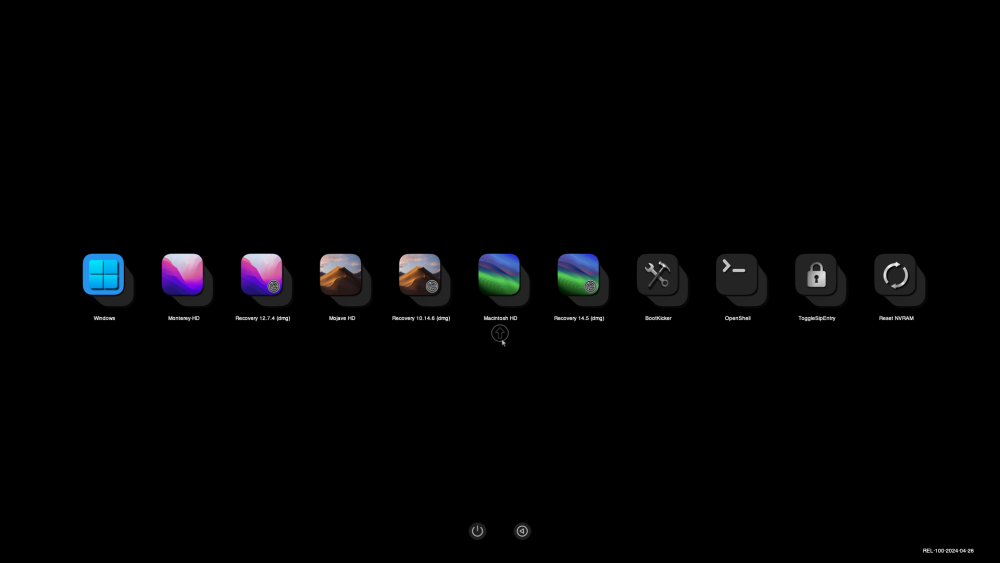
Theme Flavours-4D Ready Enjoy Flavours-4D.zip config.plist Setup ⬇︎ Misc -> Boot -> PickerVariant: chris1111\Flavours-4D Misc -> Boot -> Picker Attributes: 145 Misc -> Boot -> Picker Mode->: External Misc->Boot->Timeout->: 5 Misc->Boot->ShowPicker: true Exemple of Linux


 1 point
 -
@MorenoAv I would like you to understand that it is not the official OC that breaks Windows but the DSDT ( if this were the case we should all use OC Mod ) If you have ways to build the official OC and disable the DSDT as mentioned above you will see that Windows boot without problems ( maybe something like this is missing !? "If (_OSI("Darwin")) ... " but my skills are not enough for this ) As for the Wi-Fi, I honestly didn't quite understand where the problem was...probably as identified by deeveedee's long eye on an old ioskywalk. kext... However, it is important that you solved it1 point
-
@eSaF and Other Done Flavours-ShadowSquare 😃 Verry beautiful theme, Iam Happy of it 175 Icons, 67 Linux Distro Flavours-ShadowSquare.zip
 1 point
 -
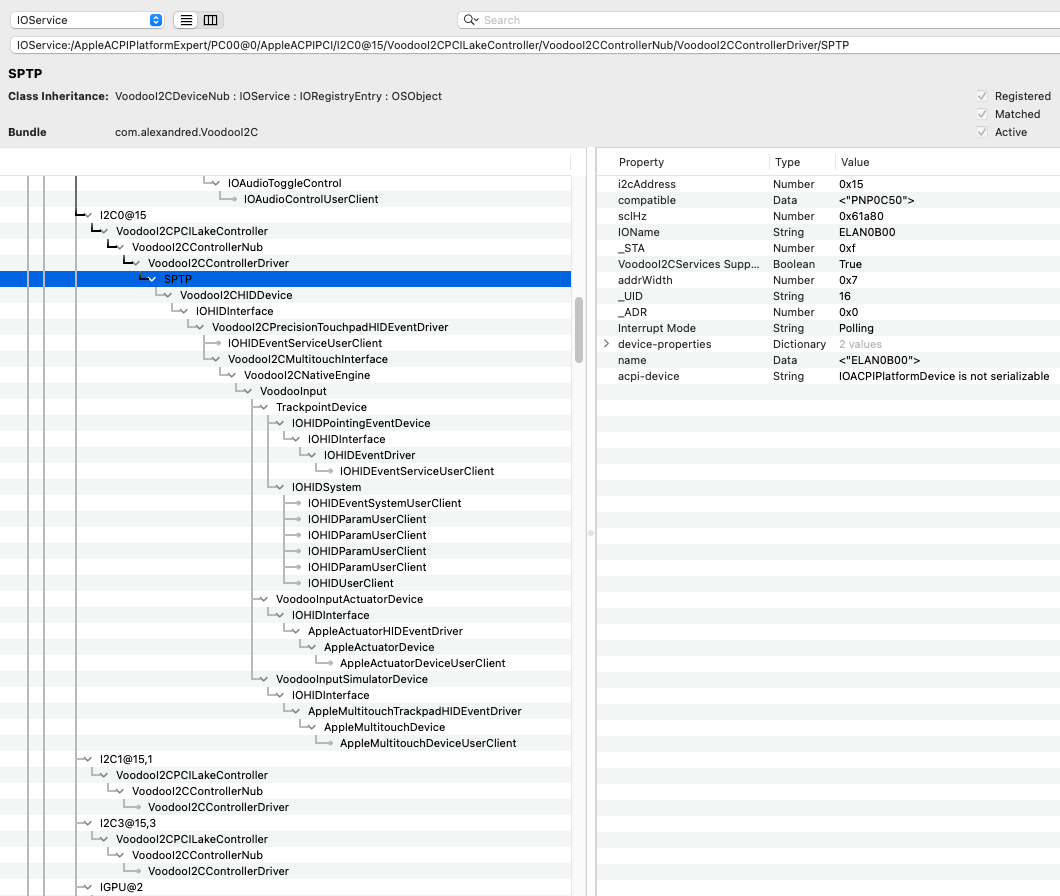
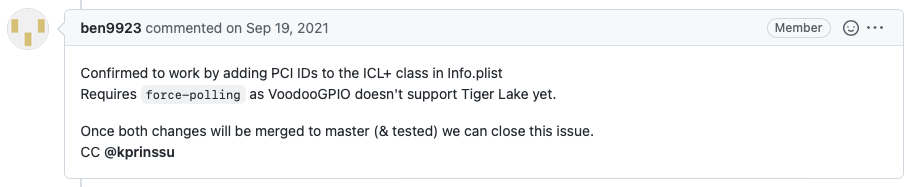
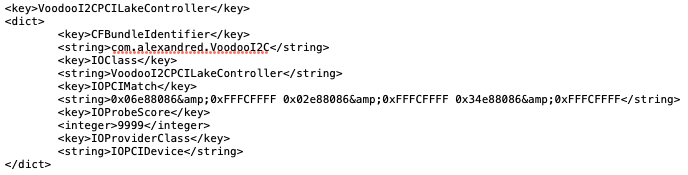
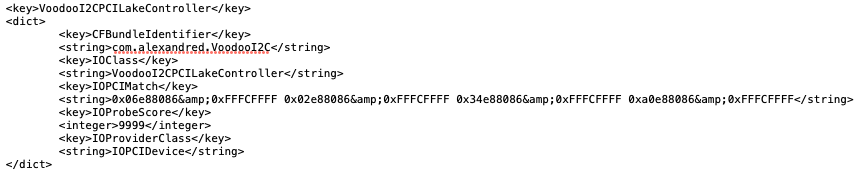
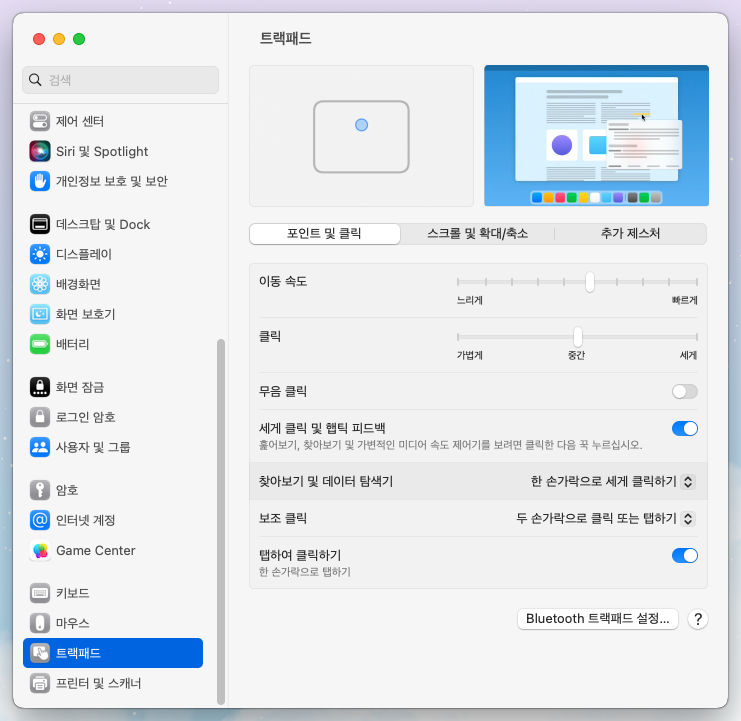
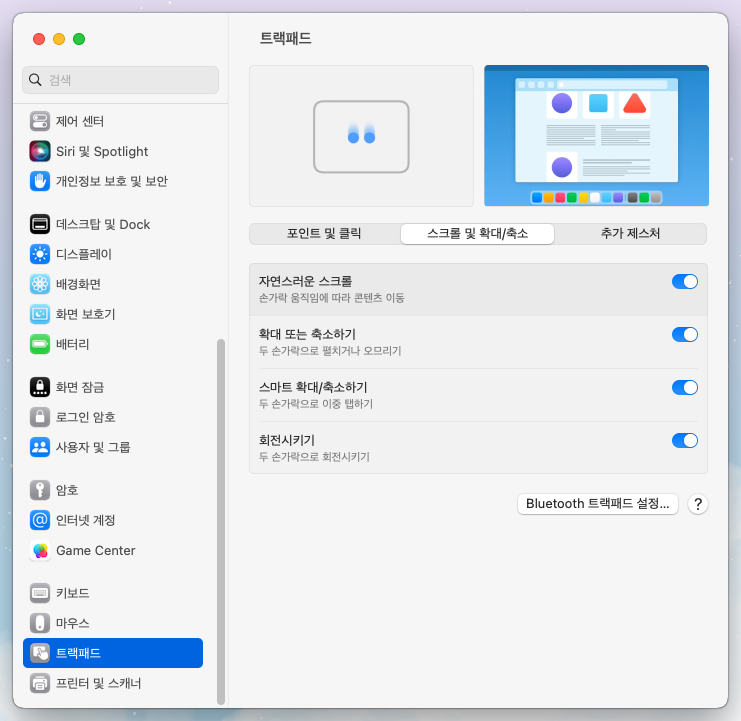
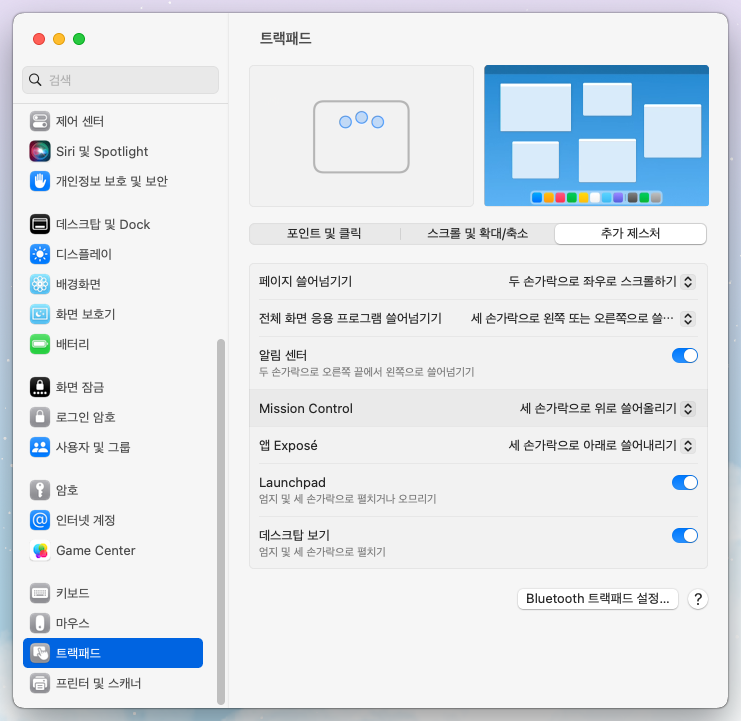
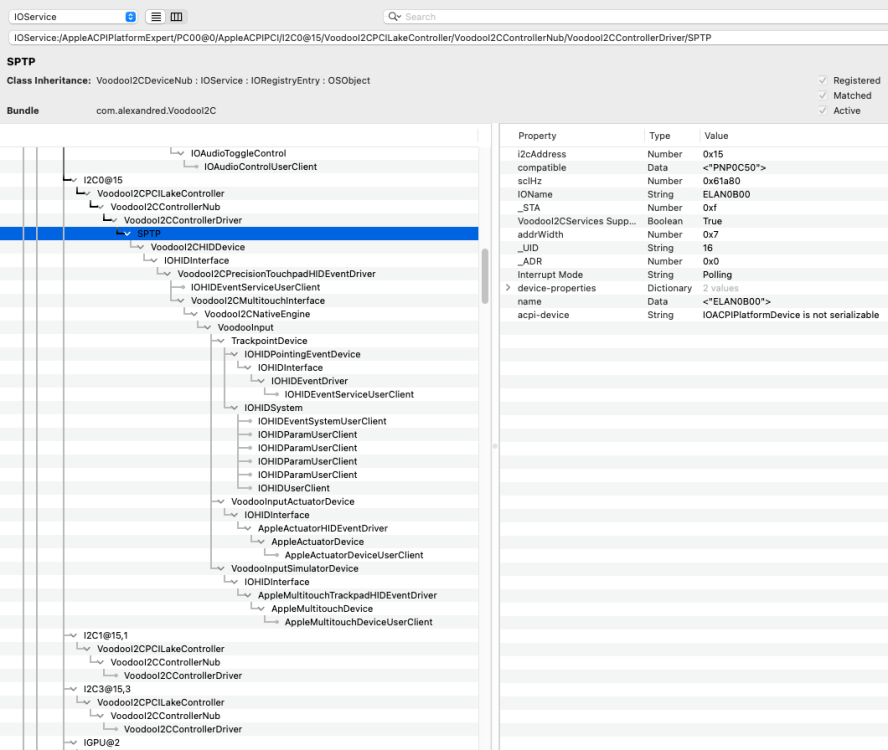
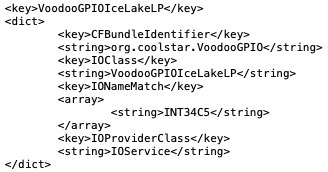
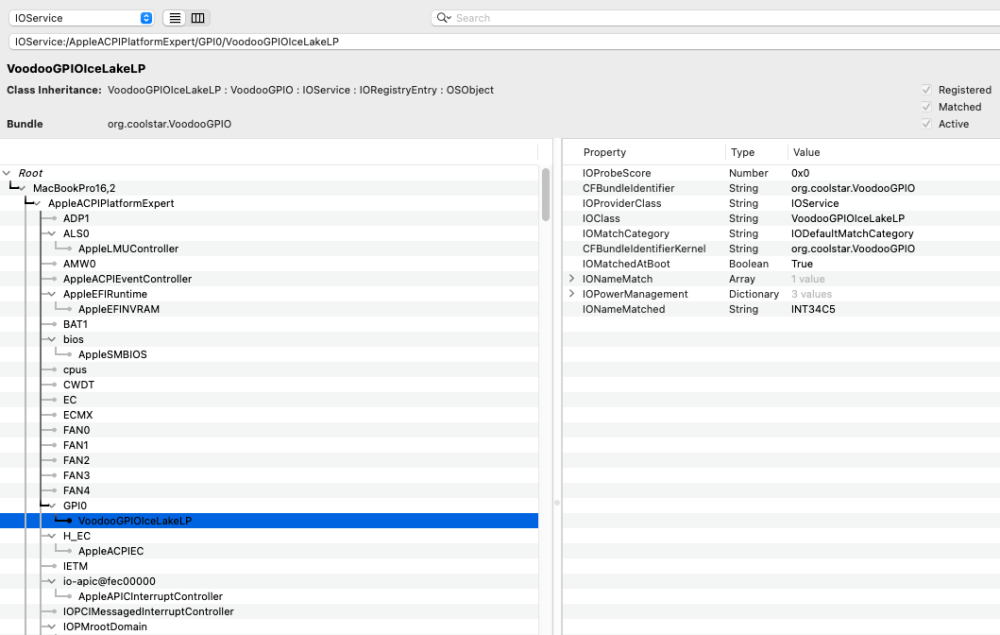
Hello. 🙂 Currently, VoodooI2C officially supports up to Intel 10th Gen Ice Lake's I2C Controllers. But, even on an Intel 11th / 12th Gen Tiger Lake / Alder Lake laptop, if you add the PCI IDs corresponding to the I2C Controllers of the Intel 11th / 12th Gen Tiger Lake / Alder Lake system to the IOPCIMatch property of VoodooI2CPCILakeController in VoodooI2C's Info.plist, VoodooI2C is loaded to activate the I2C touchpad in polling mode, and gestures can also be used normally. ✨ https://github.com/VoodooI2C/VoodooI2C/issues/478 Intel 12th Gen Alder Lake has a case of operating in the same way as above in VoodooI2C's Gitter. https://gitter.im/alexandred/VoodooI2C?at=63933e684a6ed513834c45c2 Patching VoodooI2C's Info.plist 1. Open Info.plist of VoodooI2C with an app such as a text editor and find the VoodooI2CPCILakeController part at the bottom. 2. Add the PCI IDs of the I2C Controller to the IOPCIMatch property. For Intel 11th Gen Tiger Lake : Add 0xa0e88086&0xFFFCFFFF For Intel 12th Gen Alder Lake : Add 0x51e88086&0xFFFCFFFF 3. Add -vi2c-force-polling boot arg to boot-args in NVRAM - Add of Config.plist. Alternatively, you can also add force-polling = 01000000 (Data) property to I2C devices such as I2C0 / I2C1 / I2C2 / I2C3 / ... to which the I2C touchpad is connected in Device Properties of Config.plist. Enabling I2C Touchpad and Setting Gestures If you reboot after completing all the above tasks, the I2C touchpad will be activated and all gestures will work normally. In IOReg, I can see that Kext related to VoodooI2C is loaded in SPTP Device, an I2C touchpad device of Samsung notebook. However, Intel 11th & 12th Gen Tiger Lake & Alder Lake systems are still only available in polling mode. This is because VoodooI2C itself is loaded, but VoodooGPIO is not supported. I tried to modify IONameMatch of VoodooGPIOIceLakeLP in VoodooGPIO's Info.plist to INT34C5, which is the value corresponding to the GPIO Controller (GPI0 Device) of the Intel 11th Gen Tiger Lake system. In the IOReg, the VoodooGPIOIceLakeLP is loaded in the GPI0 Device, but the touchpad does not work. I guess the Interrupt (GPIO) mode is difficult to use because the calculation of the GPIO pin values is different from the Ice Lake system. P.S. Support for AMD and TigerLake-LP seems to be added in VoodooI2C Ver 2.9 https://github.com/VoodooI2C/VoodooI2C/pull/532 https://github.com/VoodooI2C/VoodooI2C/pull/530 https://github.com/VoodooI2C/VoodooGPIO/pull/13 https://github.com/VoodooI2C/VoodooGPIO/pull/14

 1 point