How to Stop Duplicate Photos on iPhone (iOS 18)
Have you finally had enough of seeing the same photo twice—or even three times—in your photo library? Not only do duplicate photos make your library look messy, but they also eat up storage space. We’ve put together six proven methods (yes, six!) to help you stop it once and for all. But before we get into that, let’s first talk about why this happens.
What Causes Photo Duplication on iPhone
So, duplicate photos—why does that even happen? Well, there are several common reasons. Let’s take a look at them.
- Syncing issues with iCloud or other cloud services, where photos are uploaded and downloaded multiple times.
- Importing photos from other devices, which can sometimes create duplicates if the process is repeated or interrupted.
- App behaviors, especially photo editing or sharing apps that save copies of photos after editing or sharing.
- Camera settings like Burst mode and Auto HDR (on older iPhones) can also cause duplicates. Burst mode snaps a bunch of photos in quick succession, so if you don’t go through and delete the extras, you end up with several nearly identical shots. Auto HDR, on the other hand, takes multiple photos at different exposure levels and can save both the regular one and the HDR version.
6 Ways to Prevent Duplicate Photos on iPhone
Now that we’ve covered the common causes of photo duplication on iPhones, let’s look at the methods you can use to fix it. Each method will target a different cause; let’s start with Live Photos.
Method 1: Avoid Duplicating Live Photos as Stills Without Deleting the Original
When you try to convert Live Photos into regular images in the Photos app using the Duplicate as Still Photo command, your iPhone saves the still photo as a new file, but the original Live Photo remains. This means you now have unnecessary duplicates in your library.
To avoid this, you can:
- Manually delete the original Live Photo after converting it to a still image.
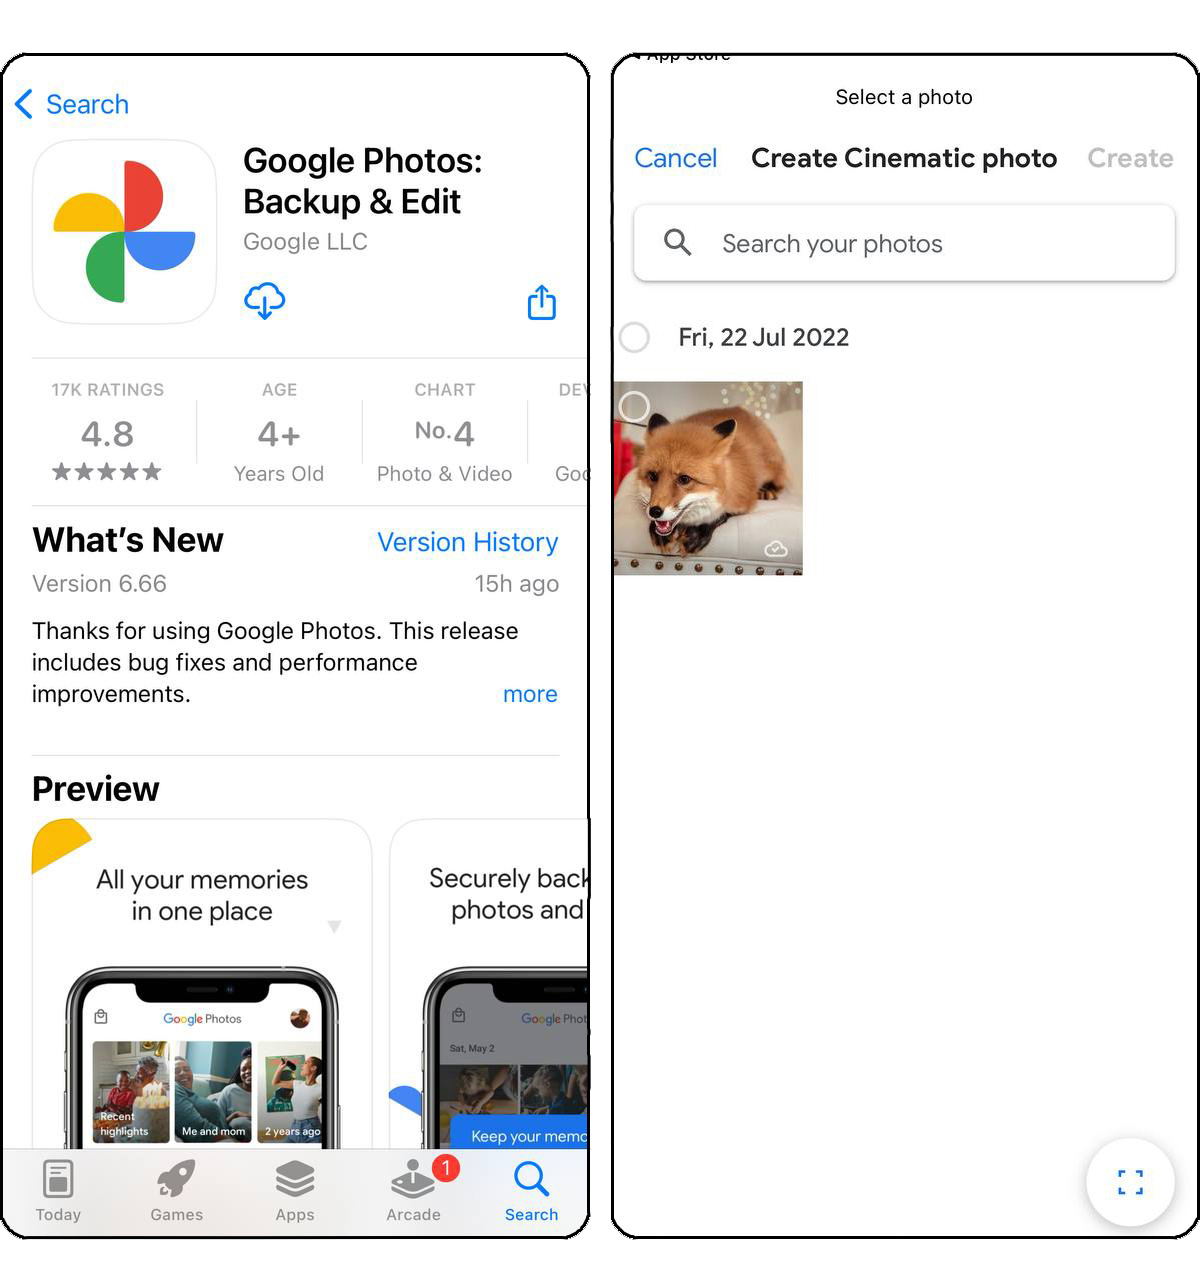
- Use alternative methods to convert Live Photos without duplication, such as third-party apps—like the one we cover in the How to Remove Existing Duplicates section.
Also, if you were converting your Live Photos because you don’t need any video clips attached to your pictures, you can disable the Live Photos feature altogether:
- Launch the Camera app on your iPhone.
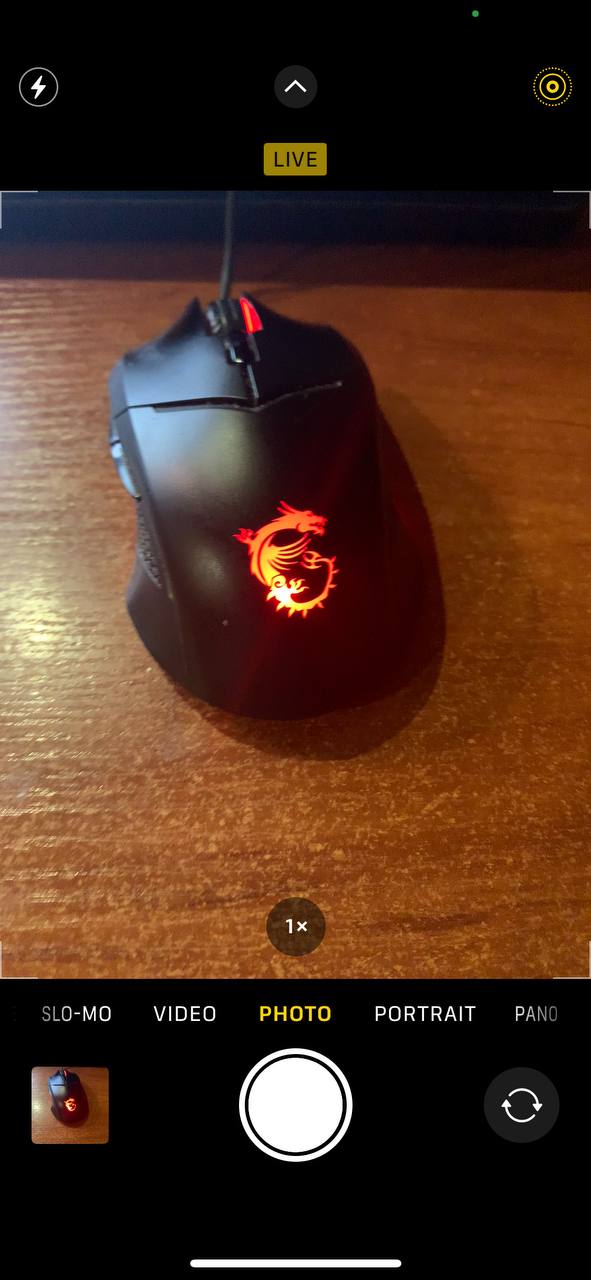
- Find the Live Photos icon, which resembles concentric circles, at the top of the screen. Tap this icon to toggle Live Photos off, or select ‘Auto’ to allow your iPhone to decide when to use Live Photos based on movement detection.
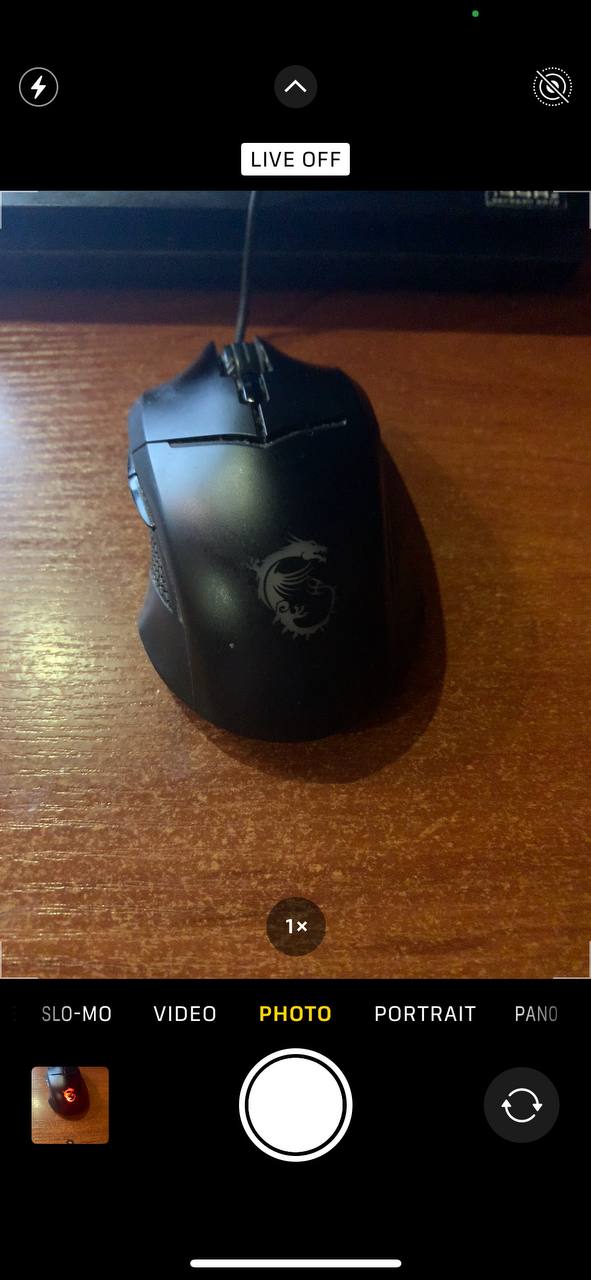
- Disabling Live Photos or setting them to ‘Auto’ can significantly reduce the number of similar photos stored in your library, conserving space and keeping your album organized.
Method 2: Avoid Burst Mode Spam
Although pictures taken in Burst mode won’t show as separate photos in your library (they are grouped together and marked with a stack icon), all the images in the burst still take up storage—and they can definitely be considered duplicates. Luckily, you can quickly tweak your settings to avoid accidental burst captures.
Here’s how:
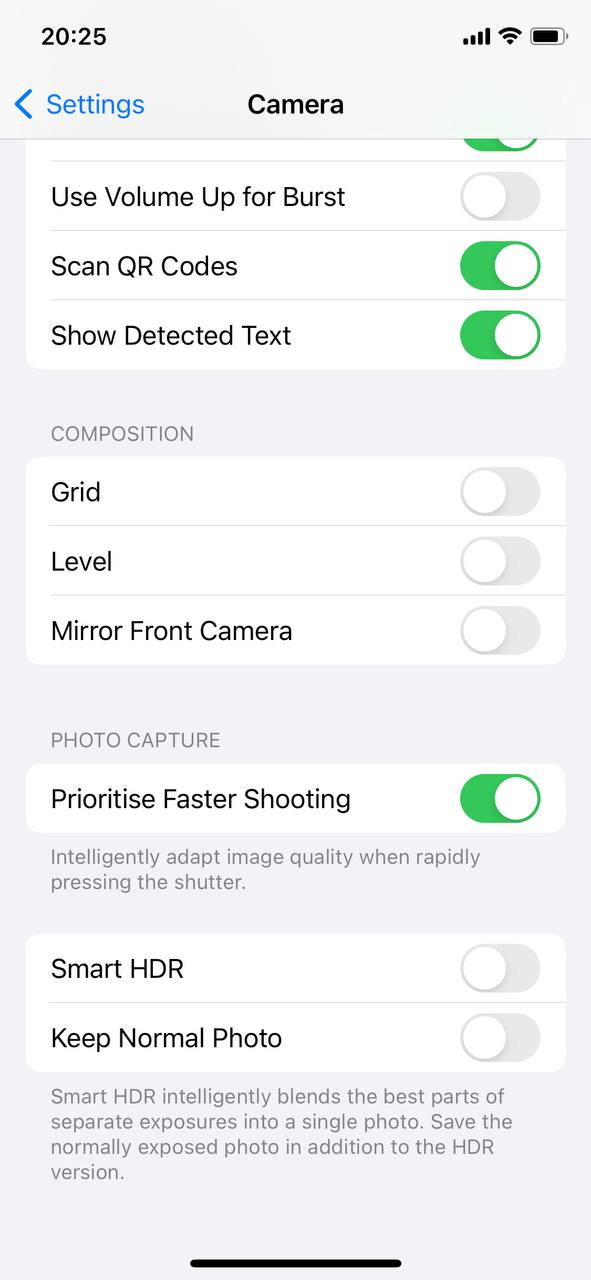
- Open the Settings app on your iPhone.
- Scroll down and tap Camera.
- Under the Use Volume Up for Burst option, toggle the switch off. This prevents Burst mode from activating when you press the volume buttons.
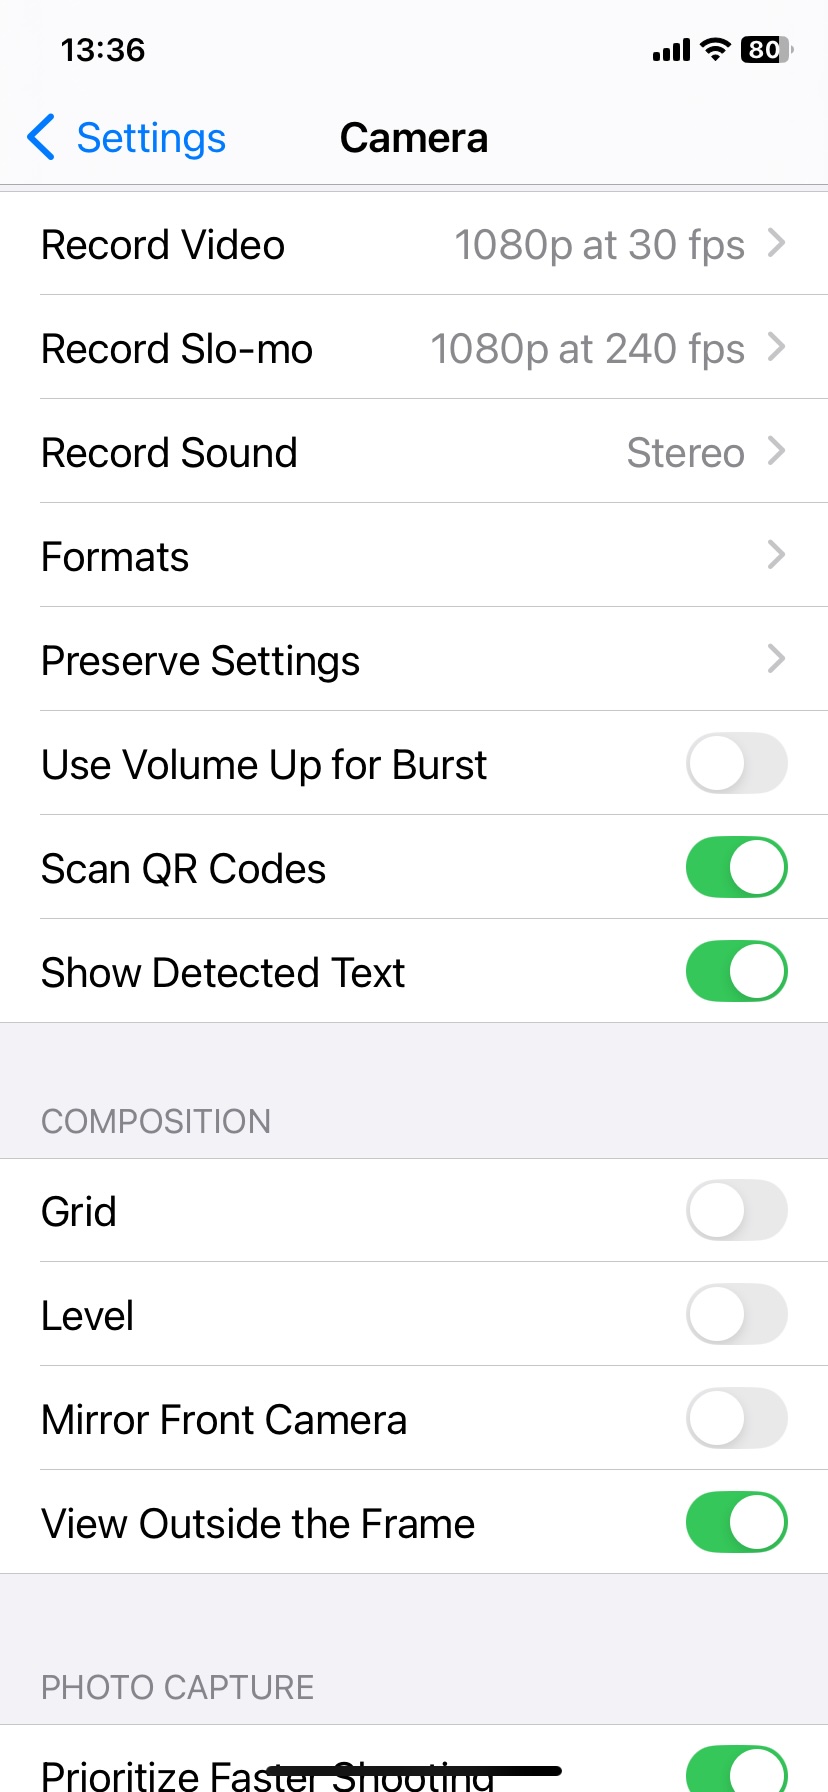
Now, Burst mode won’t activate unintentionally. If you still want to use Burst mode occasionally, you can do so by simply swiping the shutter button to the left in the Camera app.
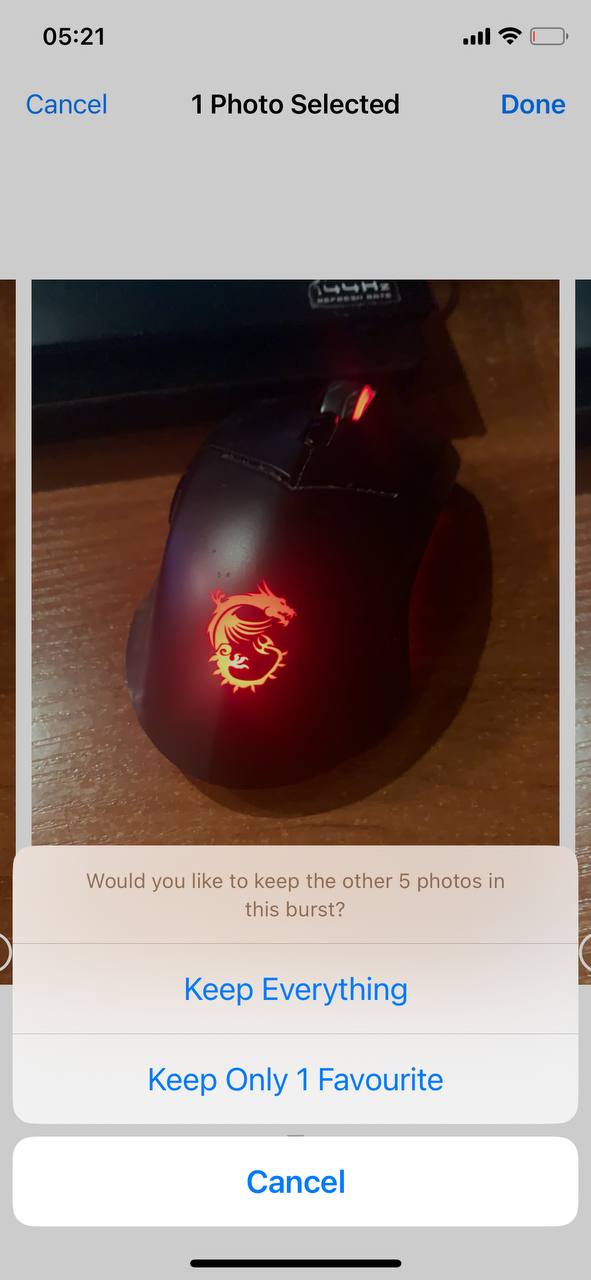
- Open the Photos app and tap on the burst photo (it’ll have a stack icon).
- Tap Burst(n) at the top of the screen.
- Scroll through and choose your favorite photo from the burst.
- Tap Done, then select Keep Only 1 Favorite.
Method 3: Choose One Cloud Service
Using a single cloud service for photo storage can prevent sync conflicts and duplications. Whether it’s iCloud or Google Photos, consistency is key.
Most duplicate photos from multiple cloud sync services happen when you restore a deleted photo from the trash. Each cloud service usually keeps its own separate copy of deleted photos in the trash. If you restore the same photo from multiple services, you might end up with several duplicates in your library.
To avoid this stick to a single service for photo storage:
- Decide on a primary cloud service, such as iCloud or Google Photos, based on your preferences and ecosystem.
- Make sure all your devices upload to this chosen service to maintain consistency and avoid duplicate uploads from different services.
Method 4: Turn Off Auto HDR
Auto HDR combines several exposures to create the best shot, but it can also save duplicates. Disable Auto HDR in the Camera settings if you find it unnecessary.
On newer iPhones, Smart HDR is always on, and Apple has removed the option to save both versions—so this setting isn’t available at all. If you’re using a newer iPhone, you don’t need to worry about this.
To turn it off:
- Go to Settings and select Camera.

- Toggle off the Smart HDR option. This will prevent your iPhone from saving both the HDR and non-HDR versions of a photo, reducing the number of similar images in your library.
Method 5: Organize Downloaded Photos
When you download images from the web, social media, or messages, it’s easy to accidentally tap “Save” multiple times, which results in duplicate downloads.
To avoid this, we recommend to create designated albums for downloaded photos to help you keep track of them:
- Open the Photos app and go to the “Albums” at the bottom.
- Select the “Create” in the top right corner to create a new album and give it a relevant name, such as “Downloads.”
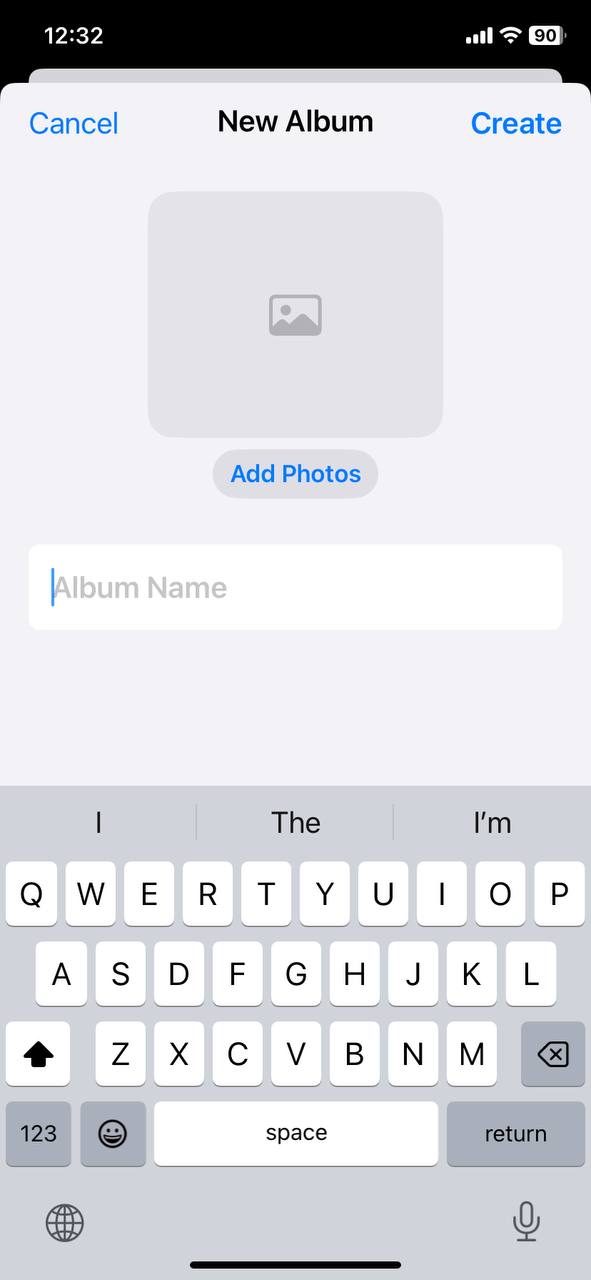
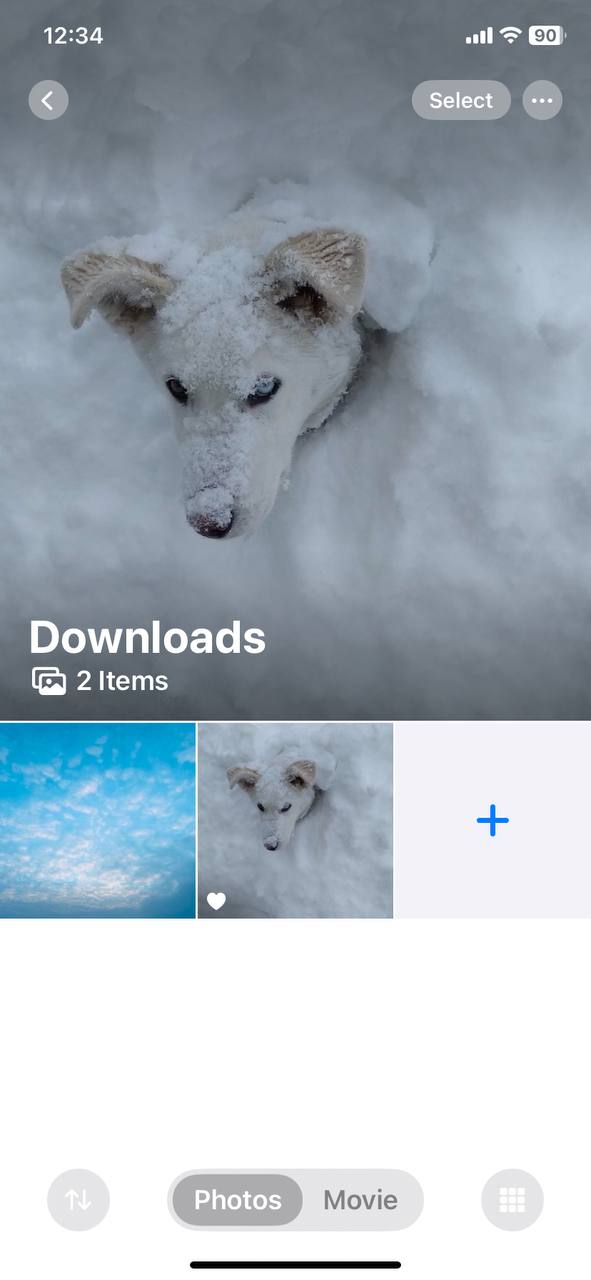
- Move your downloaded photos to this album by selecting them from your library and adding them to the album. This helps segregate downloaded content from your camera roll and other albums, making it easier to review and manage.
Method 6: Manually Backup Photos
Manual photo backups can help prevent duplicates from appearing by establishing a singular, well-organized repository for your images. This method involves selectively transferring photos to a computer or cloud service, thereby enabling a thorough review and organization process.
Here is what a general flow looks like:
- Determine whether to use manual transfer or a third-party application for your backup needs.
- Depending on the chosen method link your iPhone to your computer using a USB cable, or via a stable wifi connection.
- Follow the instructions specific to your chosen backup method to commence the photo transfer from your iPhone to the selected backup destination.

- During the backup process, take the opportunity to organize your photos and eliminate duplicates, so only unique photos are preserved in the backup.
Implement these simple activities into your routine, and you can reduce the chance of duplicate photos appearing on your iPhone, or even prevent duplicate photos on your iPhone completely, which in turn will provide you with a more organized and pleasing-to-the-eye photo library.
How To Remove Existing Duplicates
The great starting point for duplicate photo removal is the built-in Duplicates album in the Photos app. This album automatically detects exact duplicates and lets you easily merge/delete them. Here’s how to use it:
- Open the Photos app and scroll down until you find the Duplicates album.

- Within the album, you’ll see your duplicate photos grouped together. For each set of duplicates, you can choose to either merge them into a single photo or delete the duplicates you don’t need.

- Simply tap Merge to keep the highest-quality photo and delete the rest.
Pretty simple, right? Simple—yes, but also very basic. This built-in approach has some clear downsides:
- It only finds photos that are completely identical. All those nearly identical selfies or similar shots won’t ever show up here.
- Even exact duplicates sometimes won’t appear immediately, as many users discover. The Photos app needs time to scan, index your library, and flag those duplicates, so it’s not always reliable for quick cleanup.
- This isn’t an automatic process. You have to scroll through each set and manually tap, tap, tap to merge duplicates, which makes it very tedious.
That’s why we strongly recommend using an app instead. Our team has tested dozens of duplicate photo finders from the App Store, and one of the standout options that caught our attention was Clever Cleaner: Free iPhone Cleaner app. This is a totally free app that doesn’t have any of the built-in Duplicates album’s limitations and easily tackles similar, near-identical images as well as exact duplicates. Plus, it’s quick and automatic —you won’t need to wait for duplicates to appear or endlessly scroll.

When we tested Clever Cleaner for this article, it cleared almost 5 gigabytes of clutter, and not just duplicate/similar photos! We’ll get into those extra features a bit later, but first, let’s walk through how you can clean duplicate and similar photos from your iPhone:
- Type “Clever Cleaner” into the search bar in the App Store, or go straight to its page using this link.
- Go to the Similars tab, where you can either manually go through all the found similar photos, or the app will even give you a hint on which photos to save with the “Best Shot” label.

- Tap on Smart Cleanup – the app will automatically scan your library for duplicates, and it will also use AI algorithms to identify similar but not identical photos. In our test, Clever Cleaner identified 43 near-identical photos, while the built-in Duplicates album only flagged 13! If you have a large photo library, you’ll probably find hundreds more images with this app—ones that never even show up in the Duplicates album.
- If you prefer to decide for each batch, tap on a group of similar photos, then choose what to delete.

- The app pre-selects duplicates for you, with its AI labeling the best shot as “Best Shot” to keep.
- Once you’ve made your selection, tap Move to Trash, and the app will instantly show the next group of similar photos for review. The process moves smoothly.

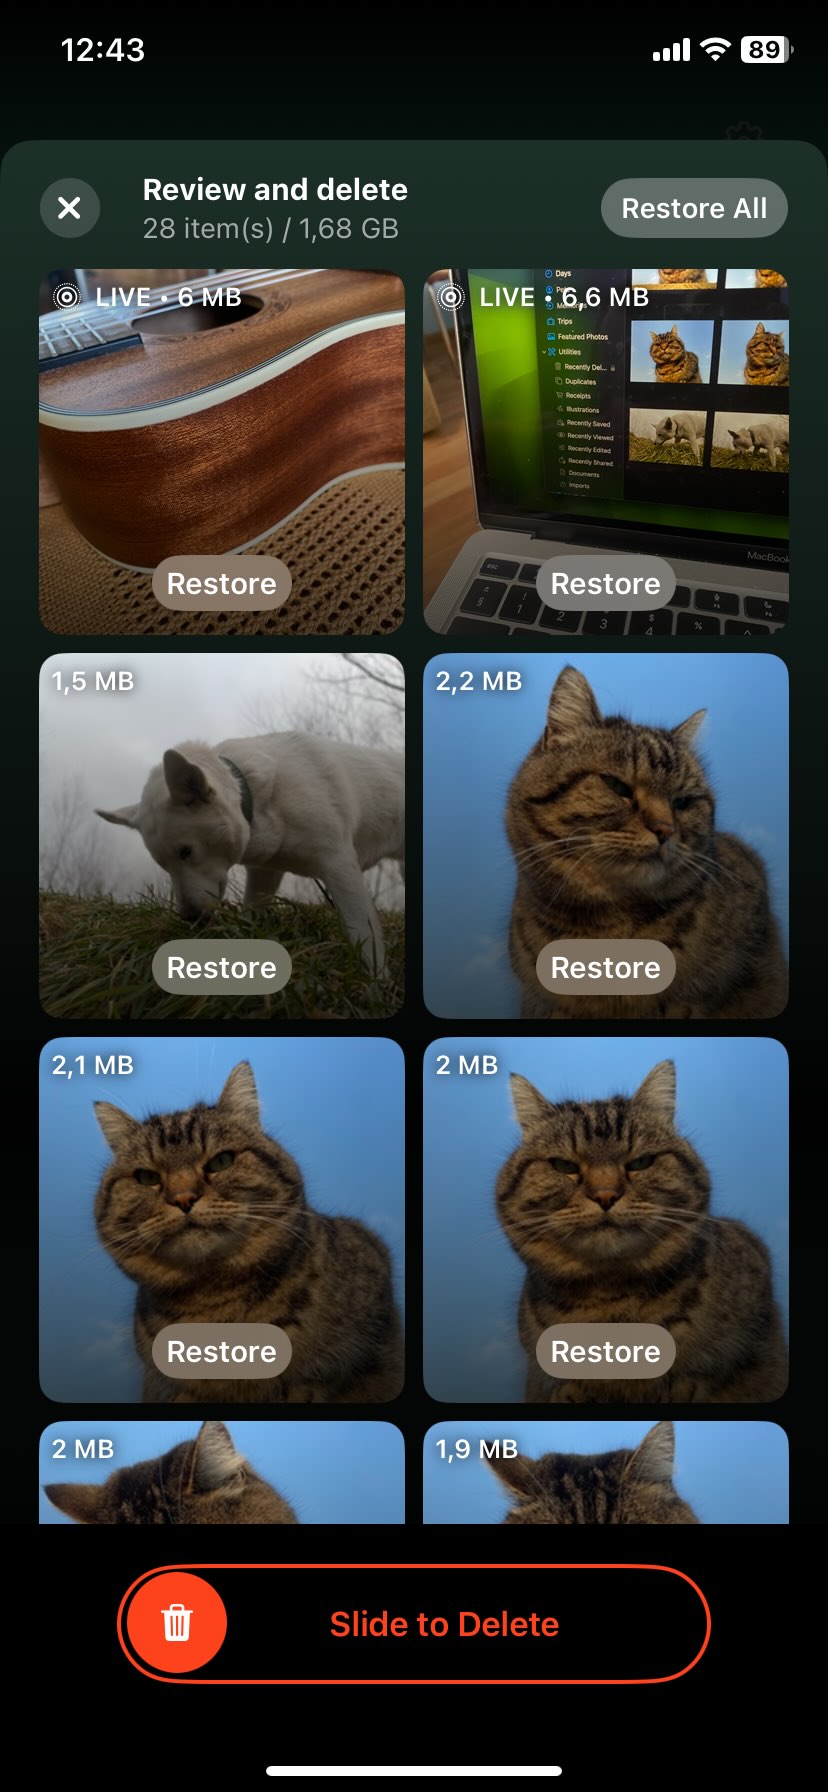
- If you go for Smart Cleanup, the app will show you all the duplicates and similar images it suggests for deletion.
- Use Slide to Delete to remove them all.
- The app will ask for permission to delete the photos from iCloud Photos across all your synced devices.

- If you change your mind, you can restore deleted photos from the Recently Deleted folder within the next 30 days.
If you’re curious about this app, don’t miss our full Clever Cleaner review. As we mentioned before, removing duplicate photos isn’t the only thing Clever Cleaner can do. It’s got a few other convenient features that can clean your storage:
- Identify and Remove Screenshots: The app can spot all the screenshots you’ve taken and show you exactly how much space they’re using—both in MB and as a percentage of your total storage. With one tap, you can toss them all in the trash, or if you’re picky, review and delete them individually.
- Optimize Live Photos: Clever Cleaner can “compress” your Live Photos, so they take up way less space. Essentially, it turns them into regular still photos without the animation—without losing any quality. As you select the Live Photos you want to optimize, the app will show you how much space you’re freeing up in real-time.
- Find “Heavies” Feature: The app makes it super easy to spot the biggest files in your library—whether they’re photos or, more often, videos—that are taking up the most space. It sorts all your media from largest to smallest so you can quickly see what’s hogging your storage. From there, you can decide what to keep and what to delete.
We also have a list of the best duplicate removal apps for your iPhone, so if you want to check out other options, you can try apps like Cleanup: Phone Storage Cleaner or CleanMy®Phone: Storage Cleaner. Both are solid apps that can clean up your photo library. But, keep in mind that neither of these apps is completely free when it comes to cost or ads.
Final Tips
Bottom line—stopping duplicate photos from piling up on your iPhone isn’t hard if you follow the six methods in our guide. But from personal experience, we can say there’s no 100% guarantee you won’t see any duplicates from now on. Sooner or later, an improper import, a mis-tap in a messaging app, or something just as small will lead to duplicates again. That’s why it’s always a good idea to have a tool handy and check your library from time to time—not just for duplicates. While duplicates can be annoying, all kinds of other clutter can also pile up, eating away at your iPhone’s storage. Left unchecked, this can eventually lead to error messages and even performance issues. Keeping things clean isn’t just about free space—it helps your iPhone run smoothly, too.
To help with that, we’ve put together a list of some of the best free iPhone cleaner apps to manage your device’s space and keep things running smoothly. Plus, with AI being all the rage these days, we’ve also got a list of specifically AI-powered cleaner apps that use smart technology to optimize your device and clean up unnecessary files.
FAQ
Photo editing apps can also contribute to duplicates; some apps might save a new copy of an image every time you edit it, rather than overwriting the original.
Another reason is that iOS runs duplicate detection in the background, so it may take time for new duplicates to appear in the album. If you recently added or transferred photos, the system might not have processed them yet.
For a more thorough cleanup, consider using a third-party app like Clever Cleaner, which can detect not just duplicates but also similar photos that the built-in tool might miss.