How to Delete Imported Photos From iPhone
The popularity of using iPhones for capturing high-quality, artistic photos – often referred to as “iPhoneography” – has made them essential tools for both amateurs and professional photographers. As you transfer artistic shots on a Mac for edits, the next logical step is to clear up space on your iPhone. In this article we will show you simple methods to delete imported photos on iPhone, helping you handle photo deletion manually or automatically, depending on your preference.
How to Delete Already Imported Photos From iPhone
After backing up and transferring your favorite photos to a Mac, freeing up space on your iPhone is a practical next step. Here’s how you can manually delete those imported photos.
Method 1: Manually Delete Photos on Your iPhone
Deleting photos manually gives you control over which images to remove. This method lets you review each photo before making a decision.
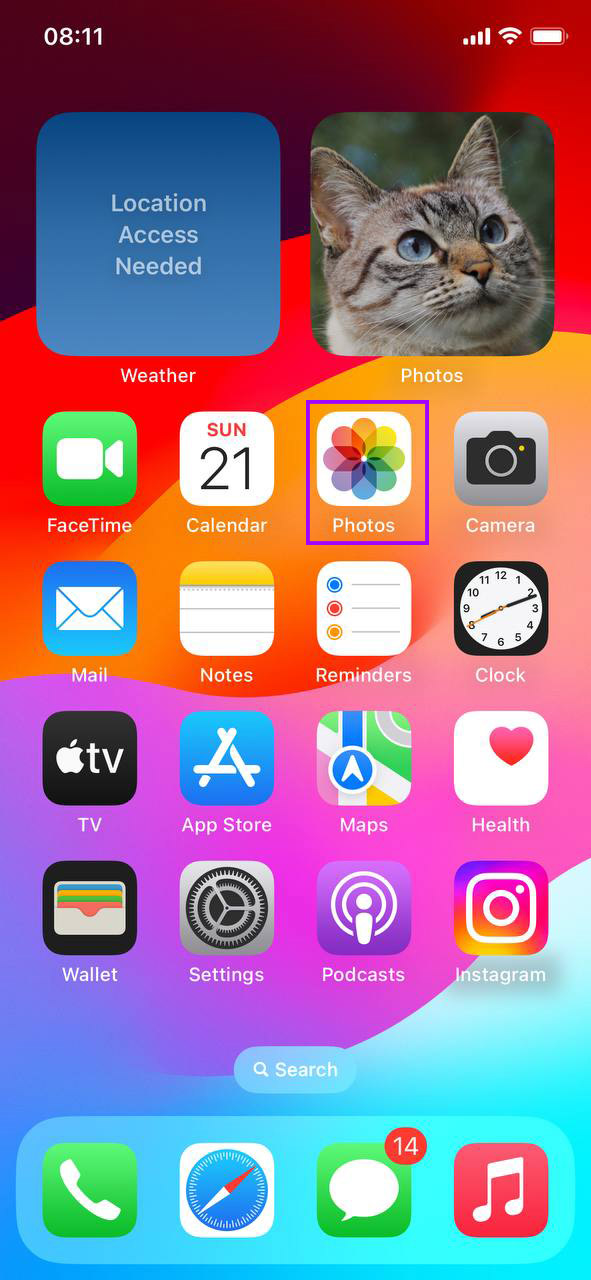
- Open the Photos app on your iPhone. This is where all your photos are stored, making it easy to browse and select them for deletion.
- Tap ‘Select’ at the top right of your screen. This action shifts the app into a selection mode, allowing you to choose multiple photos without opening each one.

- Pick the photos you want to ditch. You can tap on individual photos or drag your finger across to select many at once. This step determines what you’ll be deleting.

- Hit the trash can icon, then confirm you want to delete them. This finalizes the deletion process. Photos move to the Recently Deleted album, where they stay for 30 days before permanent deletion—providing a safety net in case of accidental deletions.

By following these steps, you delete imported photos on iPhone. This method guarantees that you free up space while retaining control over photo deletion. Once you’re done with this method, your iPhone should feel a bit lighter and ready for more memories!
Method 2: Use the Photos App on Mac to Automatically Delete iPhone Photos After Import
Clearing space on your iPhone after transferring photos to your Mac can be done manually or automatically. Let’s look at how you can set up your Mac to handle this automatically. This method simplifies photo management by automating the deletion process. It’s especially useful if you transfer photos regularly and prefer not to manually delete them each time.
- Connect your iPhone to your Mac and open the Photos app.
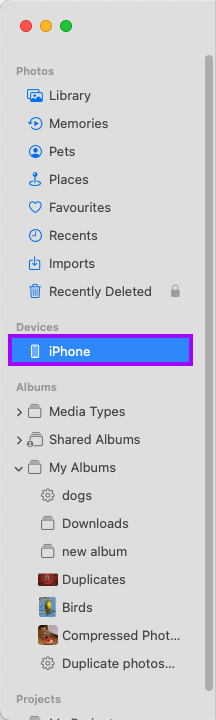
- Select your iPhone under ‘Devices’ in the sidebar. This displays all the photos available for import from your iPhone to your Mac.
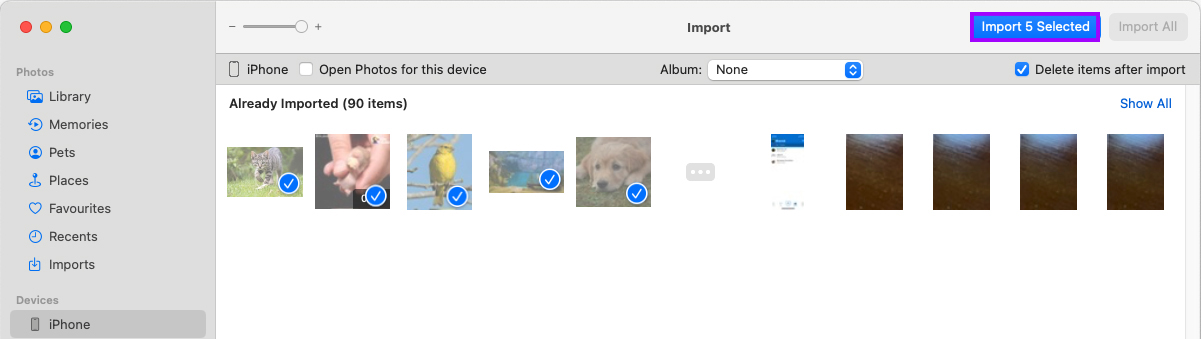
- Check the box labeled ‘Delete items after import’. This option is crucial for automating the cleanup process. It tells your Mac to remove photos from your iPhone as soon as they are safely imported, ensuring your iPhone storage doesn’t get re-filled with already backed-up photos.

- Click ‘Import All New Photos’ or select specific photos and click ‘Import Selected’. This step begins the transfer of your photos to your Mac. Once the transfer is complete, the photos will be automatically deleted from your iPhone, streamlining your photo management.
Setting up your Mac to automatically delete photos from iPhone after import saves time and keeps your iPhone storage free for new content. If the auto-delete doesn’t kick in, double-check that you’ve enabled the setting correctly. With this automatic method, managing iPhone storage becomes simpler, allowing you to enjoy a clutter-free photo library both on your iPhone and Mac.
Troubleshooting Common Issues with Photo Deletion
Encountering problems when trying to delete photos from your iPhone can be frustrating. Whether photos refuse to delete, still occupy space, or you can’t find the option to remove them after import, here are some common issues and how to resolve them.
Photos Not Deleting from iPhone
If you find that some photos won’t delete from your iPhone after trying to remove them, several issues could be at play. Here are steps to troubleshoot and resolve this issue:
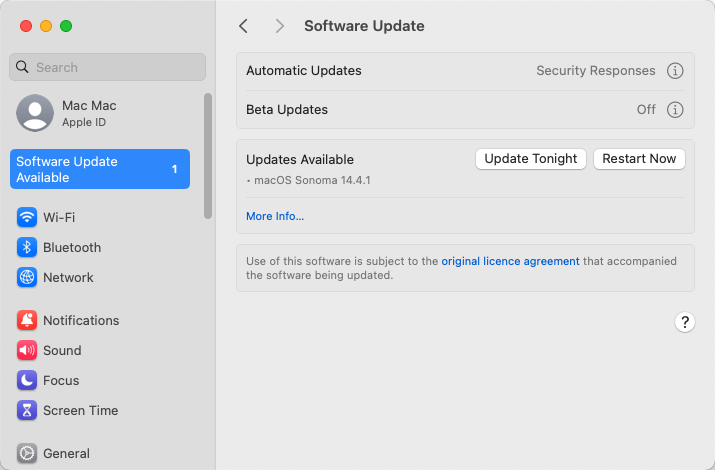
- Check for software updates: Ensure both your iPhone and Mac are running the latest software versions. Updates can resolve bugs affecting photo deletion. You can check for updates on both your iPhone and Mac in Settings (System Settings for Mac) > General > Software Update.
- Review permissions issues: Sometimes, permissions settings can prevent photos from being deleted. Make sure that you have the necessary permissions to delete photos, especially if they’re shared with family or managed through an organization.
Addressing these factors can help you delete iPhone photos after import.
Photos Still Occupying Space Despite Deletion
Sometimes, even after deleting photos, they continue to take up space. This issue is often due to the “Recently Deleted” album in the Photos app:
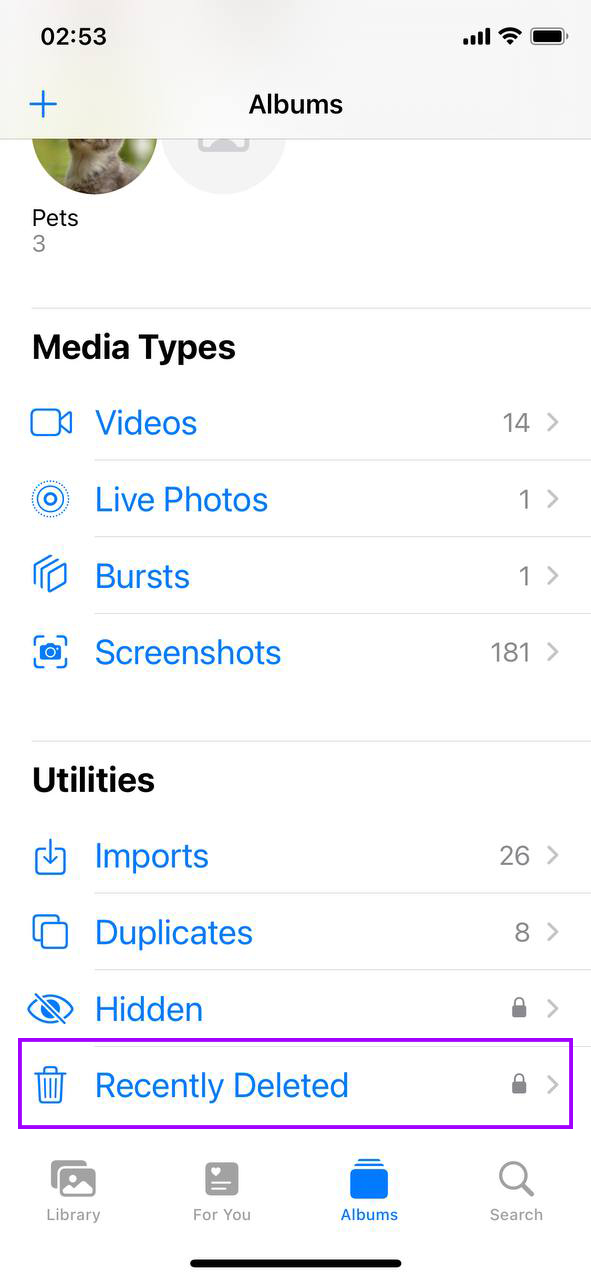
- Open the Photos app and go to the Albums tab: Scroll down to find the “Recently Deleted” album.
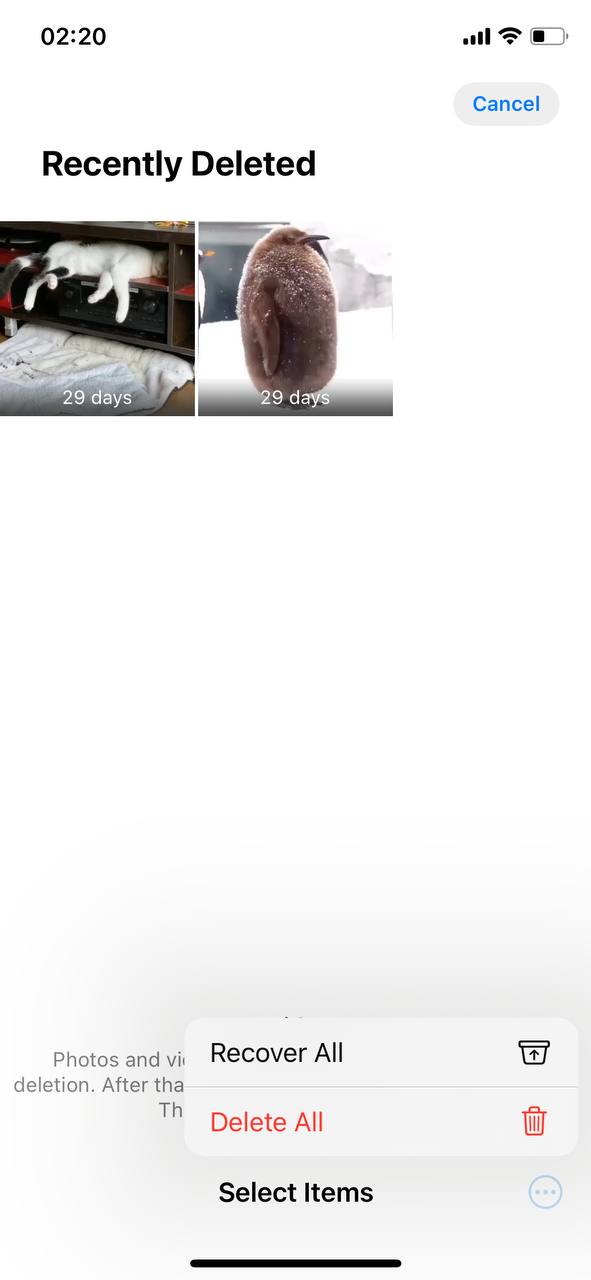
- Manually empty the “Recently Deleted” album: Select the photos and choose “Delete All” to remove them permanently. Remember, photos stay in this album for 30 days unless manually deleted.
No Option to Delete Photos After Import Available
When you’re trying to delete photos from your iPhone after importing them to your Mac, but can’t find the option to do so, it could be due to iCloud Photos being enabled. This setting affects how photos are managed between your devices and the cloud.
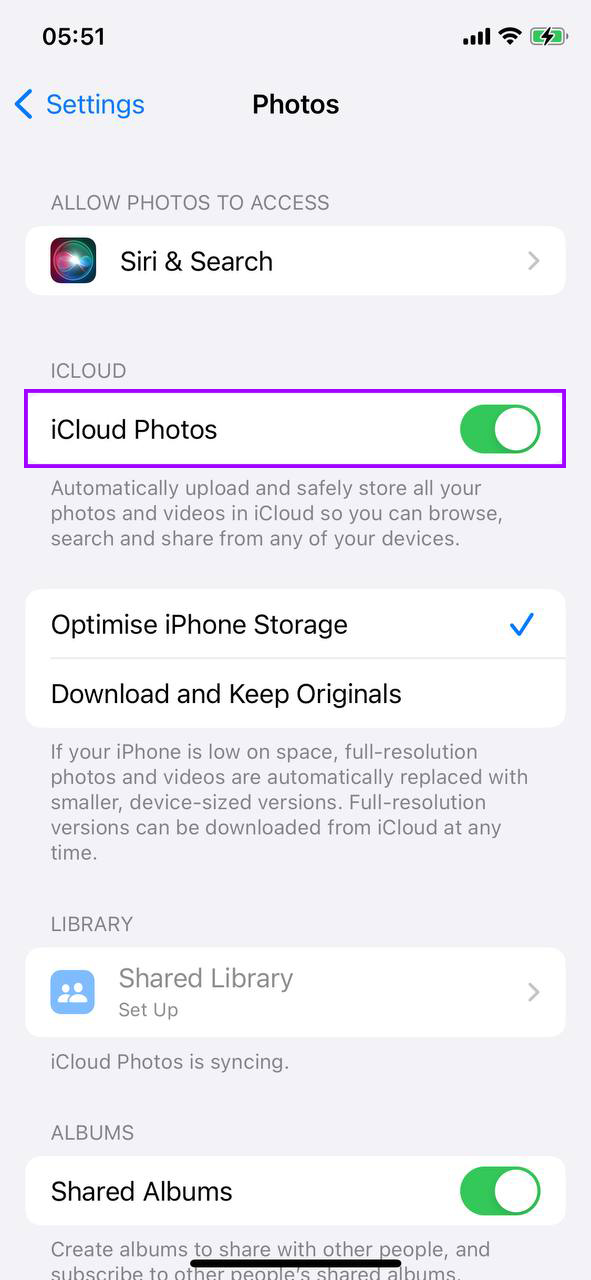
- On your iPhone, go to Settings > Photos, and see if iCloud Photos is turned on. If it is, your photos are being synced with iCloud, which means they aren’t stored exclusively on your device anymore, hence the deletion option might not appear.
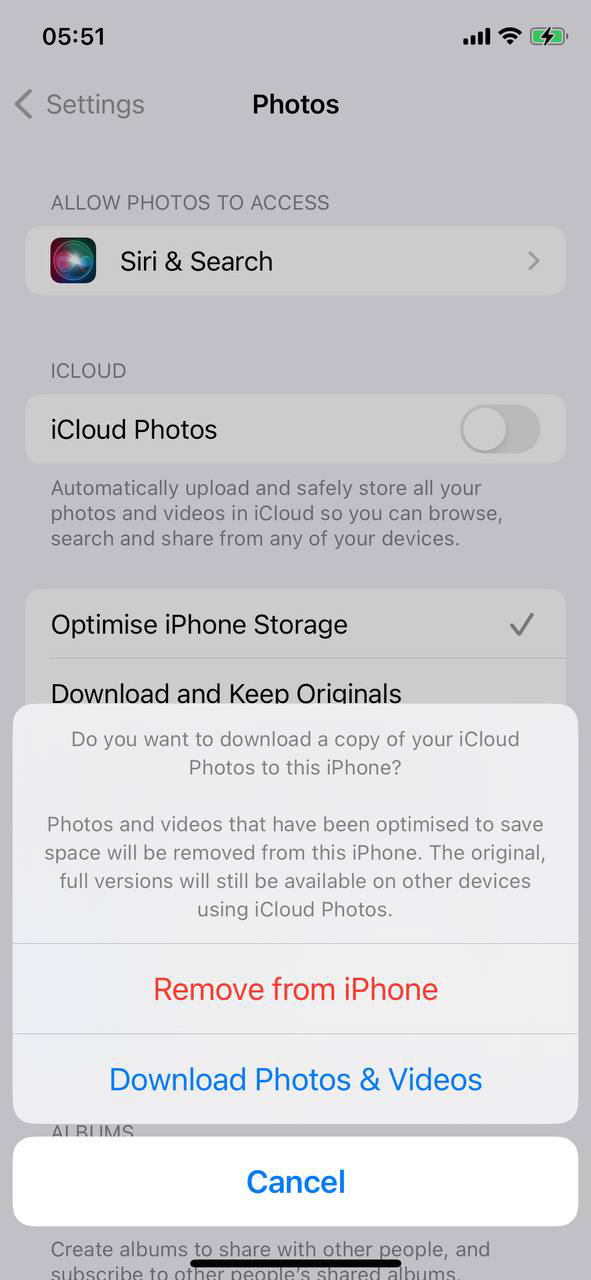
- To delete photos from your iPhone using your Mac, you may need to temporarily turn off iCloud Photos. Remember, this will stop the synchronization of photos across your devices. To do this toggle off iCloud Photos.
- Once iCloud Photos is disabled, connect your iPhone to your Mac, use the Photos app or Image Capture, and look for the option to delete photos after import. This should now be visible.
After completing these steps, you should be able to import and delete photos from iPhone with ease. Be sure to turn iCloud Photos back on if you rely on it to keep your photos synced across your devices. These adjustments can help you automatically delete photos from iPhone after import, simplifying your workflow and keeping your devices clutter-free.
Conclusion
Deleting unnecessary photos helps your iPhone stay ready for new memories. In this article we provided you with tools and tips to keep your photo library organized, preventing storage issues. Regularly using these methods will help you keep your iPhone’s photo storage in check.