How to Select All Photos on iPhone (iOS 17)
Hey, what’s up, everyone? Managing a massive collection of photos on your iPhone 14/15 can sometimes feel like you’re sifting through a haystack to find that one golden needle. Whether it’s the daunting task of cleaning up storage space, organizing your snapshots into neat albums, or simply trying to select multiple photos without tapping your screen a thousand times, we all crave a simpler solution. And while iOS updates bring their own set of tweaks, the core challenge of efficiently handling our photo libraries remains.
In this article, I’m going to walk you through the easiest and fastest solutions to select all photos on an iPhone. I’ve got the tips and tricks that will save you time and sanity. Forget about the endless scrolling and the cumbersome selection process; let’s streamline how you interact with your photo library, making it as organized and accessible as possible.
Complications Associated with Selecting All Photos on Your iPhone
First things first, let’s address the elephant in the room: while iOS 17 hasn’t revolutionized the way we select all photos or introduced a magic ‘Select All’ button, Apple has certainly polished the user experience, making photo management more intuitive.
Before moving to the how-tos, it’s worth noting the enhancements the latest iOS versions bring to the table. The Photos app continues to evolve, offering smarter organization, better search capabilities, and more fluid navigation through your vast collection of photos. These subtle yet impactful improvements set the stage for a more efficient photo management process.
- 🔎 Improved Search Functionality: Finding specific photos is faster thanks to enhanced search algorithms. Whether it’s searching for locations, dates, or even objects within your photos, the refined search makes it easier to locate what you need without manually scrolling.
- 🖼️ More Intuitive Album Organization: Organizing photos into albums is smoother, with iOS 17 providing better suggestions and categorizations based on your photo content and habits.
- ✔️ Quicker Selection Techniques: While the process of selecting photos hasn’t drastically changed, iOS has fine-tuned the responsiveness and gesture recognition, making it feel more natural to select multiple photos quickly.
By tapping into these features, you can significantly streamline how you select all photos on your iPhone, organize them, or prepare them for deletion. Stay tuned as we dig into the specifics of efficiently managing your photo library in the following sections.
How to Select All Photos on iPhone with iOS 17
Now that we’ve got a handle on the enhancements and features that iOS 17 brings to our photo management toolkit, let’s jump to the practical stuff. Selecting all photos on your iPhone might seem like a chore, but with a few smart moves, you can make this process quick and painless. Whether you’re on your iPhone trying to quickly clean up your gallery, or you’re leveraging the power of your PC or Mac to manage your photos en masse, there are efficient ways to tackle this.
In the sections that follow, we’ll break down the steps to select all photos directly from your iPhone and how using your computer might give you that extra leverage for managing your photo library even more effectively.
Select All Pictures Directly From Your iPhone
Alright, let’s get into how I handle selecting all photos on my iPhone 15:
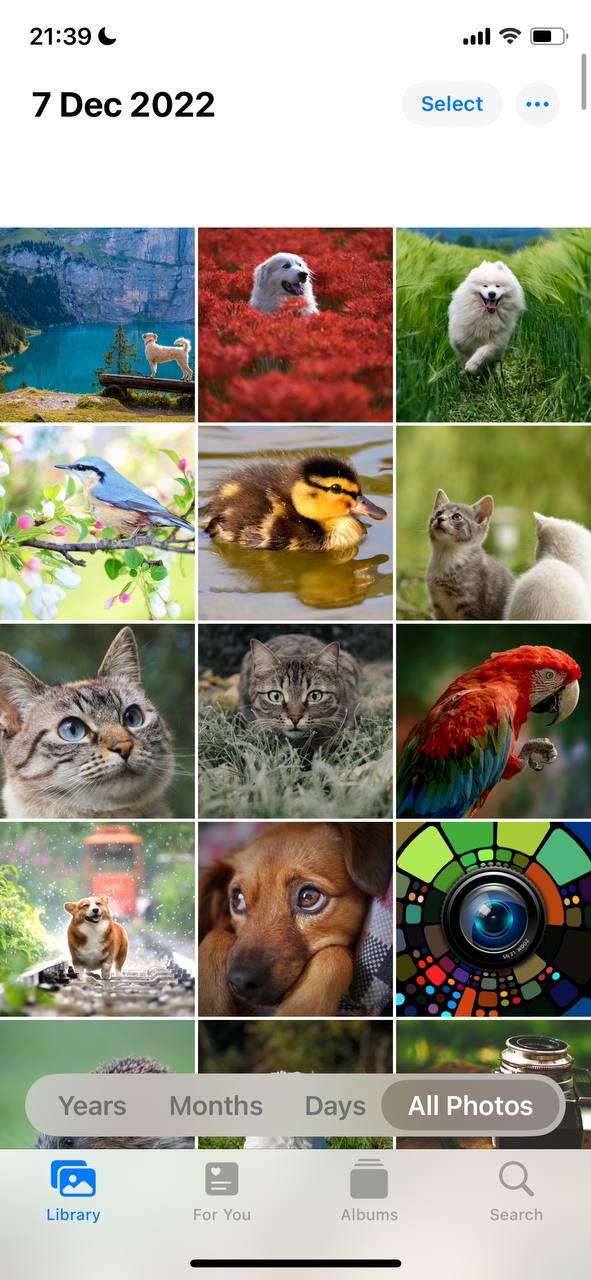
- First off, I open up the Photos app. If I’m after photos in a specific album, I’ll hit the ‘Albums’ tab. But if I’m aiming to sweep through my entire collection, the ‘Library’ tab is where it’s at.

- In ‘Albums’, I tap on the album I’m ready to tackle. In ‘Library’, I brace myself for the sheer volume of photos I’m about to face.

- Tapping ‘Select’ on the top right gets me into game mode. Now, I’m ready to start picking photos.

- Here’s where the magic happens. I tap the first photo, then smoothly drag my finger across others I want in on the action. Whether it’s across rows or down the column, I keep my finger glued to the screen, watching the checkmarks multiply. And if I’m aiming to sweep the entire album, it’s a game of drag, scroll, and repeat.

- With my photos lined up, it’s decision time. Hitting the trash icon sends them into oblivion, the share button lets me send them off into the world, and moving them to an album tidies up my collection.
This approach is my go-to for quick fixes when I’m out and about. It’s perfect for when I’m not looking to go deep, just to clean up recent shoots or share a few pics. But for those times when I’ve got a mountain of photos to sort through or I’m in the mood for some serious organizing, plugging into my computer is the next level strategy. Stay tuned, that’s what we’re breaking down next.
Select All Pictures Using Your Computer
After tackling the direct approach on my iPhone, I decided to switch gears and see how managing my photo library would pan out using a computer. Connecting my iPhone to my Mac (or PC, depending on your setup) opened up a new avenue for handling my ever-expanding collection of snapshots. Here’s how it went down:
- Connecting the iPhone: I started by plugging my iPhone into my computer. Whether you’re on a Mac or PC, the process is pretty straightforward. Mac users need to open Photos App, while PC users might also use iTunes, depending on their system configuration.
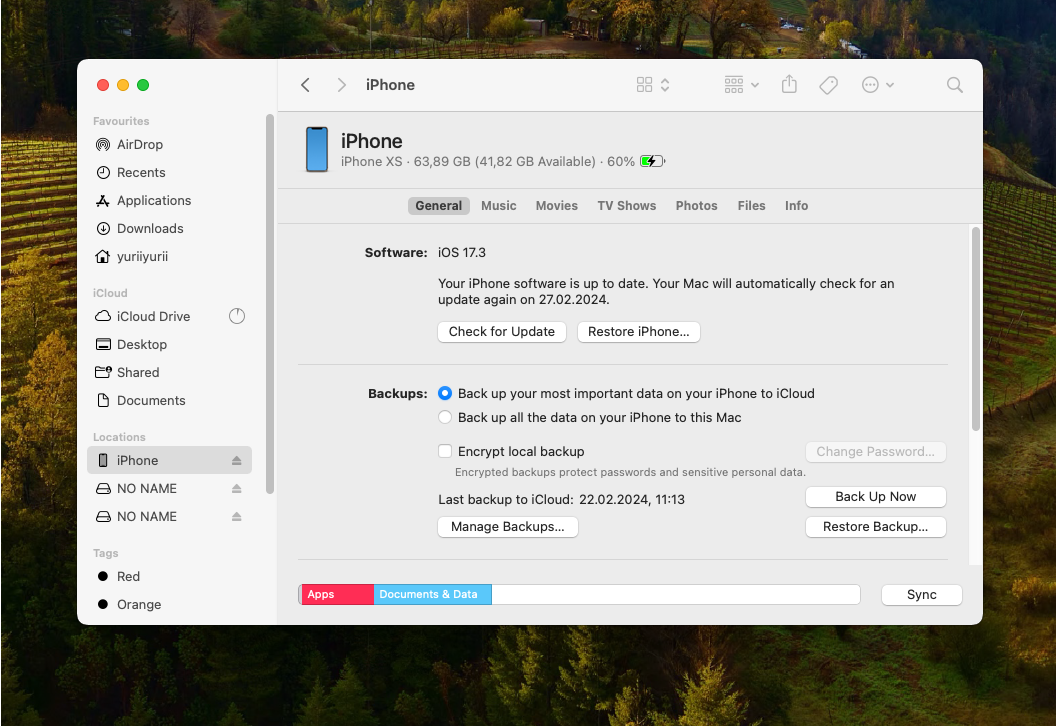
- Accessing Photos: On my Mac, my iPhone appeared in the Finder sidebar under ‘Locations’. Selecting it brought up all the manageable content on my device, including my photos. On a PC, opening iTunes or the Photos app should give you a similar access point.

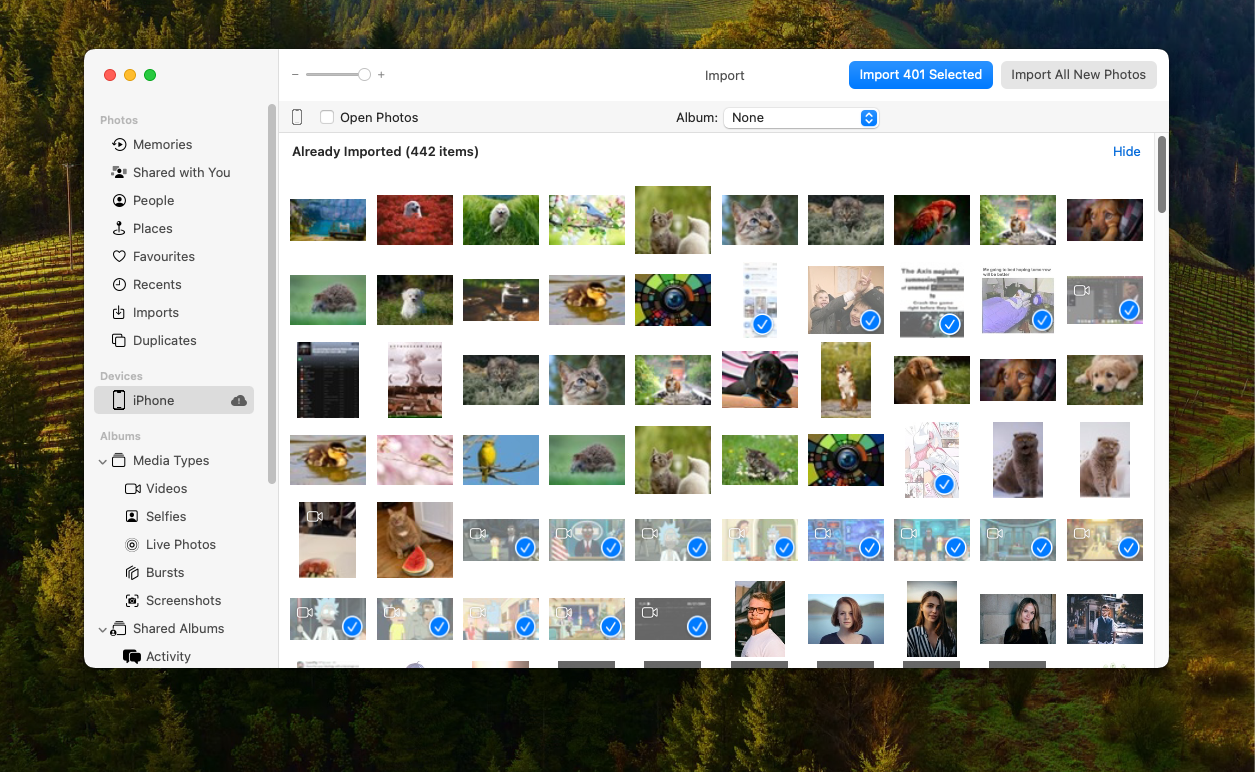
- Selecting Photos: From here, the process of selecting photos felt more comfortable. Using my computer’s interface, I could easily scroll through my entire library, quickly select all pictures on iPhone or specific batches without the tedious tapping and dragging on the iPhone’s screen.

- Managing Photos: With all my desired photos selected, I could then easily delete them to free up space, move them to different folders for better organization, or even back them up to an external drive. The larger screen and the familiarity of the computer’s interface made this process feel like a breeze.
Using a computer to manage my iPhone’s photo library not only gave me a better overview but also offered a level of control and efficiency that the iPhone’s screen couldn’t match. For anyone looking to handle large volumes of photos, or simply prefers the tactile feel of a mouse and keyboard, this method is a real go-to. Plus, seeing my photos on a bigger screen? That’s always a plus in my book.
Leveraging Third-Party Tools to Select All Pictures on iOS 17
While iOS 17 provides a solid foundation for photo management, I often find myself leaning on third-party cleaning tools for that extra layer of convenience and functionality. These tools can offer advanced sorting, filtering, and even duplicate detection that go beyond what’s built into the Photos app. Here’s a look at how integrating third-party tools can enhance your photo management experience:
- Advanced Sorting and Filtering: Some apps out there bring powerful sorting and filtering options to the table, allowing me to sift through my photos with incredible precision. Whether it’s finding duplicates or organizing photos by size, these tools make it easy.
- Cloud Backup Solutions: While iCloud does a decent job, I explore other cloud services for backing up my photos. These services often come with added benefits like better organization features or more storage space at a lower cost.
- Photo Editing Suites: For those shots that need a bit of touching up, I turn to third-party editing apps. They offer a range of editing tools from basic adjustments to intricate effects, helping my photos look their best.
Remember, while third-party tools can add value, it’s essential to prioritize privacy and security. Always choose reputable apps and review their permissions carefully. Integrating these tools with iOS 17’s photo management capabilities, I’ve managed to create a workflow that keeps my photo library organized and accessible, no matter the size.
Conclusion
Wrapping up, managing a vast photo library on an iPhone, especially with iOS 17, doesn’t have to be a daunting task. From the built-in features of the Photos app to leveraging the power of a computer for more extensive management, there are numerous ways to streamline the process. And when the built-in capabilities fall short, third-party tools are there to fill the gaps, offering advanced sorting, backup solutions, and photo editing capabilities.
So, take these tips, give them a try, and see how they transform your photo management experience. Your perfectly organized photo library is just a few taps away.


