How to Delete Live Photos From iPhone But Keep the Still Versions
Have you ever scrolled through your iPhone’s photo gallery, only to find that Live Photos take up more space than you’d prefer? These dynamic images are fun, but what if you prefer traditional still photos or simply need to free up storage? That’s where our guide comes in. We’ll show you how to easily remove the Live Photo effect while keeping the still image—no complicated steps. Let’s get started!
How to Identify Live Photos on Your iPhone
Apple has thoughtfully designed the iPhone’s Photos app with automatic albums that sort and categorize different media types for easy access. This feature is particularly useful when you need to manage specific file types such as Live Photos.
Follow these steps to identify all your Live Photos:
- Open the Photos app on your iPhone.
- Scroll down to the ‘Media Types’ section and select ‘Live Photos’. This action filters out and displays only the Live Photos in your library, making it easy to see exactly how many you have and which ones they are.

How to Remove the Live Photo Effect and Keep the Still Image
Now, you have two options. You can either manually remove the Live Photo effect using the Photos app or use a third-party app that automates the process for you. Both methods achieve the same result—they turn your Live Photos into regular still images while keeping the static shot intact.
Here’s how to convert your Live Photos into static images.
Option A: Use an App for a Quick Live to Still Conversion
We’ll start with the automatic option first since it’s by far the easiest and fastest way to do this. For this, we’ll use Clever Cleaner: Free Storage Cleaner—a completely free app that includes a Live Photo conversion tool, something not commonly found in iPhone cleaner apps. Most apps either lack this feature or require a paid upgrade, but Clever Cleaner offers it for free (just like all the other features).
Let’s go step by step to see how you can remove the Live Photo effect and keep its still image using Clever Cleaner:
- If you haven’t already, download Clever Cleaner from the App Store.
- When you open the app, it’ll ask for permission to access your photos.
- Tap Allow Access to All Photos so it can scan for Live Photos.
- On the main screen, look for Lives at the bottom and tap it. It’ll show you all the Live Photos on your device.

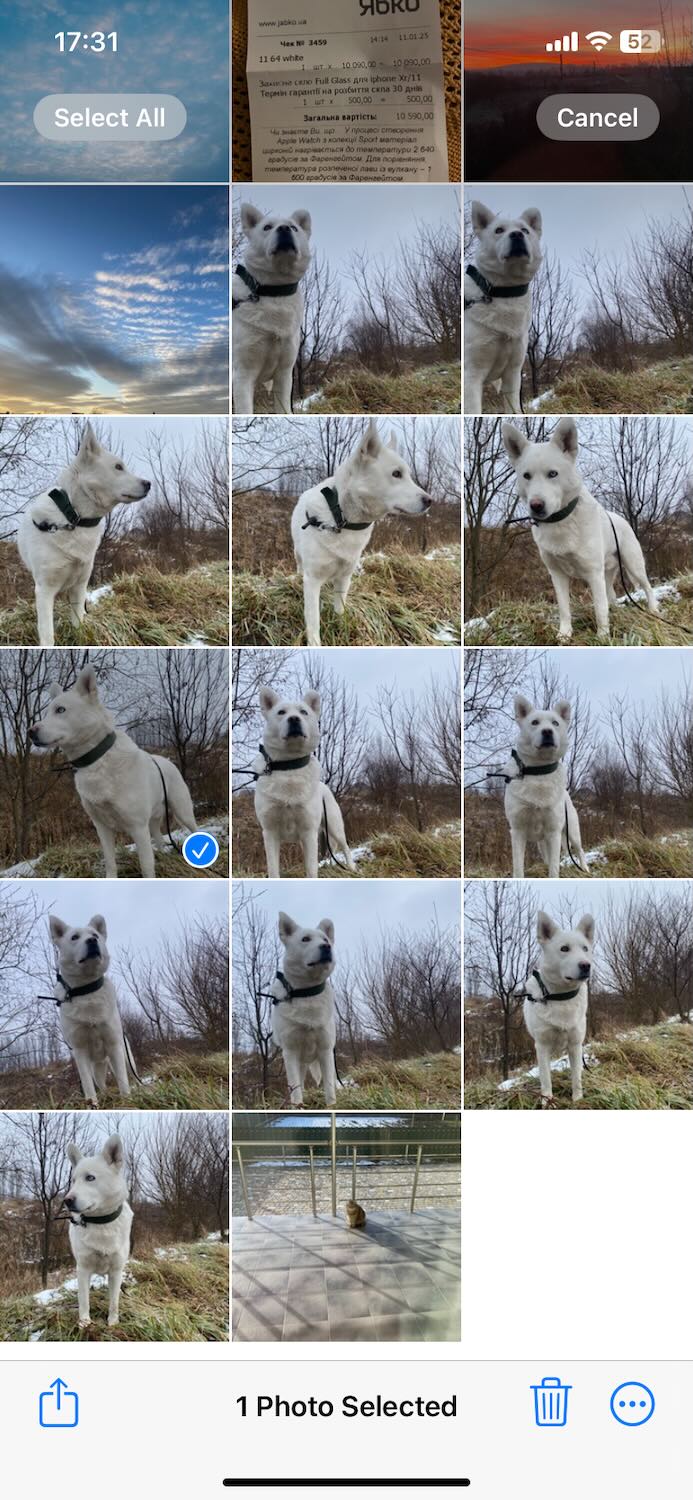
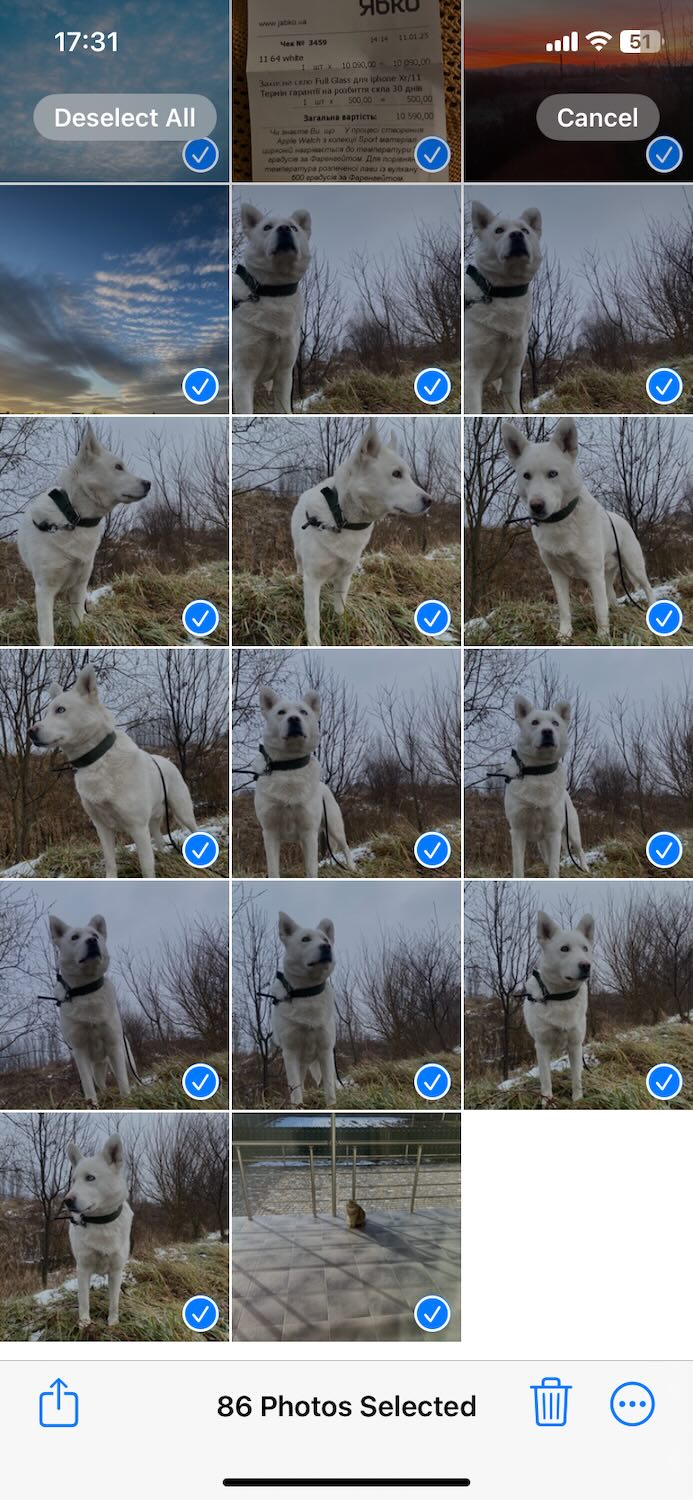
- You can sort photos by date or size using the Sort by option at the top. Now, either manually pick the ones you want or tap Select All.
- Tap “Compress”. Even though the button says Compress, this process actually converts them into still images. Below the button, you’ll see an estimate of how much storage you’ll free up—a handy bonus.

- It usually only takes a few seconds, even if you select hundreds of Live Photos at once. Once the process is done, the app will save a new still version of each photo and then ask you what to do with the original Live Photos.

- Since your goal is to delete them, tap on Delete to remove them from your device.
- The app will ask for final confirmation, and that’s it! In just a few taps and a few seconds, your Live Photos are gone, with their still images waiting in your library as if nothing even happened.

And that’s pretty much it! The app automates everything for you, unlike the manual option (Option B), which we’ll cover next.
Now, to finalize the deletion completely, you need to clear out the Recently Deleted folder in the Photos app. If you don’t, those Live Photos will still take up space for the next 30 days before iOS automatically removes them. We go over this step in How to Permanently Remove Live Photos, so be sure to check it out to fully reclaim your storage.
Live Photo conversion is just one of 4 features built into Clever Cleaner. If your goal is to free up even more space, you should definitely check out these other tools—there’s a lot of potential here.
- There’s the Similars tab. The app can identify and group duplicates as well as visually similar images that might be taking up unnecessary space. You can either let the app automatically remove the extras or go through the grouped photos yourself and choose what to keep or delete.
- Then there’s Screenshots, Clever Cleaner pulls them all into one place, so instead of scrolling endlessly through your Photos app to find old snapshots, you can bulk-delete them in seconds.
- An lastly, the “Heavies” feature. This one sorts every video in your library from largest to smallest, something you can’t do in the Photos app. This makes it super easy to quickly locate the biggest storage wasters and remove them if you no longer need them.
Note. On the Clever Cleaner: cleanup app’s website, the developer claims that the app will remain free for all early users, even if new features are introduced in the future. So, if you downloaded it just to convert Live Photos, don’t rush to delete it afterward. it could come in handy again—especially as updates bring new tools. And the official launch video corroborates that:
Option B: Do It Manually in the Photos App
If you’d rather do this manually, you can. While it’s not exactly convenient, you can convert Live Photos to still images using the Photos app. The process is simple: first, create still duplicates of your Live Photos, then remove the originals. Just be careful—you don’t want to duplicate or delete something by mistake.
- Open the Photos app and navigate to the ‘Live Photos’ album you identified earlier.
- Select the Live Photo you wish to convert.
- Tap on the photo to view it, then tap the three dots in the bottom right corner.
- Select ‘Duplicate‘ from the drop-down menu.

- Choose ‘Duplicate as Still Photo‘ to create a copy of the photo without the motion effect. This will save a new version of the image that is just a static picture.

- Open the Photos app and go to the ‘Live Photos’ album.
- Tap ‘Select‘ in the top right corner of the screen.
- Select the Live Photos you want to convert.
- Tap the three dots in the lower right corner of the screen.

- Select ‘Duplicate‘, then choose ‘Duplicate as Still Photo‘ to create copies of the selected photos without the motion effect. This will generate new static versions of the images.
- Open the Photos app and go to the ‘Live Photos’ album.
- Tap ‘Select‘ in the top right corner of the screen.
- Choose the Live Photos you want to delete. You can select them individually or slide your finger across multiple photos to select them quickly.
- Once selected, tap the trash icon to delete them. Confirm your decision if prompted.
- Open the Photos app and go to the ‘Live Photos’ album.
- Tap ‘Select‘ in the top right corner.
- Choose the Live Photos you wish to permanently delete or tap ‘Delete All‘ to remove all items from the album.
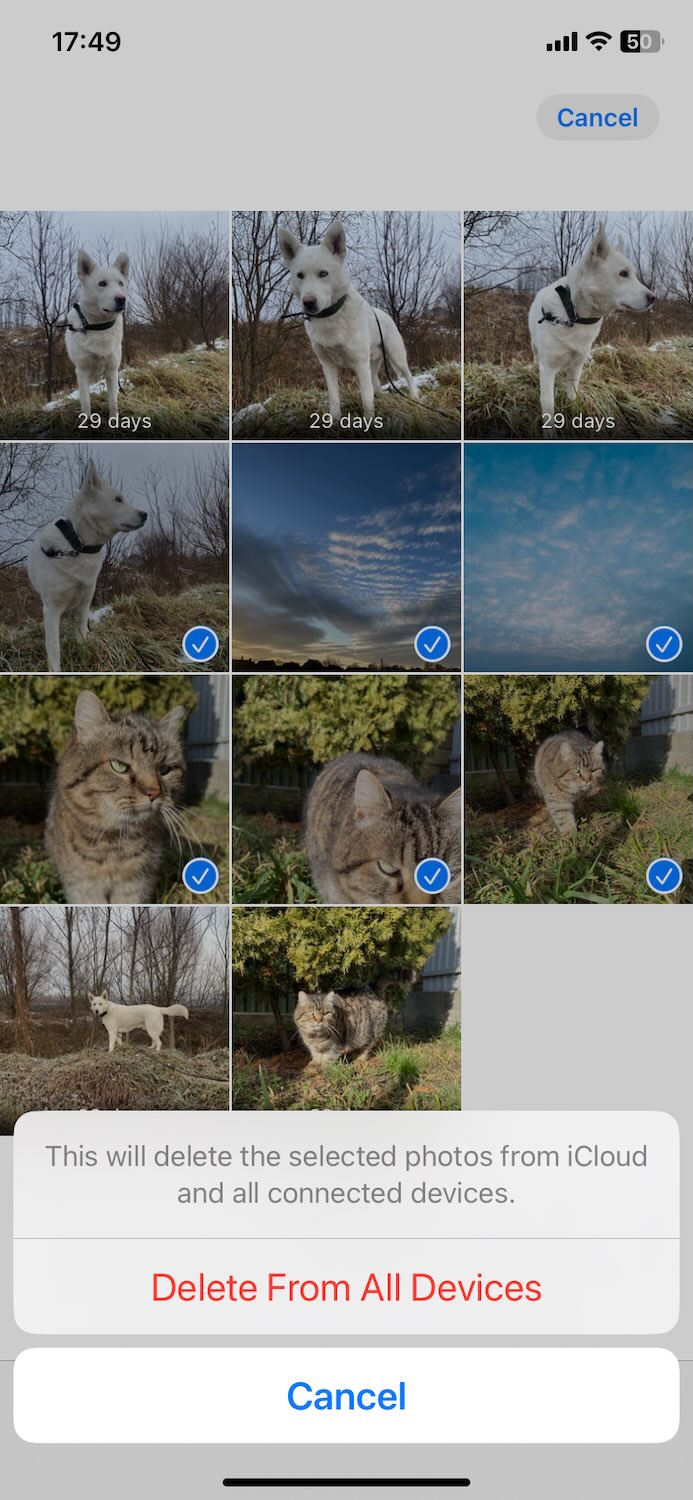
- Confirm your choice to permanently delete the selected items.
- Open the Camera app on your iPhone.
- At the top of the screen, you’ll see the Live Photo icon (a set of concentric circles). If the icon is crossed out, the Live Photo feature is disabled.
- If the icon is not crossed out, tap it to disable Live Photos. It will then display as crossed out, indicating that the feature is off and your future photos will be captured as still images only.

- If your camera does not save these settings between uses, go to the Settings app, select Camera, then tap Preserve Settings. Here, make sure the Live Photo setting is turned on to maintain your preference for future uses.

- Open Photos app → Go to Media Types > Live Photos.
- Select Live Photos you want to “convert” → Tap Duplicate → Choose Duplicate as Still Photo.
- Delete the original Live Photo to free up space.
- You can use Clever Cleaner, a free app that identifies, converts, and deletes Live Photos in seconds.
- Open the app → Go to Lives → Select Live Photos → Tap Compress (this converts them to still images).
- Delete the originals when prompted by app.
- Open Recently Deleted in Photos → select Delete All to permanently remove Live Photos and reclaim space.
- If you don’t want Live Photos in the future, disable them in Camera settings (Settings > Camera > Preserve Settings > Live Photo).
- Open the Photos app.
- Go to Albums → Scroll down to Media Typesх → Select Live Photos.
- Tap Select in the top right and choose the Live Photos you want to remove.
- Tap the trash icon, then confirm Delete Photos.
- Open Recently Deleted → Select Delete All to permanently erase them and free up storage.
If you have multiple Live Photos you want to convert at once, here are the steps for bulk conversion:
How to Delete Live Photos Without Static Versions
If you just want to delete Live Photos without worrying about keeping the still versions, or if you’ve already saved static copies and no longer need the motion clips, you can safely delete the Live Photos without any worries. Follow these steps to remove multiple Live Photos:
How to Permanently Remove Live Photos
It doesn’t matter whether you deleted Live Photos outright or kept the still version and then removed the Live Photos they were made from—you still need to clear them from your iPhone’s storage to free up space. Until they’re permanently deleted, they’ll remain in the Recently Deleted album for up to 30 days and continue to occupy storage. Follow these steps to remove those Live Photos permanently:
How to Prevent Future Live Captures
If you don’t want to go through this process again and would rather not have Live Photos at all, you can easily disable the Live Photo feature on your iPhone. This adjustment stops your camera from automatically capturing Live Photos, so all future shots are static. Here’s how to change this change:
The Short Version
If you prefer the TL;DR version of this guide, here it is.
Manually in the Photos App
Automatically with an App (Fastest Method)
Final Steps
And if you just want to delete Live Photos completely and don’t need a still image, here’s what to do: