How to Free Up Storage on iPhone Without Deleting Anything (Photos, Apps, Etc.)
Ran out of storage on your iPhone but don’t want to delete anything? You’re not alone. Many people look for ways to make room for a new app, download updates, or just speed up their device—but without giving up important files like photos or apps. The good news? There are several ways to clear storage without deleting anything that truly matters, and we’ll show you exactly how. Let’s get to it.
Is Cleaning Storage Without Deleting Anything Possible?
Yes, but only to a certain extent. Your iPhone’s storage is limited, and to free up space, something has to go. The trick is to remove unnecessary data that doesn’t affect what’s important—like cached files and temporary data—or use tricks and features that reduce file sizes in a way that you won’t even notice—all while keeping your photos, apps, and documents intact.
You don’t need to delete anything important to reclaim storage—just optimize what’s already there. Here’s what you can try:
1. Photo Overload
- Reorganize Photo Storage: If your iPhone is overloaded with photos, there’s a limited amount you can do without removing some of them. However, reorganizing your photo storage can help. You can store them in cloud services like iCloud or Google Photos, which allows you to access them without keeping them on your device.
- Reduce Photo Size: Convert photos to more efficient formats like HEIC, which offers high-quality images at smaller sizes.
- Convert Live Photos: Live Photos take up more space than regular photos because they store a short video clip. If you don’t need the motion, you can convert them to still images to free up space without losing the actual photo.
- Optimize Storage: Enable iCloud Photo Optimization to store high-resolution versions in iCloud while keeping smaller versions on your device.
2. App Accumulation
- Identify Unused Apps: Investigate whether there are apps you haven’t used for a long time. Instead of deleting them, consider offloading them. Offloading an app removes the app but retains its data, so you can easily reinstall it if needed.
- Manage App Cache: Apps often accumulate cache data, which can go unnoticed but takes up significant space. Some apps let you clear cache in their settings, but if there’s no built-in option, you can delete and reinstall the app, and it will reset its cache and free up space.
3. Cached and Old Data
- Clear Browser Cache: Browsers like Safari collect cache over time. Clearing your browser cache can free up space without affecting your personal content.
- Remove Old Messages: Messages and their attachments can take up a lot of space. Regularly deleting old messages or setting them to delete automatically after a certain period can help.
- Clean App Data: Some apps store old data that’s no longer needed. Check app settings for options to clear cache or old files.
Or, if you’re willing to go a step further, you can use it to remove unnecessary files BUT without actually losing anything important.
How to Automatically Clean Up iPhone Storage Without Losing Photos or Anything Valuable
We’ll start with third-party cleaning apps because this is the fastest and easiest way to free up space on your iPhone. These apps target things you don’t need—like five copies of the same photo you mistakenly imported long ago or similar images that look nearly identical. Why store them? They only take up space without adding any value.
For this, we’ll use Clever Cleaner: iPhone Storage Cleaner, a standout among similar apps. First, it has unique tools like Lives, which converts Live Photos into still images. This technically deletes the original, but since the image itself stays, nothing truly disappears. Second, unlike most so-called “free” apps, this one actually is—no subscription, no paywalls, and not even ads.
Here’s how to use it to clear space without losing important photos with this app:
- First, download Clever Cleaner from the App Store.
- Launch the app and allow access to your Photos.
- Tap Lives, the tool designed to convert Live Photos.

- Select the Live Photos you want to convert—or if you want to clear them all at once, tap Select All.

- Then, hit Compress.
- The app processes photos in just a few seconds, even if you select hundreds.
- Once the app finishes processing, it saves the new still photos and asks what to do with the original Live Photos.

- Choose Delete to remove them. The app then will ask again for final confirmation.
- Final step. Go to the Recently Deleted folder in the Photos app and clear it. Otherwise, the deleted Live Photos will sit there for 30 days, still taking up space.
Pretty nifty feature—your photos are still there, you’ve got a lot more free space, and all that was lost was the short clip that plays when you open a Live Photo. You can do this manually, of course, and we’ll show you how later—but it can’t compare to how fast and effortless this method is.
If you want to free up even more space, Clever Cleaner has three other tools, and we suggest hitting Similars next. Let’s go through how it works:
- Tap the Similars tab—the app will group visually similar photos together.

- Review the groups. Each set will have a suggested “Best Shot,” chosen by the app’s AI.

- You can go through each group and pick which images to delete, or trust the app’s recommendations.

- Tap Move to Trash to remove the selected images.
- For bulk cleanup, use Smart Cleanup—this will automatically delete unnecessary similar images in one tap.

- Just like with Live Photos, your deleted similar images stay in the Recently Deleted, until you remove them completely.
The navigation and overall process are similar for the other two tabs, Screenshots, and Heavies—both are pretty straightforward. Screenshots, as the name suggests, identifies all your old snaps so you can remove them in one go or select individually if you prefer. And Heavies displays videos from your media library sorted by size, so you can quickly identify and delete the largest ones. It’s such a simple feature, yet you can’t do this with iPhone’s built-in tools.
So, as we understand it, there might be even more features coming in the near future, and if you keep this app on your phone now, it should stay free for you even when they roll them out.
How to Increase iPhone Storage Without Deleting Any Photos
Now, let’s get back to built-in options. Here, we’ve gathered four iOS features that can help you free up storage without deleting any photos (well, in some cases, there is deletion, but only in a way that doesn’t result in losing anything valuable).
Method 1: Utilize iCloud Photo Optimization
iCloud Photo Optimization allows your iPhone to store high-resolution versions of your photos and videos in iCloud, while keeping smaller, space-saving versions on your device. This helps free up storage without losing access to your media.
This is the process you can follow:
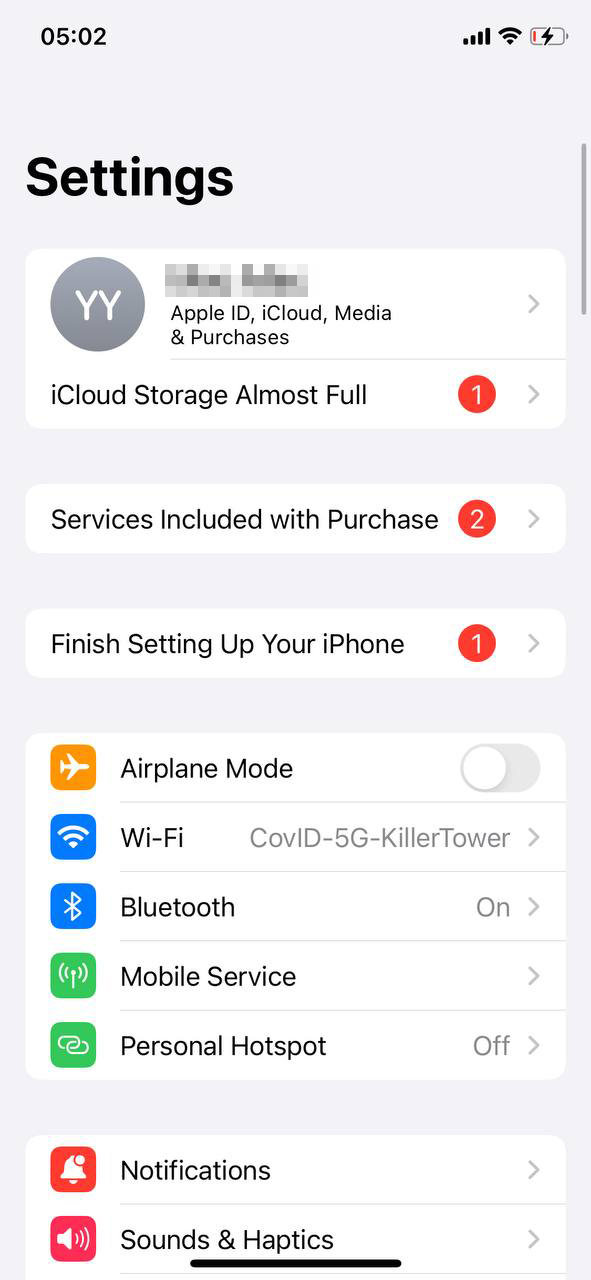
- Open the Settings app on your iPhone and tap on Your Name to access Apple ID settings.
- Choose iCloud to manage iCloud settings.
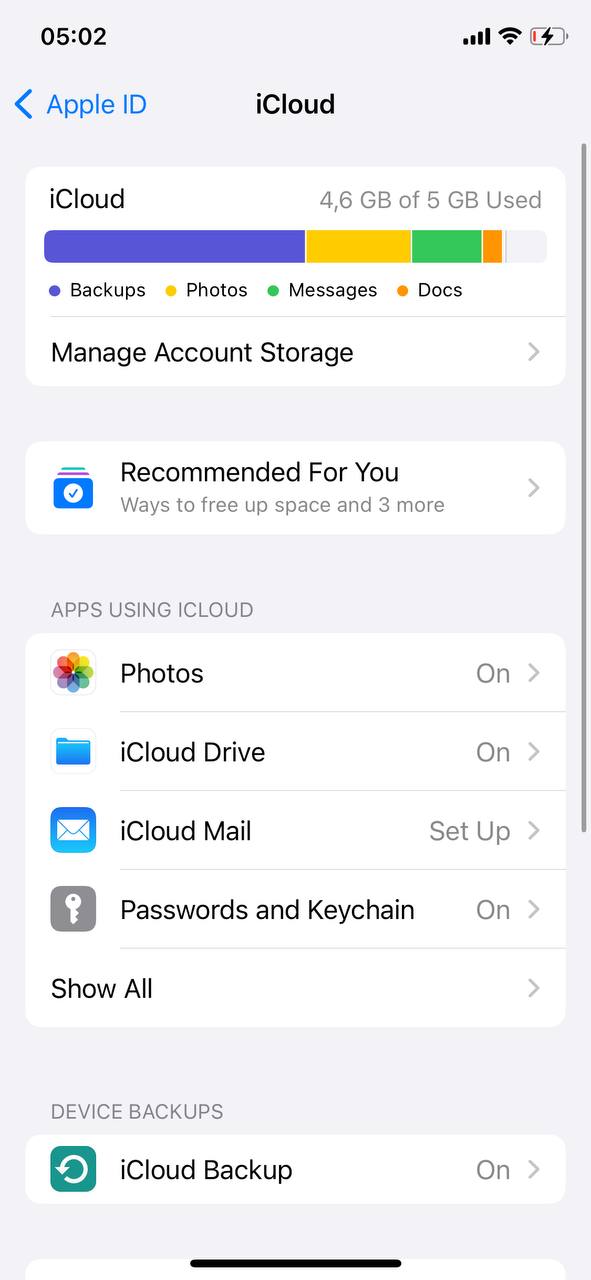
- Select Photos.
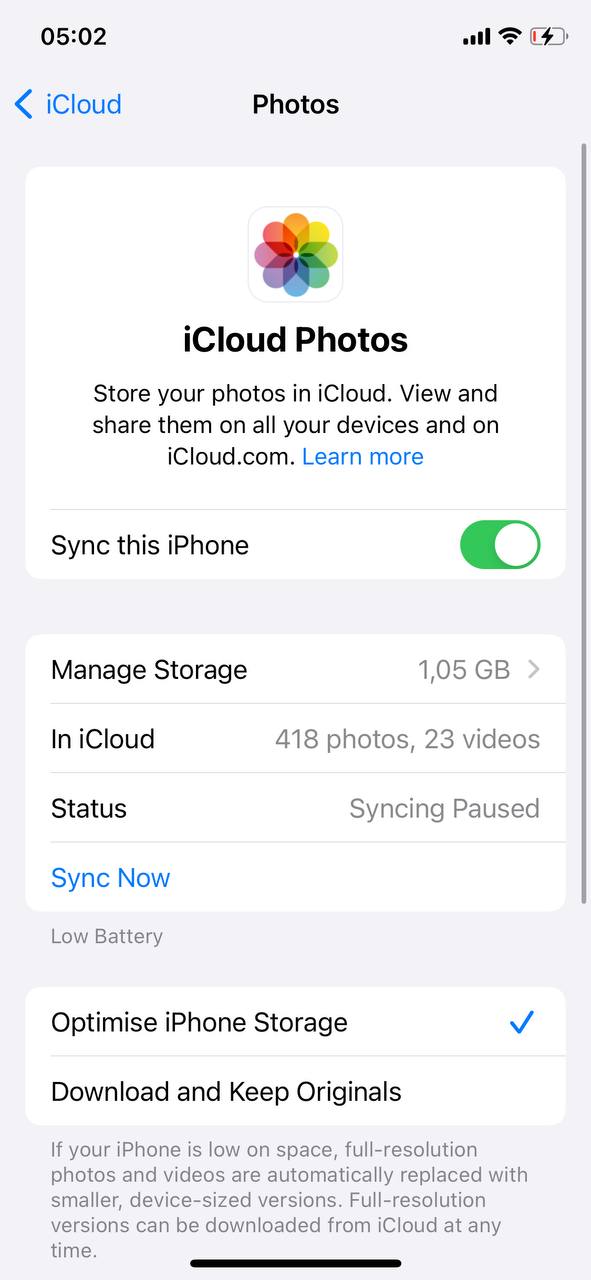
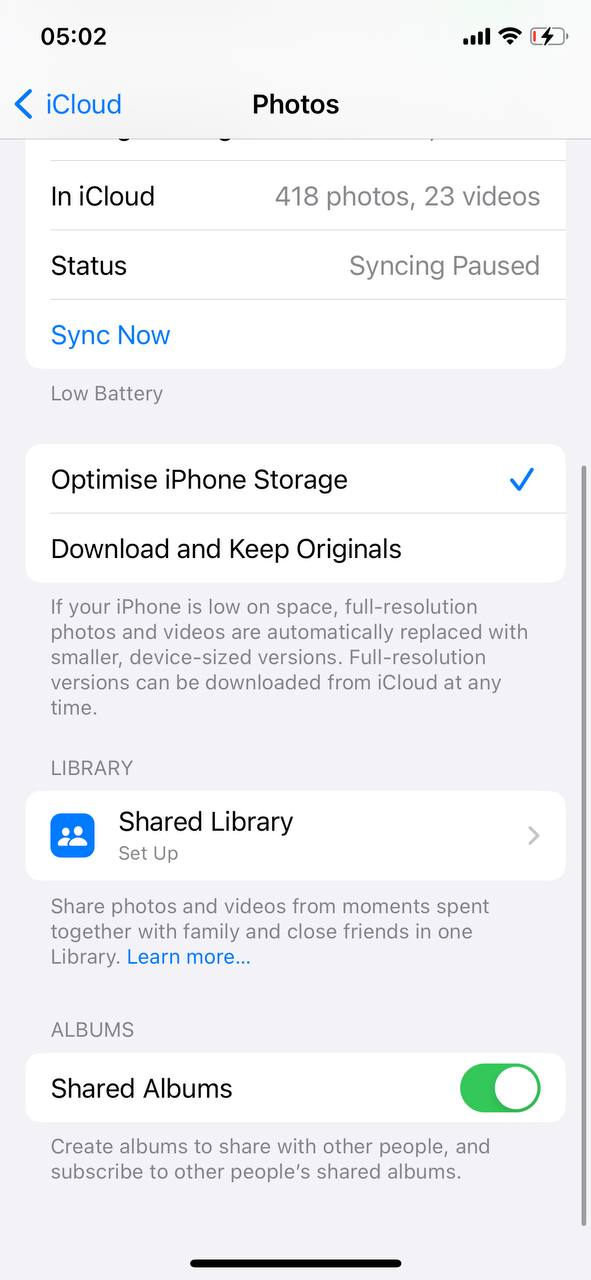
- Turn on Optimize iPhone Storage. This setting keeps smaller, storage-friendly versions of photos and videos on your device, while the originals remain safely stored in iCloud.
This method helps you save storage space and keeps your photos and videos just a click away. However, there’s an obvious catch: accessing the full-resolution versions of your photos and videos will require an internet connection, and if you reach your iCloud storage limit, you might need to purchase additional space from Apple.
Method 2: Manage Burst Photos and Screenshots
Burst photos and screenshots pile up fast and take up more space than you might think. Burst mode captures multiple frames in a single press, and many people don’t realize they have hundreds of unnecessary, near-identical photos because burst shots appear as a single image in the Photos app, with only a small indicator showing they contain multiple frames.
Follow this procedure:
- Open the Photos app and go to your Albums or Media Types (for the latest iOS versions).

- Look for the Bursts album or use the search feature to find all burst photos. Review these and keep only the best shots.

- Similarly, check your Screenshots album for duplicate screenshots or those you no longer need.
Method 3: Convert Live Photos to Still Images
We already talked about this one, but now here’s how to do it manually without using a third-party app.
Follow these steps:
- Open a Live Photo in the Photos app.
- Tap on “…” button and select Duplicate.

- Choose “Duplicate as Still Photo” to convert the Live Photo to a still image.

But that’s not all. You still need to delete the original Live Photos after making still duplicates—otherwise, you won’t actually free up any space. Now, you see why third-party apps are much more convenient? They automate this whole process.
Also, remember that deleted photos aren’t permanently removed right away. They’ll stay in your Recently Deleted folder for 30 days, still taking up storage. To free up space immediately, go to Photos > Albums > Recently Deleted, then tap Delete All.
Method 4: Compress Your Photos
High-resolution photos take up a lot of storage, but you can reduce their size without losing much quality with photo compression. While iPhones don’t have a direct “compress” option, you can achieve similar results using built-in tools like the crop tool in the Photos app.
Here’s your walkthrough:
- Open the Photos app and select the image you want to resize.
- Tap Edit in the top-right corner.
- Select the Crop tool (bottom-right icon).

- Adjust the crop area by slightly trimming the edges or using the preset aspect ratios for a quick resize.

- Tap Done to save the smaller version of the image.
Just like with Live Photos, using a dedicated app for compression is much easier and more effective than manual editing. Apps like Compress Photos & Pictures or Photo Compress – Shrink Pics can reduce file sizes in bulk automatically.
If you prefer an online solution, websites like TinyPNG and Compress JPEG allow you to compress images directly in your browser without any apps.
Method 5: Adopt HEIC Format for New Photos
Switching to the High Efficiency Image Format (HEIC) for new photos can significantly reduce their file size without compromising quality. This format is especially beneficial for devices running iOS 11 and later.
Take these actions in sequence:
- Go to Settings on your iPhone.
- Select Camera, then tap on Formats.

- Choose High Efficiency to enable HEIC format.
With HEIC you can significantly reduce the space occupied by photos and videos, thus freeing up storage on your iPhone without deleting anything. However, be aware that HEIC might not be compatible with all devices or services, so check compatibility if you plan to share these photos.
How to Free Up Space on iPhone Without Deleting Anything Important
Temporary files, like cache and app data, can accumulate over time, taking up space on your device. Freeing up space on your iPhone without deleting anything important involves smart management of your device’s storage. Address cached data, optimize app usage. This will allow you to maintain access to all your apps and data while keeping your iPhone running smoothly.
Use Built-in iOS Options to Clear the Cache
Clearing cache and other temporary data directly through iOS settings can help free up space without removing any personal content.
Here’s a step-by-step guide for Safari, one of the most common areas where cache accumulates:
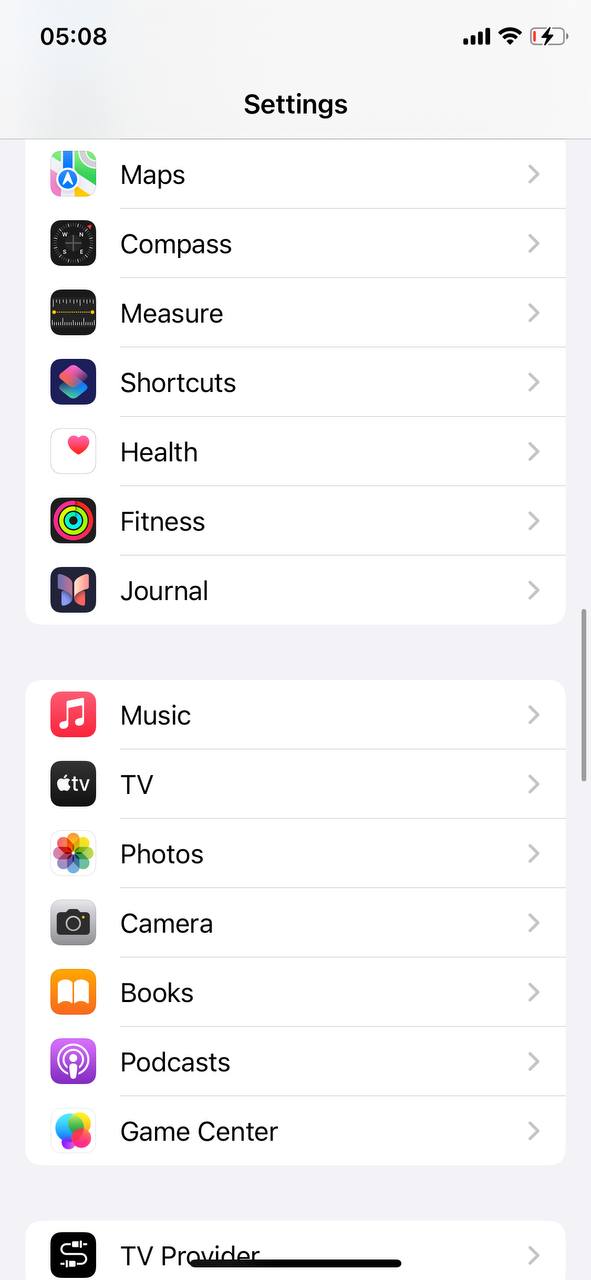
- Open the Settings app, scroll down, and tap on Safari.
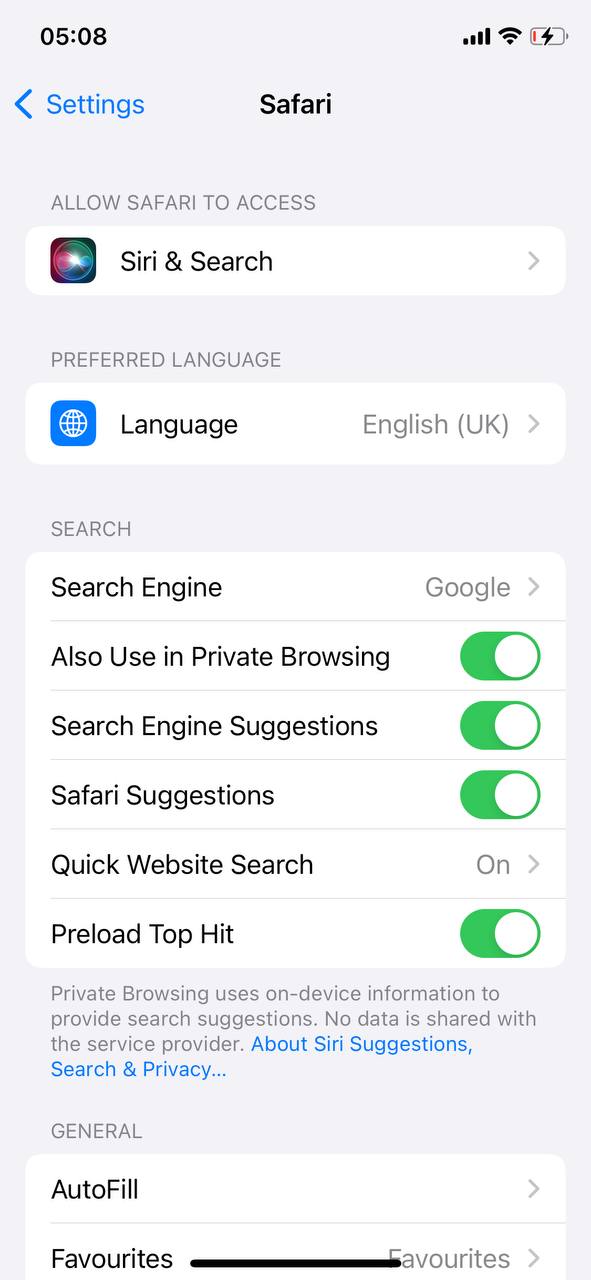
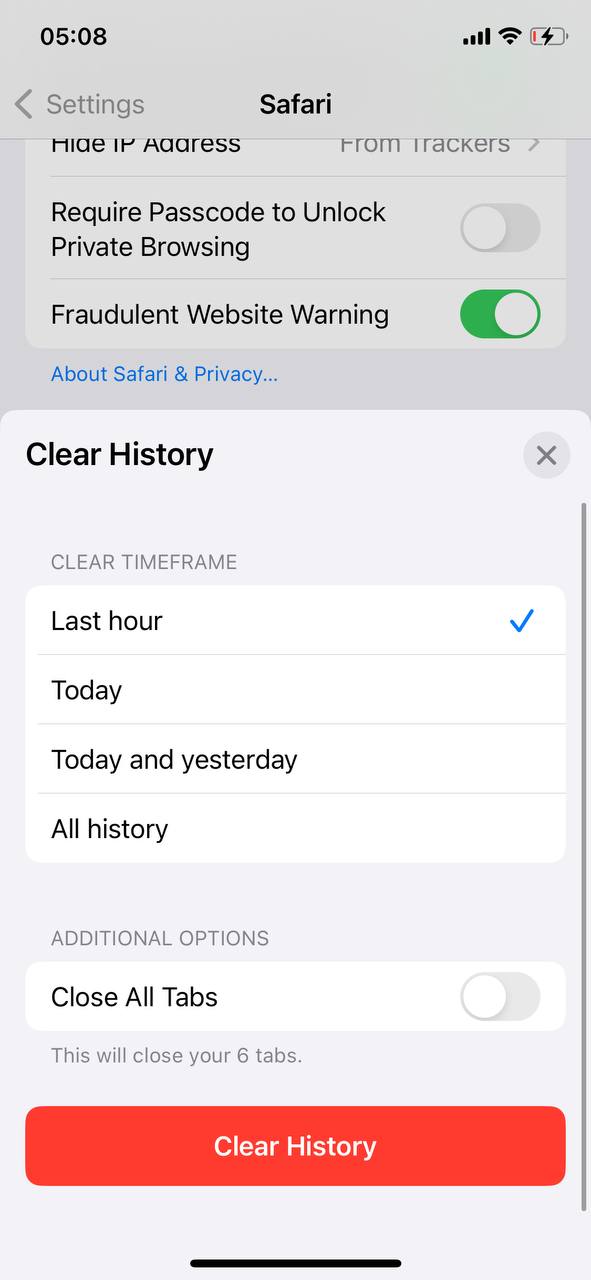
- Within Safari’s settings, find and tap on the option to Clear History and Website Data.
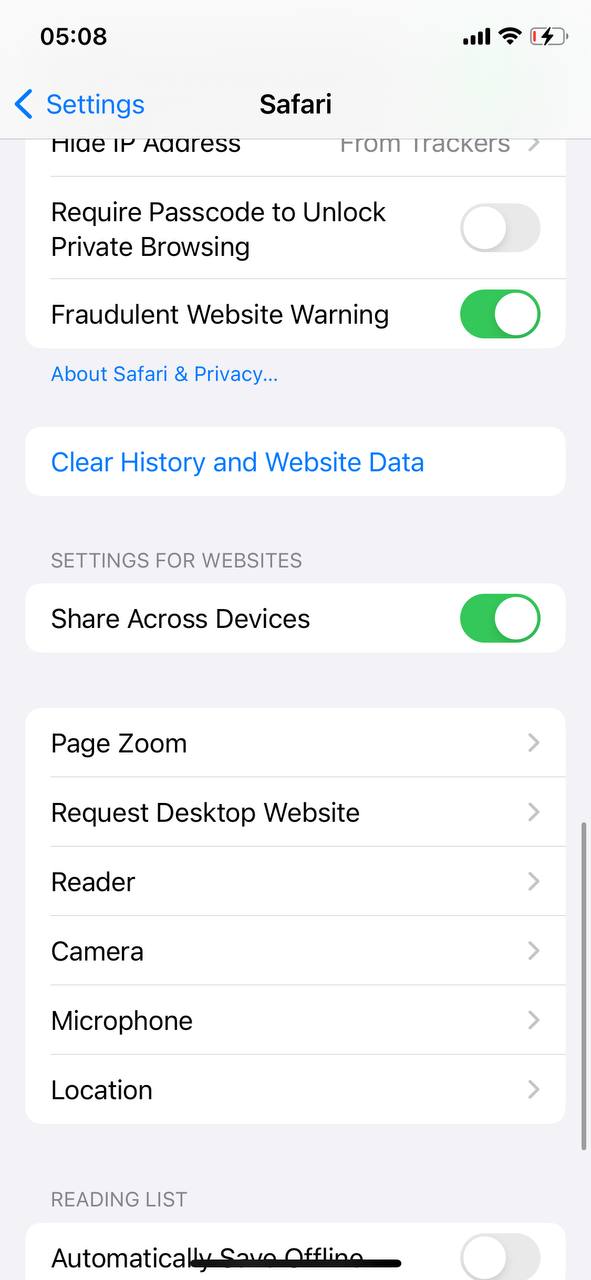
- Confirm to remove history, cookies, and other browsing data. Note that this action will log you out from websites you’ve been browsing.
If an app doesn’t have a built-in cache-clearing option, you can delete it completely and then reinstall it. This will remove all cached data and free up space.
Offload Unused Apps
Another effective method to free up storage space on your iPhone without deleting apps entirely is by offloading them. Offloading removes the app itself but retains its data, allowing you to reinstall the app later without losing any of your personal information or settings.
Follow these steps to offload unused apps on your iPhone:
- Launch the Settings app on your iPhone.
- Scroll down and tap on General.
- Tap on iPhone Storage to view a list of apps and the storage they are using.

- Select an app that you want to offload. You’ll see options to Offload App or Delete App.
- Tap Offload App. A confirmation message will appear, explaining that the app will be removed but its documents and data will be kept.

- Confirm your choice by tapping Offload App again.
How to Make Space on iPhone by Utilizing Cloud Services
Cloud services can be a great way to free up space on your iPhone without losing anything important. You can stream music and movies instead of downloading them, and store documents in the cloud to keep your device’s storage clear.
Stream Music and Movies
Streaming services offer a vast library of music and movies without the need to store them on your device.
Here’s how to make the most of these services:
- Identify your preferred streaming platforms. Popular choices include Spotify for music and Netflix or Hulu for movies and TV shows.
- Download the respective app from the App Store. Make sure you’re downloading the official app to avoid security risks.
- Create an account or sign in if you already have one. Many services offer a range of subscription options, including free tiers with ads or premium subscriptions for ad-free experiences.
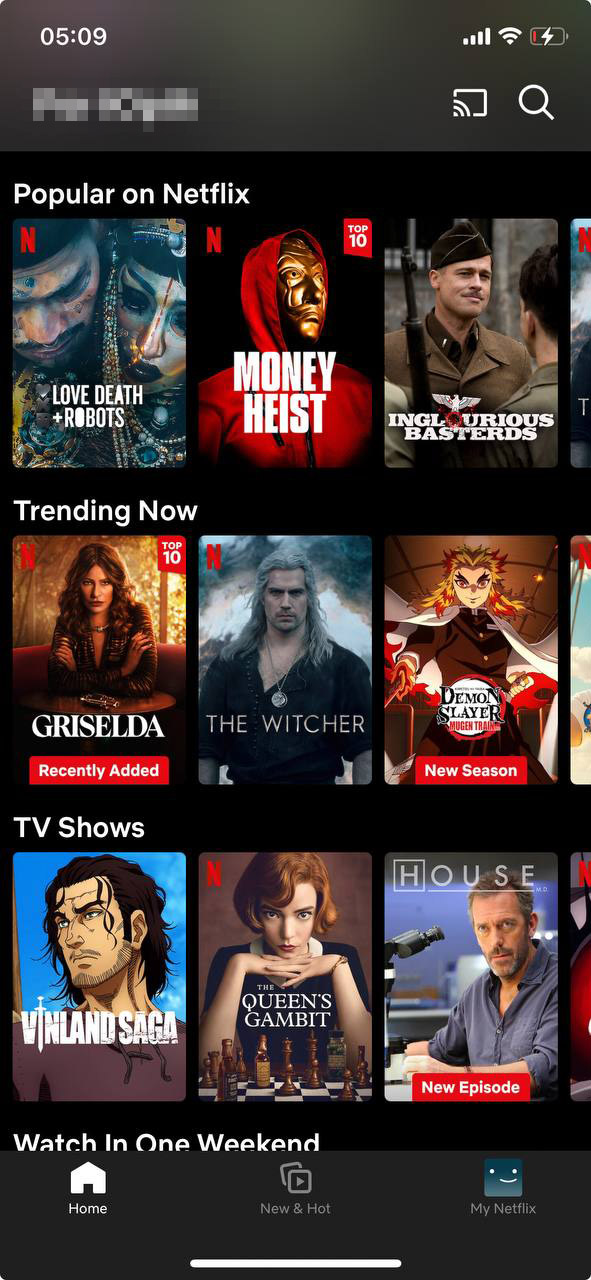
- Explore the library and start streaming. You can search for specific titles, browse playlists or recommendations, and even download content for offline viewing in some cases, which can be managed to minimize storage use.
This way you can save significant storage space that would otherwise be used for large media files, keeping your device’s storage free for other important uses.
Use Cloud Storage for Documents
Opting for cloud storage solutions allows you to access and manage your documents without storing them locally on your device, thus freeing up storage.
Here’s how to leverage these services effectively:
- Select a suitable cloud storage service. Popular options include Google Drive and Dropbox. They offer various storage plans to accommodate your needs.
- Install the service’s app from the App Store. Make sure to download the official version.
- Sign up for an account or log in if you already have one. Most services offer a basic free tier with the option to upgrade for more storage.
- Begin uploading your documents to the cloud. You can usually do this from within the app or by using the service’s website on a computer.
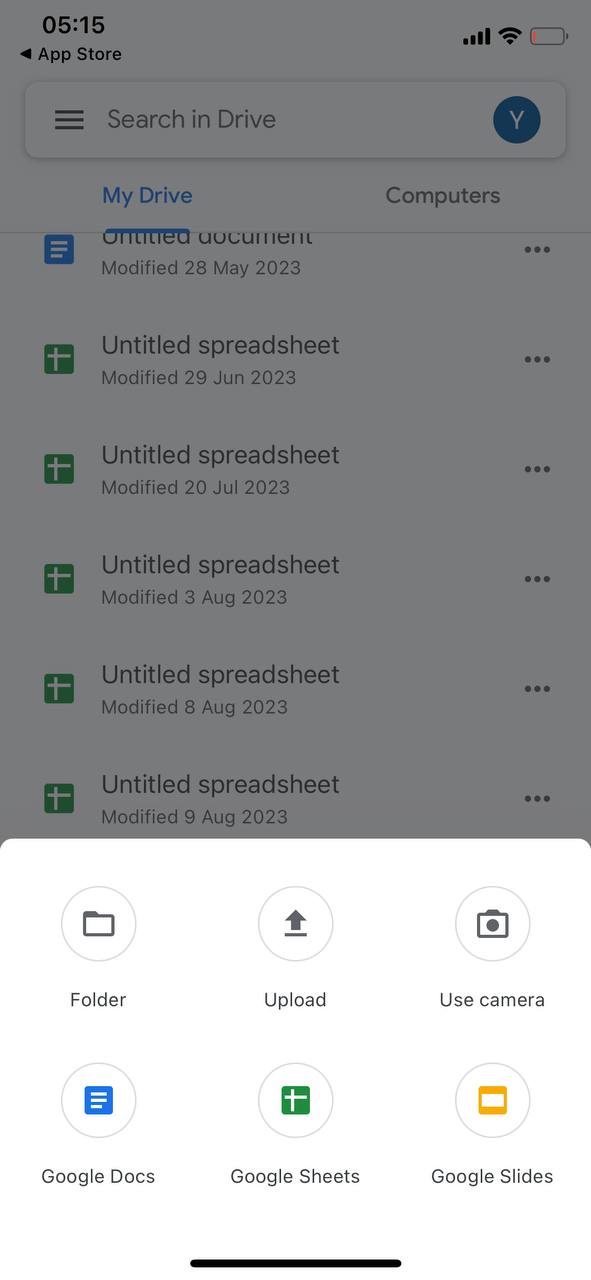
- Organize your files in the cloud. Create folders, set sharing permissions, and take advantage of collaboration features to work on documents with others in real time.
With this method, you not only save space on your iPhone but also make sure your files are backed up and accessible from any device with internet access.
Keep your iPhone Updated to Get the Latest Optimization Features
Apple regularly improves storage management and system efficiency with iOS updates. The latest iOS version can help optimize its performance and sometimes even free up storage space due to system improvements. Here’s how to check for and install an iOS update:
- Open the Settings app on your iPhone.
- Tap General, then select Software Update.
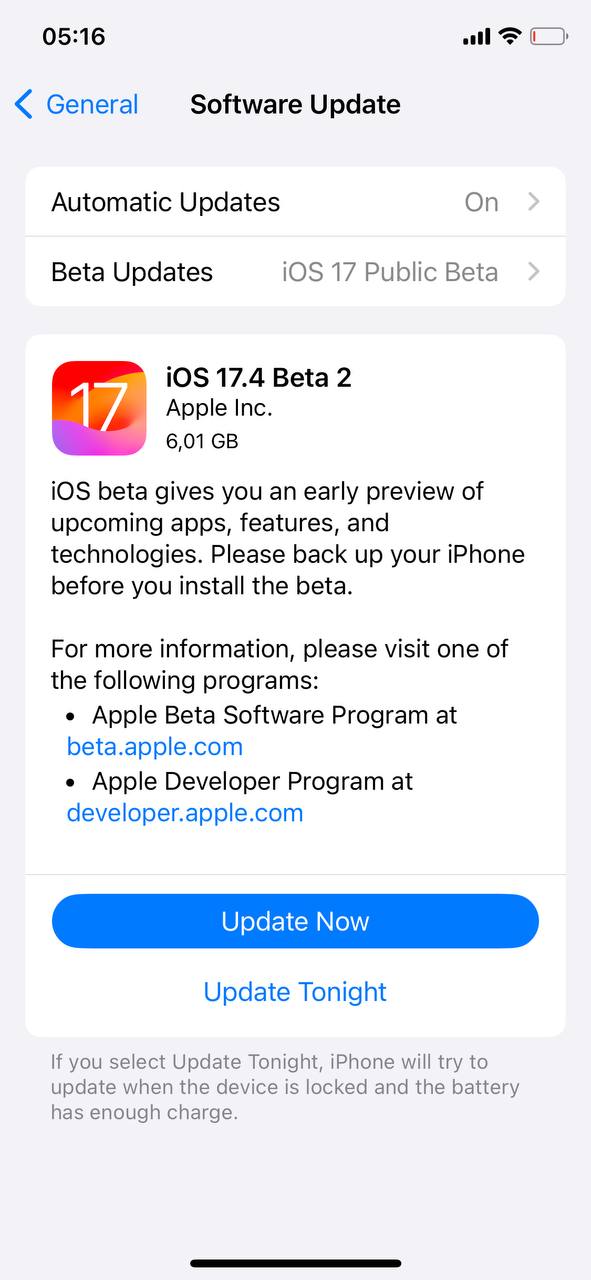
- Your device will check for available updates. If an update is available, you’ll see an option to Update Now.
- Tap it to start the update process. Make sure your device is connected to Wi-Fi and has enough battery charge, or plug it into a charger to make sure the update completes successfully.
- Follow any on-screen instructions to complete the installation. Your device may need to restart during the process.
Final Words
So, as you can see, it is possible to free up a lot of space without really losing anything important, whether it’s from your photo library or apps. Let’s quickly summarize what we covered.
- Want to free up storage fast without spending time digging through iPhone settings? Try a third-party AI cleaner. These apps can free up space with tools that don’t delete anything, like photo/video compression or Live Photo conversion. But for maximum effect, they can also help remove unnecessary files—like exact duplicates, similar photos, and other media clutter—things you wouldn’t even notice are gone. Clever Cleaner is a great option for this because it’s actually free and has features like Live Photo compression and automatic duplicate removal.
- Don’t mind doing some manual work? There are still plenty of options. If your iPhone is always connected to the internet and you already use iCloud extensively, consider iCloud Photo Optimization. This can store full-resolution images in the cloud while keeping smaller versions on your device, freeing up significant space without losing access to your photos.
- For non-photo files, consider storing large documents, videos, or backup files in the cloud instead of your iPhone. Services like Google Drive or Dropbox can help offload big files, yet keep them accessible whenever you need them.
- Want to keep everything local? Switch to HEIC format, offload unused apps, clear app caches, and manage burst photos—all of these combined can help reclaim a lot of storage without deleting anything important. Yes, going through iPhone storage settings takes a little time, but the storage you recover makes it worth it.
FAQ
To optimize storage on your iPhone without losing data, you can:
- Enable iCloud Photo Library: Store high-resolution photos and videos in iCloud while keeping smaller versions on your device.
- Offload Unused Apps: Remove apps while retaining their data, allowing you to reinstall them without losing any information.
- Clear Cache: Remove temporary files and app cache that accumulate over time.
- Use Cloud Services: Store documents, music, and other media in cloud services to free up local storage.
- Adopt Efficient File Formats: Use formats like HEIC for photos, which take up less space without compromising quality.
You can use iCloud to store photos and videos without them taking up space on your iPhone by enabling iCloud Photo Library with the “Optimize iPhone Storage” setting. This setting stores full-resolution photos and videos in iCloud and keeps smaller, optimized versions on your device. To enable this:
- Open the Settings app on your iPhone.
- Tap on your name at the top to access Apple ID settings.
- Select iCloud and then Photos.
- Turn on iCloud Photos and select Optimize iPhone Storage.
To clear temporary files and browsing data on your iPhone you can:
- Clear Safari Cache: Go to Settings > Safari > Clear History and Website Data. This removes stored website files but keeps your bookmarks and saved logins.
- Clear Other App Cache: Most third-party apps don’t have a built-in cache-clearing option, so first check the app’s settings for a Clear Cache option. If there’s none – you can delete and reinstall the app to remove cached data.
- Restart Your iPhone: A simple restart can flush some temporary system files, freeing up a small amount of storage.
Yes, some hidden storage hogs on your iPhone include:
- Message Attachments: Photos, videos, and other attachments in your Messages app can take up significant space.
- App Cache and Data: Apps like social media and streaming services can accumulate cache and offline data.
- Old Podcasts and Downloads: Unplayed podcast episodes and downloaded files from various apps can consume storage.
- Burst Photos and Screenshots: Multiple similar photos and unnecessary screenshots can occupy storage unnoticed.
- System Data: Sometimes, iOS system files and updates can take up space, which may require a system restart or update to clear.