How to Organize Photos on a Mac
Finding the perfect snapshot amidst a sea of digital photos on your Mac can often feel like searching for a needle in a haystack. That’s the problem many of us face, with pictures scattered across various devices and folders. The solution? Embracing a blend of the Photos app’s built-in features alongside some powerful third-party tools to bring order to chaos. This approach ensures your precious moments are neatly organized, easily accessible, and free from duplicates. With proven strategies and recommended tools, this guide is your trusted ally in mastering photo organization on your Mac.
Utilize Albums for Photo Categorization
Got a ton of photos? Putting them into albums in the Photos app can help you keep things neat. Think about them like a drawers for your stuff, so you always know where everything is.
How to Make an Album
It’s pretty easy to set up an album. Just follow these steps:
- Open the Photos app and hit the ‘Albums’ tab.
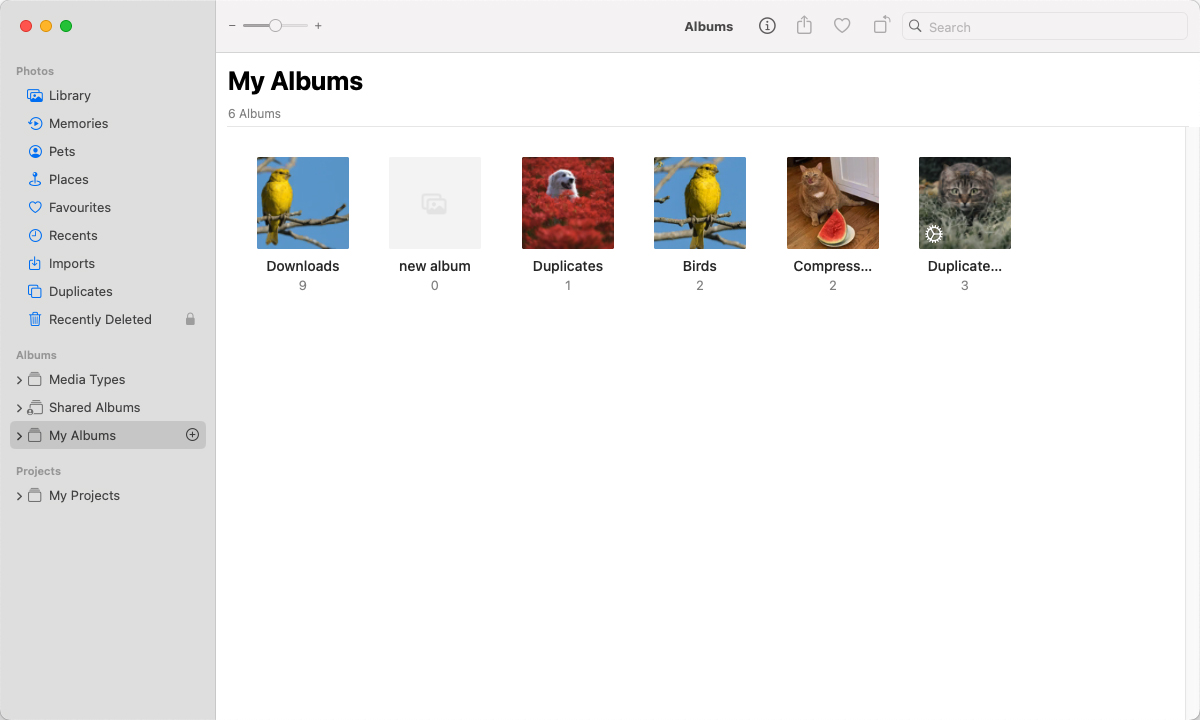
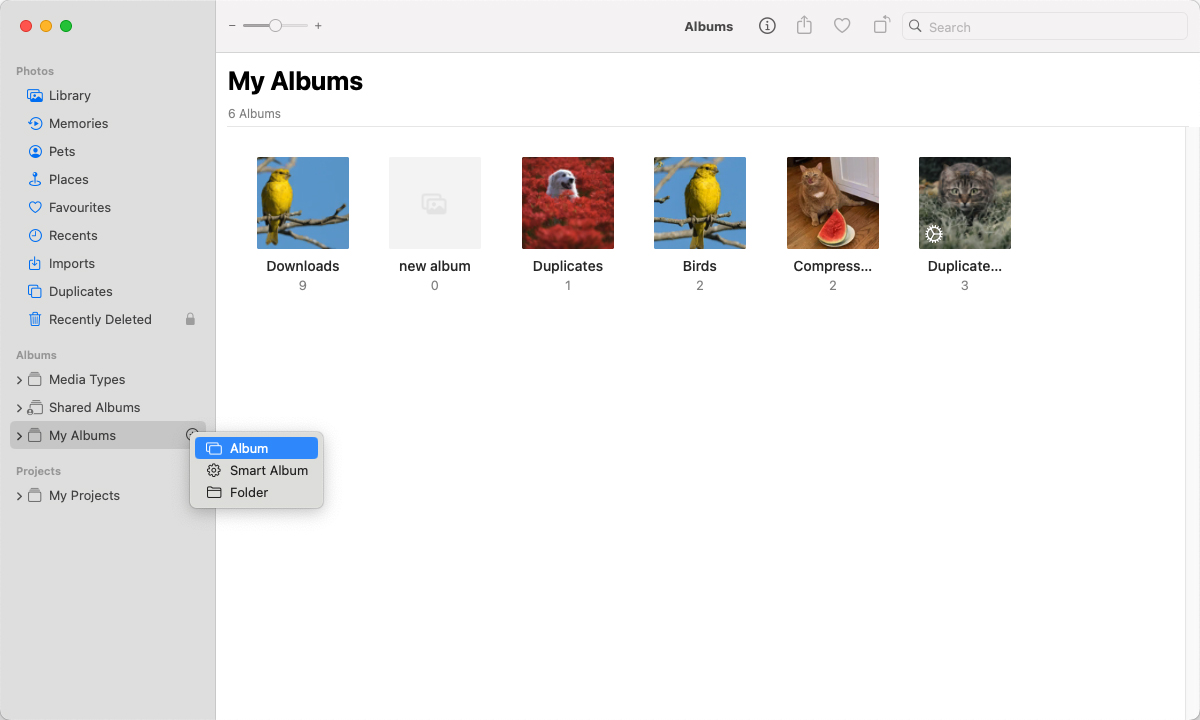
- Click the ‘+’ sign and pick ‘New Album.’
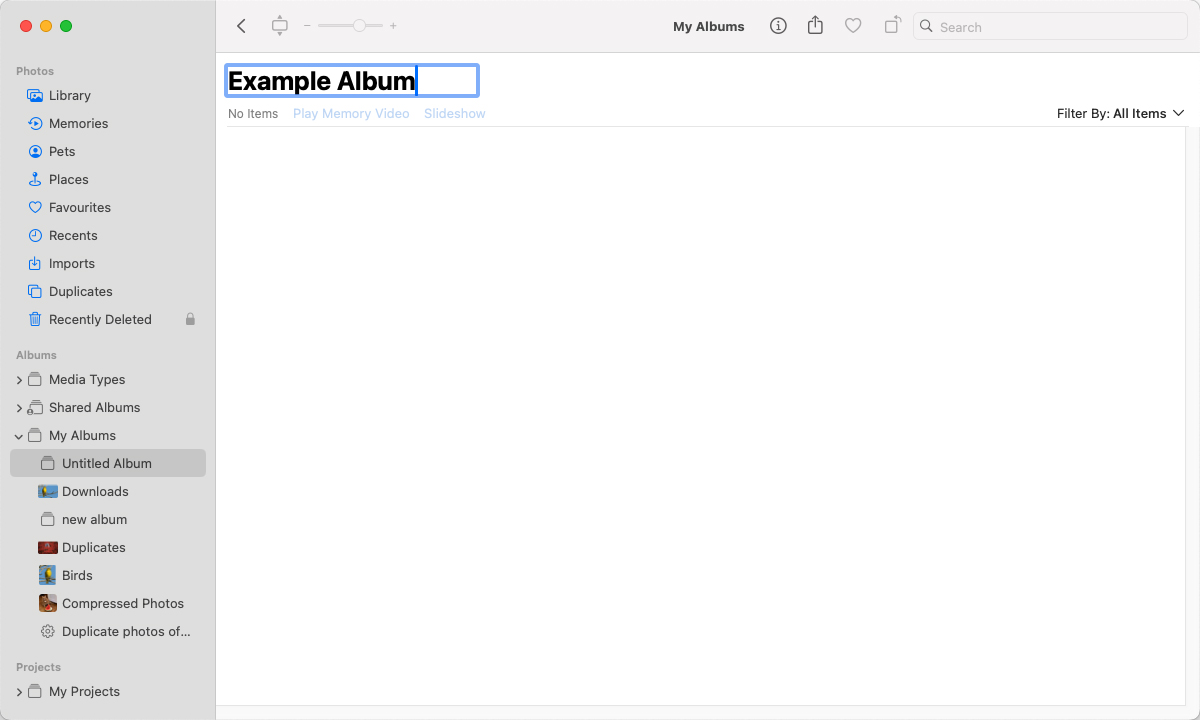
- Name your album something that makes sense to you.
- Drag and drop photos into your new album, or hit the ‘Add Photos’ button to pick some.
Some Album Ideas
Not sure how to group your photos? Here are a few album ideas:
- Events: Make an album for each big event, like birthdays or trips.
- By Year or Month: Organize your photos by when they were taken. It’s a cool way to look back on what you did each year.
- People or Places: Have albums for important people in your life or places you love visiting.
Keeping your photos in albums makes finding that one picture you’re looking for way easier. And it’s nice to have everything sorted when you’re showing your pics to friends or family. But, if you want to get fancy, you can use ‘Smart Albums.’ They sort your photos for you based on rules you set, like dates or who’s in the picture.
Use Smart Albums for Automated Organization
If you like things to be super organized without much fuss, Smart Albums in the Photos app are like magic. You set the rules, and it does all the sorting for you. Pretty neat, right?
Setting Up Smart Albums
Here’s how to get a Smart Album going:
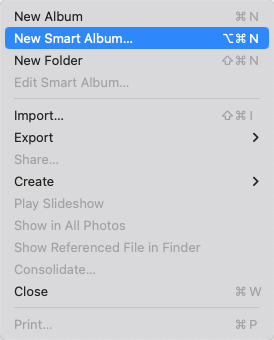
- Jump into the Photos app and look for ‘File’ up top. Click it and choose ‘New Smart Album.’
- Give your Smart Album a name that tells you what it’s about.
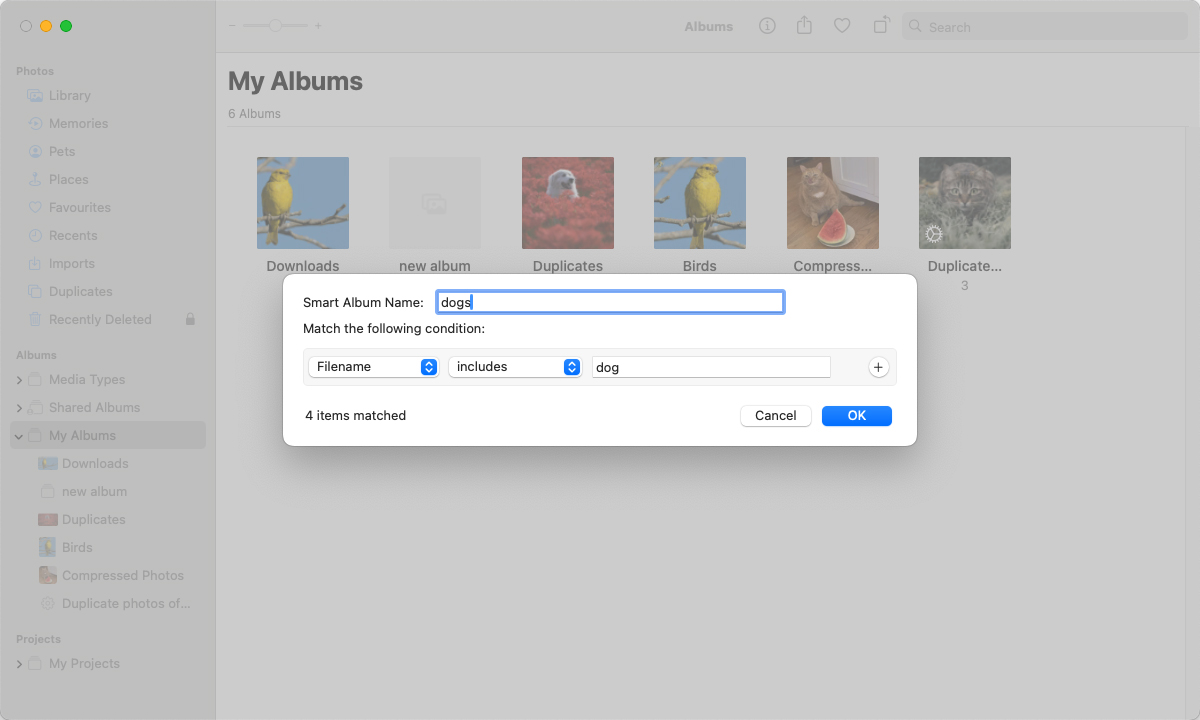
- Pick the rules for what goes in the album, like all photos from your birthday month or pictures where you’ve tagged a specific friend.
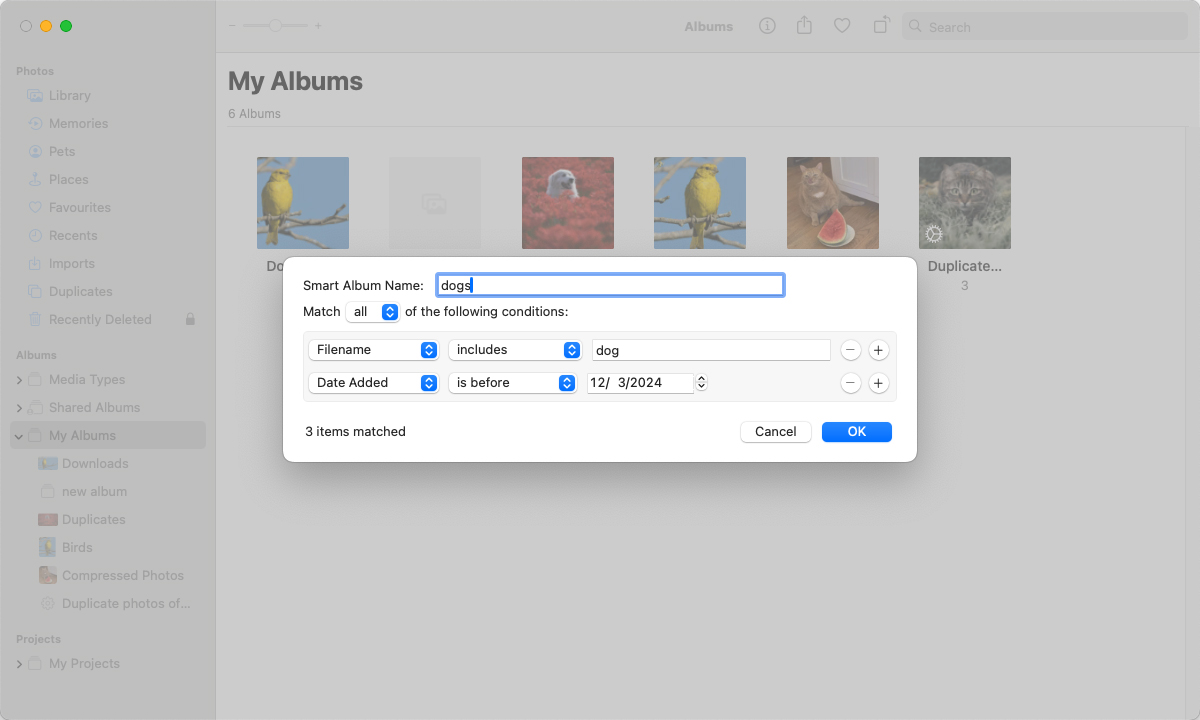
- Hit ‘OK,’ and watch the album fill up with the right photos.
New pics that match your rules will automatically go into your Smart Album. No more dragging and dropping every time.
Smart Album Ideas
Need some inspiration? Here are a few Smart Album setups that can make your life easier:
- Sort by Date: Keep track of photos from specific times, like holidays or seasons.
- Sort by Place: Group all your photos based on where you took them. Handy for travelers!
- Sort by Tags: If you’re into tagging your photos with stuff like ‘beach’ or ‘hiking,’ you can have a Smart Album for each tag.
Smart Albums are a game-changer if you’ve got loads of photos and not a lot of time. They keep everything organized automatically, so you always know where to find your memories.
Use Folders for Organization Outside of Photos App
Want more control over your photo organization? Using folders in Finder is a solid move. It’s like having a big cabinet where every drawer and folder is labeled just how you like it.
Building a Folder System
Here’s a quick guide to setting up your photo folders:
- First up, create a main folder called ‘Photos’ or anything else that makes sense to you.

- Inside, make some subfolders for big categories. Think ‘Family,’ ‘Vacations,’ ‘Work’ – whatever fits your life.
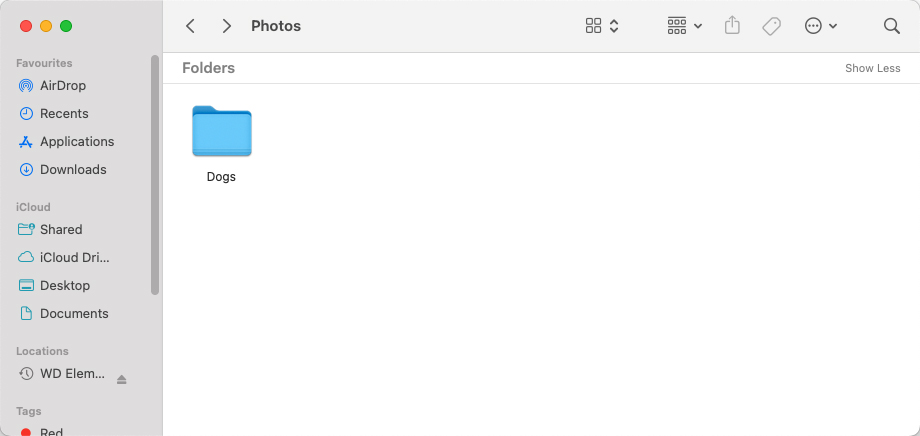
- If you want to get really detailed, you can make more folders inside those. Like, under ‘Vacations,’ have a folder for each trip you took.
This way, you’re not scrolling forever trying to find that one beach photo from three years ago.
Naming Your Folders and Files
A good naming system makes everything smoother. Keep these tips in mind:
- Stay Clear and Simple: Use names that tell you exactly what’s in the folder, like ‘Graduation 2022’.
- Date It: Adding dates to your folder names helps keep things in order, especially for events or projects.
- Avoid Vague Names: Skip names like ‘Misc’ that don’t tell you much. Be as specific as you can to avoid future headaches.
So, if the Photos app isn’t quite cutting it for you, try giving folders a shot. It’s a straightforward way to keep all your photos right where you want them.
Optimize Photo Imports and Deal with Duplicates
Getting new photos onto your Mac and keeping only the best shots doesn’t have to be a headache. Here’s how to make importing smooth and keep those pesky duplicates in check.
Making Importing Easy
When you’re moving photos over to your Mac, try these steps to keep things tidy:
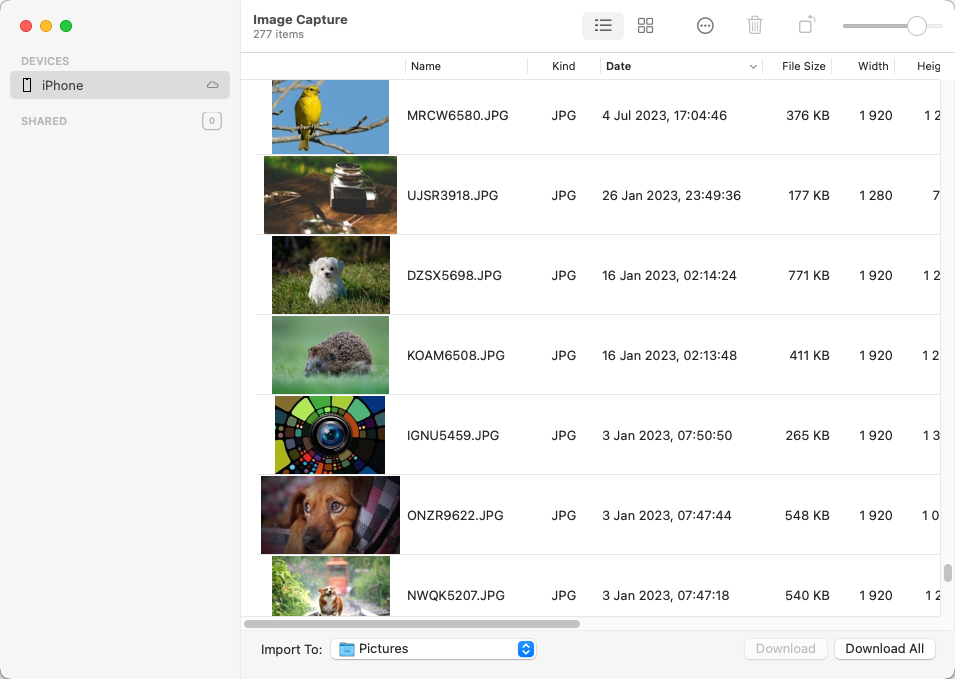
- Plug in your camera or phone and choose to import with the Photos app or Image Capture. Pick a spot for them right away, like an album or folder you’ve set up.
- If you can, delete the photos from your device after you import them. This way, you won’t end up with doubles.
- Sort your new photos as soon as they’re on your Mac. It’s easier to do it now than to sort out a mess later.
Need more details on getting your photos onto your Mac? Apple’s got a handy guide.
Spotting and Tossing Duplicates
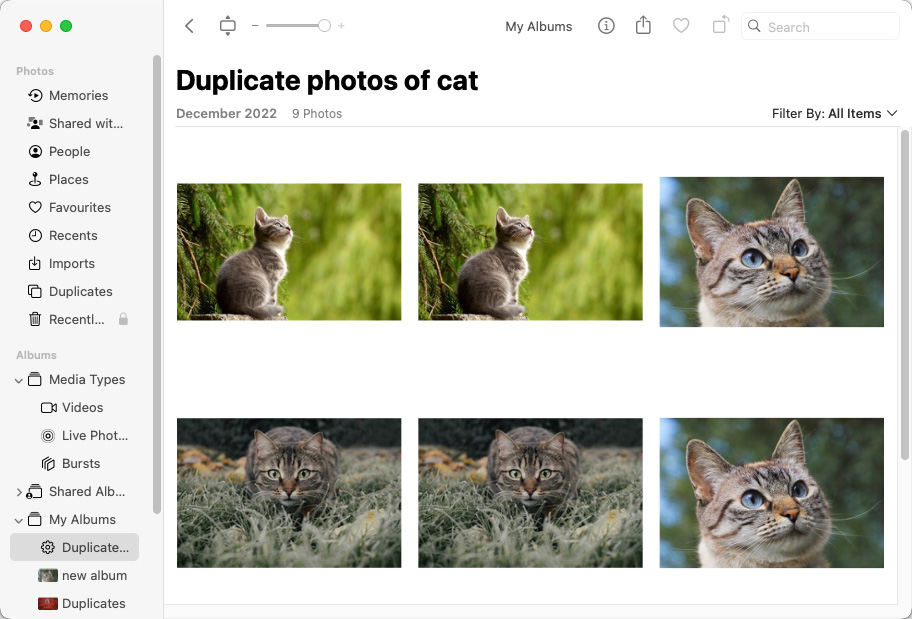
No one likes finding the same photo over and over in their library. Here’s how to clean up those duplicates:
- Every once in a while, take a scroll through your photos to spot any duplicates you’ve accidentally saved.
- If your Photos app has a ‘Merge’ option, use it to combine similar photos and keep only the best ones.
- Check out apps that can scan for doubles and make it easy to delete the extras.
With these tips, you’ll be a pro at managing your photos, from importing new memories to keeping your library duplicate-free.
Use Third-Party Organizational Tools
If the Photos app isn’t cutting it for your photo organization needs, don’t sweat it. There are some awesome third-party apps out there, each with its own superpowers for different kinds of photo management tasks. Let’s dive into a few and see what they can do for you.
Different Apps for Different Needs
Depending on what you’re after, there’s likely an app that fits the bill:
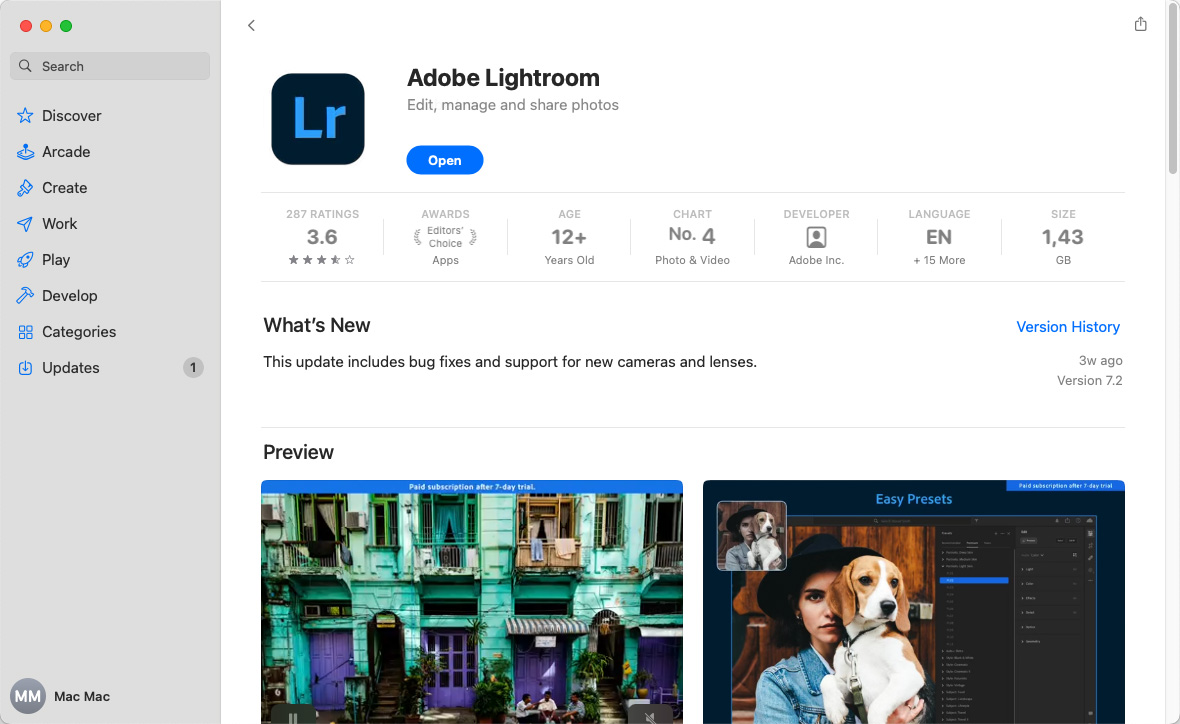
- For Heavy-Duty Organization: Adobe Lightroom is a powerhouse not just for photo editing but also for organization. It lets you tag photos, create albums, and even sort photos by camera settings. Lightroom is perfect for photography enthusiasts looking to keep their extensive collections in tip-top shape. Learn more about it on Adobe’s website.
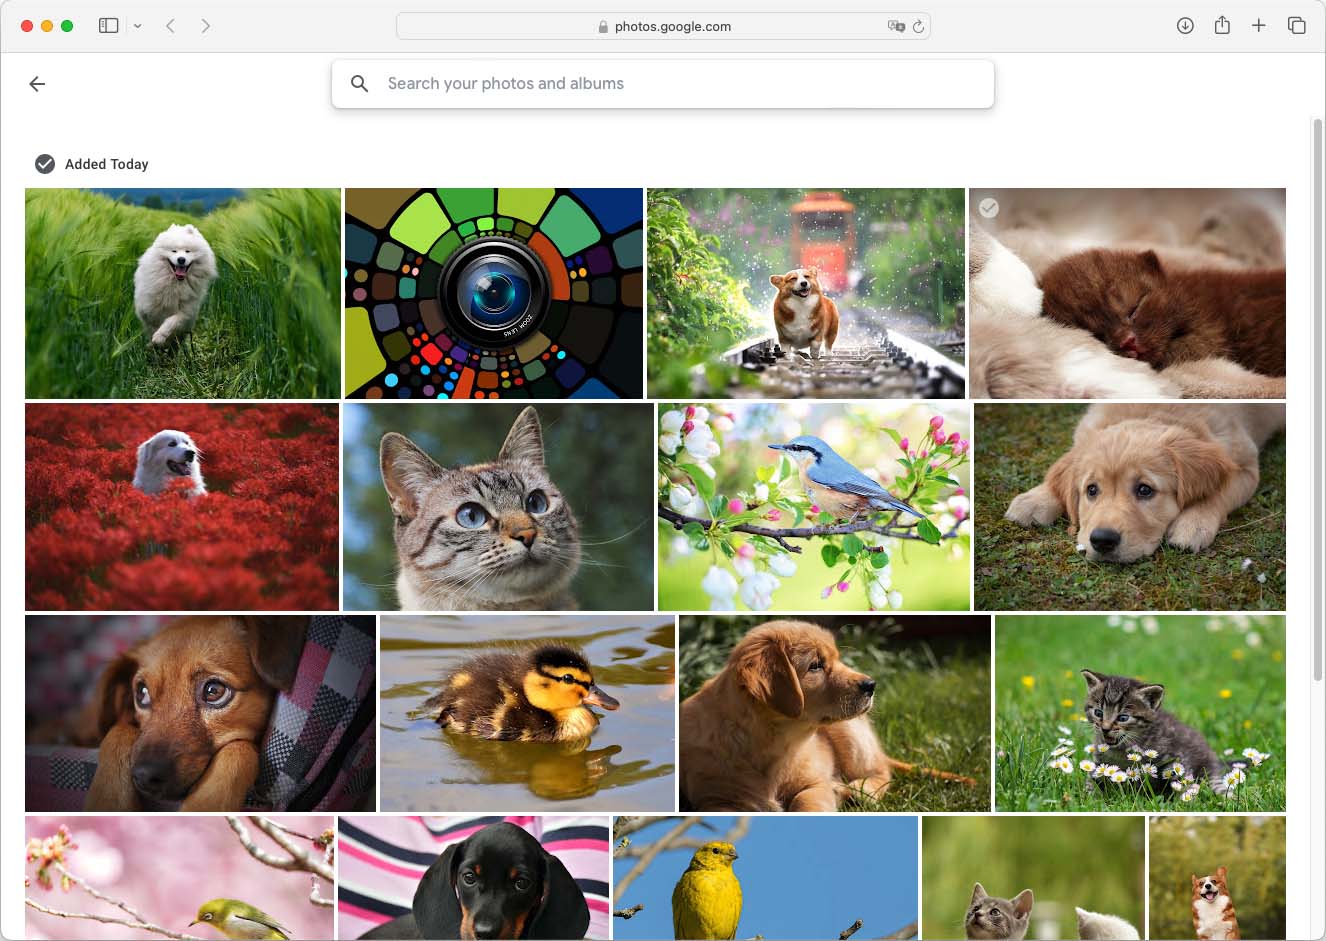
- For Cloud-Based Convenience: Google Photos offers a seamless way to back up and organize your photos in the cloud. It uses AI to automatically categorize your photos by faces, places, and things, making it a breeze to find what you need without lifting a finger. Plus, it’s free for a certain amount of storage. Dive into Google Photos here.
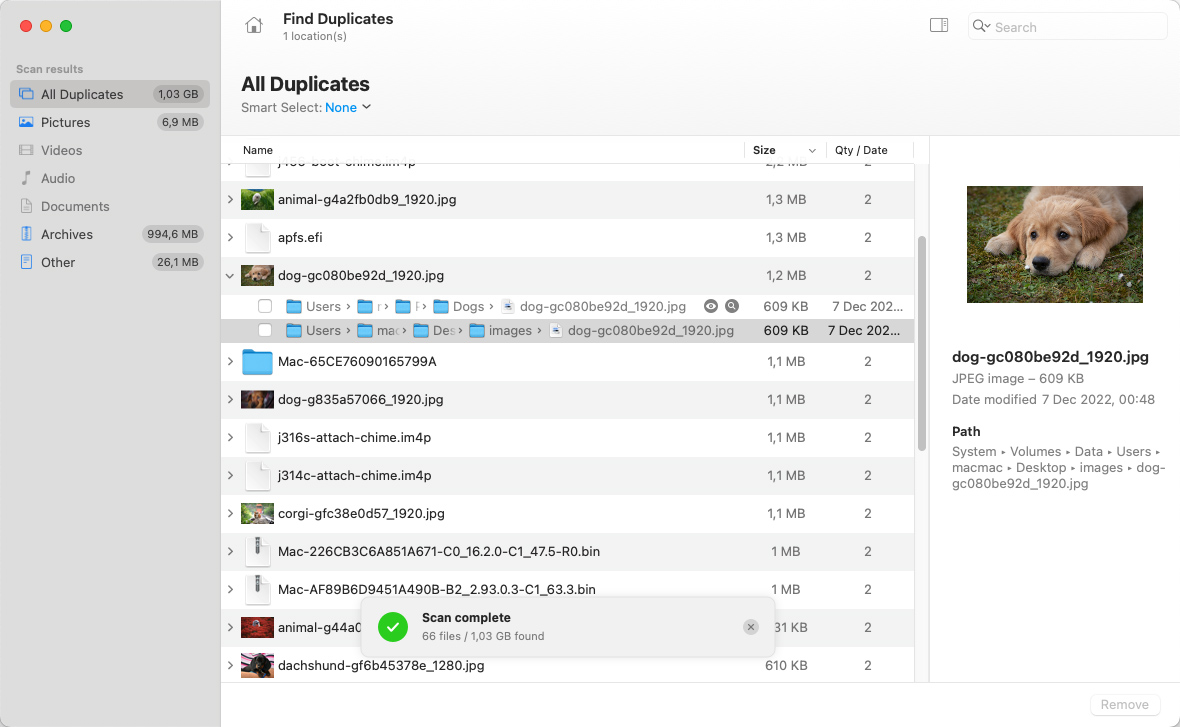
- For Clearing Out Duplicates: Disk Drill goes beyond just data recovery; it’s also great at spotting and zapping duplicate photos. If your library’s getting a bit too crowded with multiple copies of the same shot, Disk Drill can help tidy things up and free some space. Learn more about Disk Drill’s capabilities here.
Each of these tools brings something special to the table. Lightroom is fantastic for those who love getting into the nitty-gritty of organization and editing. Google Photos is all about hassle-free, automated sorting with the bonus of cloud backup. And Gemini Photos is your go-to for a quick and easy library decluttering session.
Picking the right tool depends on your specific needs and how you like to manage your photos. Give them a whirl and see which one clicks with you!
Conclusion
Photo organization on your Mac doesn’t have to be hard. By utilizing albums, smart albums, and Finder folders, you can create a solid foundation for keeping your digital memories well-organized and easily retrievable. But when the built-in Photos app features fall short, third-party tools like Adobe Lightroom, Google Photos, and Disk Drill step in to fill the gaps, offering advanced organization, cloud storage solutions, and duplicate removal capabilities. This approach ensures that every snapshot has its place, making your photo collection into a well-curated gallery of your life’s best moments. Embrace these strategies and tools, and transform your photo management from a chore into a seamless part of your digital life.