Best Snipping Tools for Mac in 2022
One of the most common tasks that a user does on Mac is screen captures. This is done to save portions of the screen that contains an important text or image. Although you can use the default snipping tool on your Mac, the issue is it has limited features compared to other snipping tools.
How to Choose The Best Snipping Tool for Mac?
There are various factors that you should look at before picking a snipping tool. From affordability to features, these can all contribute to your choice in buying the best snipping tool for your Mac. Here are a few factors to consider:
💻 Functionality – Compared to the preinstalled screenshot app on your Mac, does it have better features? You’ll also need to see if it can capture snippets in any situation.
♻️ Affordability – If both snipping tools have the same features but are different in price, you’re better off picking the more affordable one.
🔑 Ease of use – To make the most out of your snipping tool, it needs to be as uncomplicated to use as possible. Pick a snipping tool that can be a great go-to option instead of the free screenshot tool on your Mac.
10 Best Snipping Tools For Mac
| Software | Features | Price |
| 1. SnagIt |
|
Starts at $62.99/year (15 days free trial) |
| 2. TextSniper App |
|
Starts at $7.99 (7 days free trial) |
| 3. Movavi Screen Recorder |
|
Starts at $39.95 (Unlimited free trial) |
| 4. Monosnap |
|
Starts at $2.5/month (Unlimited free trial) |
| 5. Greenshot |
|
Free and Open source |
| 6. Lightshot |
|
Free and Open source |
| 7. SnapNDrag |
|
Starts at $16.99 (Unlimited free trial) |
| 8. Capto |
|
Starts at $29.99 (14 days free trial) |
| 9. ShareX |
|
Free and Open source |
| 10. PicPick |
|
Starts at $2.5/month (Unlimited free trial) |
1. SnagIt
💡Screen Capture: Yes | Screen Record: Yes | Scrolling Capture: Yes | Ease of Use: Yes | Image Editing: Yes | Annotation Tools: Yes | Can Share Content: Yes | Optical Character Recognition: Yes | Has Mac Version: Yes
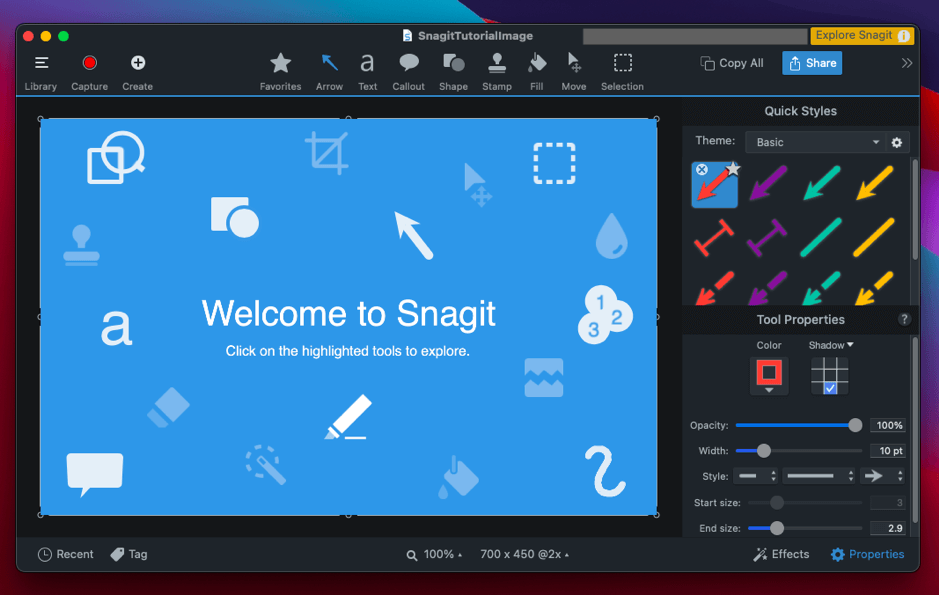
SnagIt is a free screen recording and screen capturing tool for macOS. You can use its screen capturing tool in various situations, including panoramic screen capture. It’s easy to use and only requires three steps.
- Easy to use
- Content is shareable via the app
- Has a variety of basic snipping tools
- Can do scrolling screenshots
- Grab Text feature sometimes doesn’t work
- Have to pay first on each upgraded feature before using
- Free Trial – 15 days
- Individual – $62.99/year
- Business – $62.99/year
- Education – $37.99/year
- Government & Non-profit – $53.99/year
2. TextSniper App
💡Screen Capture: Yes | Screen Record: Yes | Scrolling Capture: Yes | Ease of Use: Yes | Image Editing: Yes | Annotation Tools: No | Can Share Content: Yes | OCR: Yes | Has Mac Version: Yes
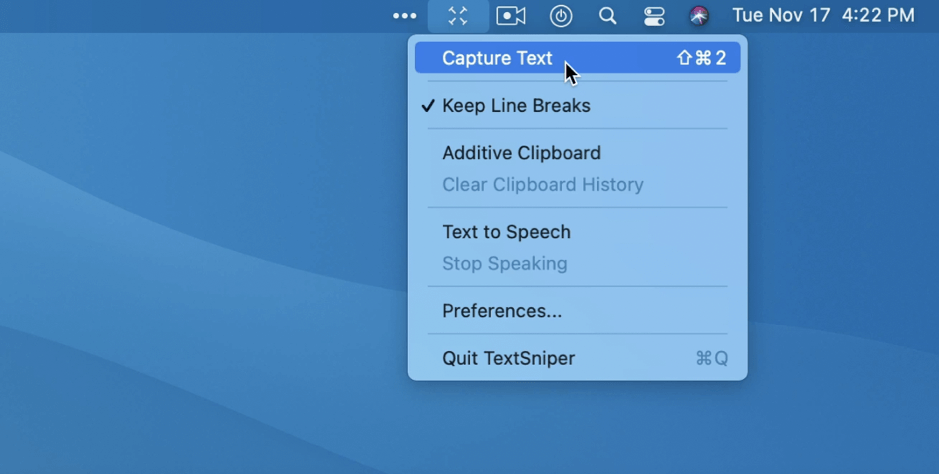
TextSniper is a great snipping tool for Mac users that features an effective OCR feature. This allows it to recognize texts from scanned images. Its beginner-friendly interface makes it ideal for daily use.
- Easy-to-use interface
- App is available in various languages
- Affordable compared to other snipping apps
- Major features require more payment to unlock
- OCR is sometimes inaccurate on complicated symbols
- Free Trial – 7 days
- License for 1 Mac – $7.99 (one-time payment)
- License for 3 Macs – $9.99 (one-time payment)
- Unlimited License – $11.99 (one-time payment)
3. Movavi Screen Recorder
💡Screen Capture: Yes | Screen Record: Yes | Scrolling Capture: Yes | Ease of Use: Yes | Image Editing: Yes | Annotation Tools: No | Can Share Content: Yes | Optical Character Recognition: No | Has Mac Version: Yes
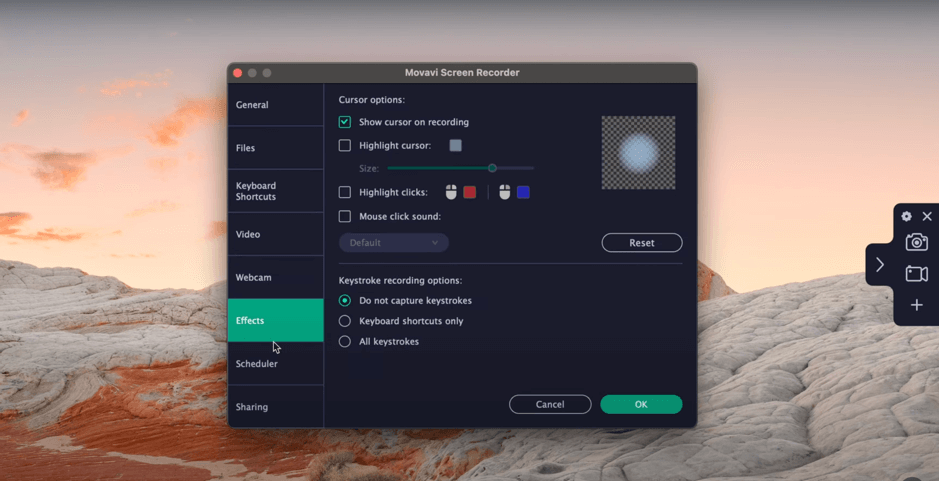
Another easy-to-use screen capturing tool is Movavi Screen Recorder. It features a great set of tools for screen recording that you can use to record video conferences and online videos. You can take snippets on your Mac with just one click.
- Beginner-friendly interface
- Can screen record at 1080p high-quality
- Has a video editing tool that you can purchase
- Software crashes were reported by some users
- Limited features on the trial version
- Exporting feature is buggy
- Free Trial – Unlimited
- Personal License – $39.95 (one-time payment)
- Business License – $49.95/year
4. Monosnap
💡Screen Capture: Yes | Screen Record: Yes | Scrolling Capture: Yes | Ease of Use: Yes | Image Editing: Yes | Annotation Tools: No | Can Share Content: Yes | Optical Character Recognition: No | Has Mac Version: Yes
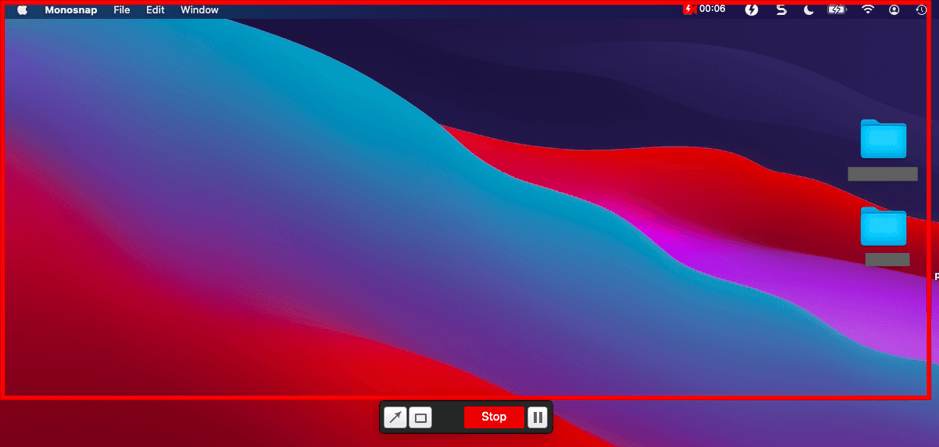
Monosnap is a handy snipping tool for Mac computers that comes with its own cloud storage. You can use their cloud to store and share your snippets without worrying about them taking up too much space on your Mac. It’s a quick way to produce high-quality screenshots.
- Can screen record GIFs and videos
- Customizable screenshot hotkeys
- Can capture on various parts of the screen
- Limited features on the trial version
- Cost can get higher once you access more advanced features
- Free Trial – Unlimited
- Non-Commercial – $2.5/month if billed yearly, $3/month if billed monthly
- Commercial – $5/month if billed yearly, $10/month if billed monthly
5. Greenshot
💡Screen Capture: Yes | Screen Record: No | Scrolling Capture: No | Ease of Use: Yes | Image Editing: Yes | Annotation Tools: Yes | Can Share Content: Yes | Optical Character Recognition: No | Has Mac Version: Yes
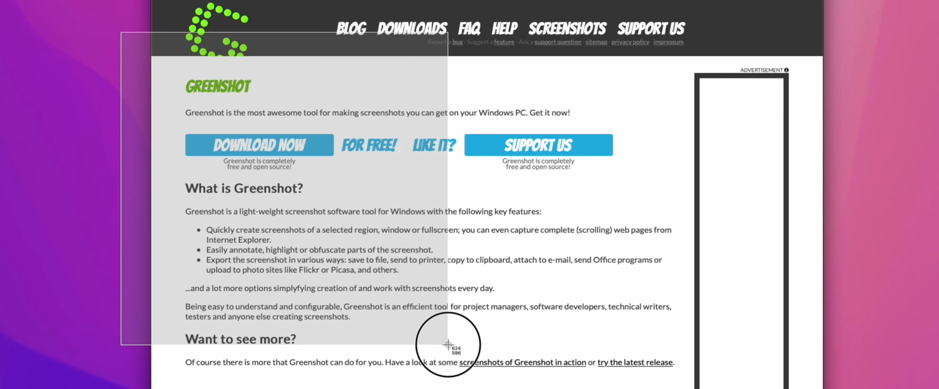
Greenshot is an open-source snipping tool available for both Mac and Windows OS. It has the basic screenshot options and annotation tools, and you can also share your content through various platforms such as MS Office programs, Picasa, Flickr, etc.
- Straightforward interface
- Does not take up too much memory space
- The app cannot open two screenshots at once
- Mediocre screenshot quality compared to other paid snipping tools
- Paid for Mac users at $1.99
6. Lightshot
💡Screen Capture: Yes | Screen Record: No | Scrolling Capture: No | Ease of Use: Yes | Image Editing: Yes | Annotation Tools: No | Can Share Content: Yes | Optical Character Recognition: No | Has Mac Version: Yes
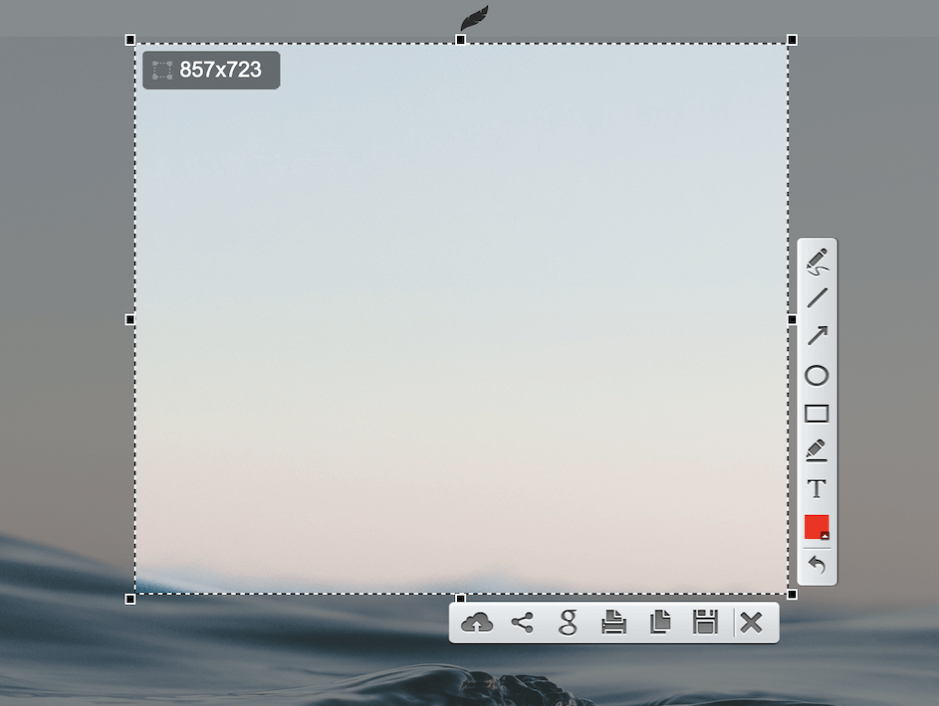
Lightshot is another lightweight screenshot tool for Mac and Windows computers. It captures screenshots efficiently and can be used to take consecutive screenshots without lagging. It has a beginner-friendly interface and is free.
- Lightweight and easy to use
- Free and can be downloaded from the App Store
- Has basic editing tools for snippets
- No capture modes
- Has no advanced editing and annotation tools
- Free
7. SnapNDrag
💡Screen Capture: Yes | Screen Record: No | Scrolling Capture: No | Ease of Use: Yes | Image Editing: Yes | Annotation Tools: Yes | Can Share Content: Yes | Optical Character Recognition: No | Has Mac Version: Yes
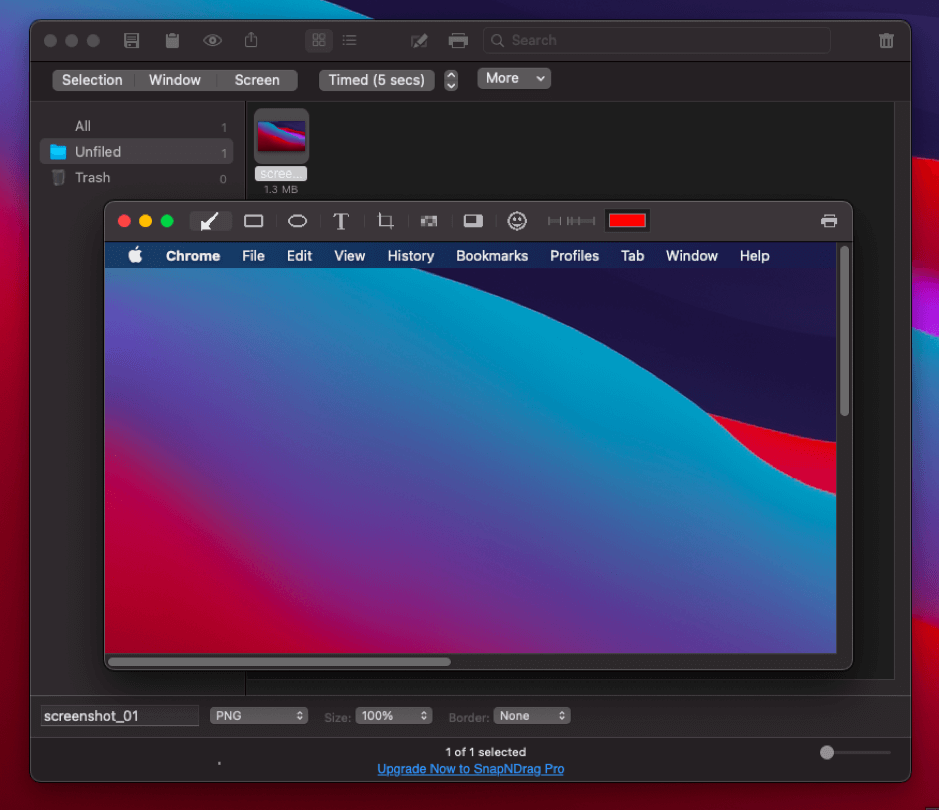
SnapNDrag is one of the older screenshot tools on Mac that can provide quality snippets. It has the basic annotating and editing tools necessary to edit your screenshots. You can also share the snippet via Mail, Messages, and social media platforms.
- Quick way to take quality screenshots
- Has basic editing and annotating tools
- Customizable hotkeys
- Screenshots have basic quality compared to other snipping tools
- The app interface can be buggy, as reported by some users
- Free Trial – Unlimited
- SnapNDrag Pro – $16.99 (one-time payment)
8. Capto
💡Screen Capture: Yes | Screen Record: Yes | Scrolling Capture: Yes | Ease of Use: Yes | Image Editing: Yes | Annotation Tools: Yes | Can Share Content: Yes | Optical Character Recognition: No | Has Mac Version: Yes
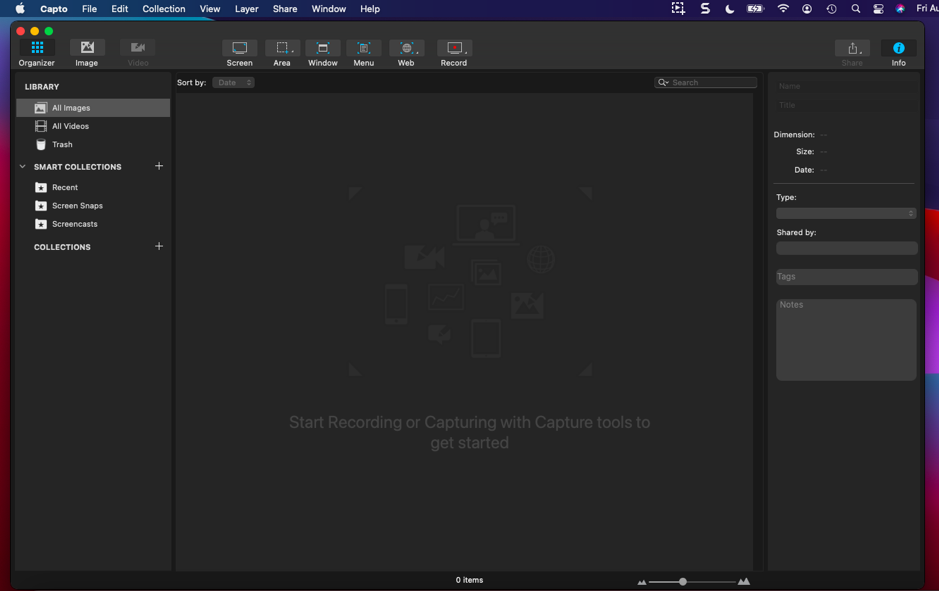
Capto is a screenshot tool on Mac that can also be used as a screen recording and video editing app. It has various screenshot modes and sharing options. You can also add annotations to your snippets using its editing tool.
- Powerful software for taking screenshots and screen recordings
- Has advanced editing tools
- Supports HD screen recording
- Instances of poor audio quality on screen recordings
- Limited file support
- Problems with handling larger media files
- Free Trial – 14 days
- Single User License – $29.99 (one-time payment)
9. Skitch
💡Screen Capture: Yes | Screen Record: No | Scrolling Capture: No | Ease of Use: Yes | Image Editing: Yes | Annotation Tools: Yes | Can Share Content: No | Optical Character Recognition: No | Has Mac Version: Yes
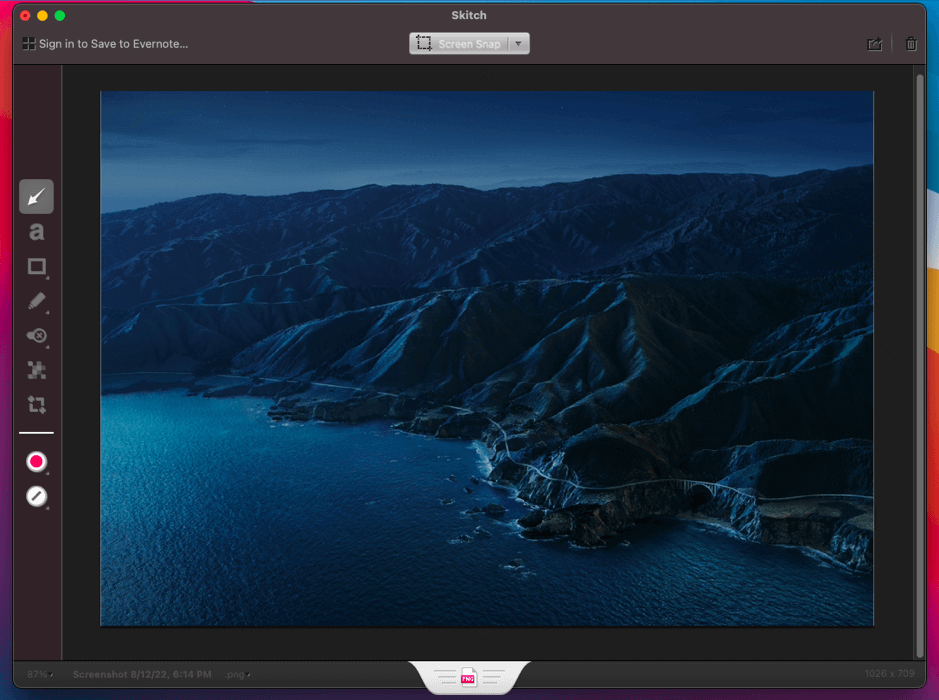
If you’re the type to mark your screenshots, then Skitch is the best snipping tool available. It’s also owned by Evernote, so the integration between both apps are seamless. Outside of that, it’s a simple snipping and markup tool with limited features.
- Integrates seamlessly with Evernote
- Free and can be found in the App Store
- Lots of photo marking tools
- Lacks an eraser
- Cannot record video
- Free
10. Droplr
💡Screen Capture: Yes | Screen Record: Yes | Scrolling Capture: No | Ease of Use: Yes | Image Editing: Yes | Annotation Tools: Yes | Can Share Content: Yes | Optical Character Recognition: No | Has Mac Version: Yes
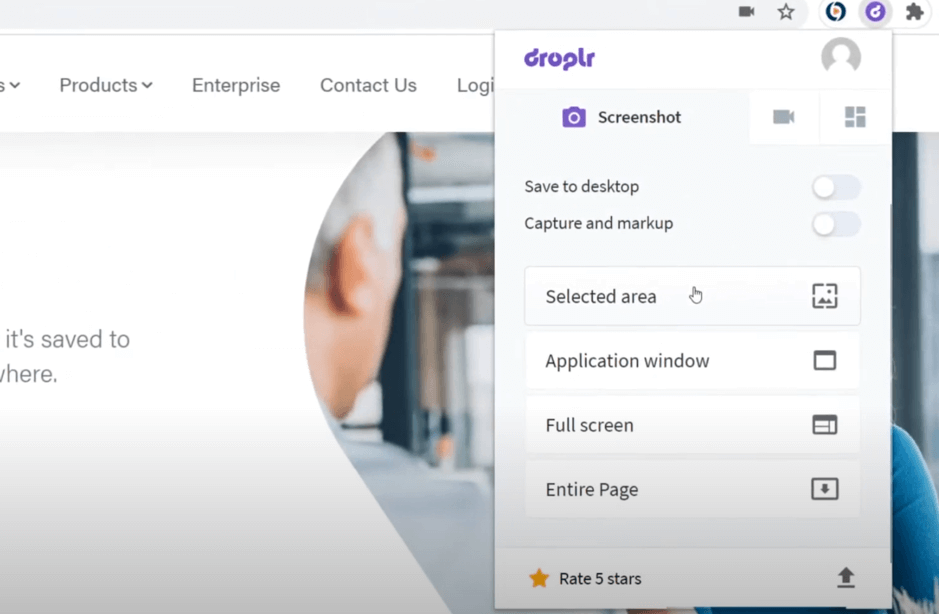
Droplr is one of the better tools on this list for screen recording and creating short GIFs. Lastly, users have access to a cloud link that they can share easily with others, which is perfect for apps that make it difficult to send complete photos.
- 4k quality screen-recording
- Premium add-ons
- Has a mobile app version
- Cannot annotate until photos are uploaded, making it feel slow
- GIF customization is lacking
- Pro Plus – $6 per month
- Team – $7 per user/month up to 15 users
- Enterprise – Custom quote, 16+ users
How to Snip on Mac
Taking snippets on Mac is easy as long as you know the right keyboard shortcuts. There are three ways to take a snip on your Mac computer:
- taking a screenshot of the entire screen
- taking a screenshot of a selected area
- taking a timed screenshot
To take a screenshot of the entire screen, this is what you need to do:
- Press the keys Command + Shift + 3.
- A small thumbnail will appear at the bottom-left where you can edit and save the image.
To take a screenshot of a selected area, follow these steps:
- Press the keys Command + Shift + 4 on your keyboard. A small bullseye icon will appear on the screen to replace the cursor.

- Click on the top-left corner of your desired area.
- Then, hold and drag to cover the rest of the area that you want to screenshot.
- Release once the whole area has been covered.
- A screenshot thumbnail will appear on the bottom-right corner of your screen.
- Click it to edit and save.
Lastly, here are the steps to take a timed screenshot:
- Press the keys Command + Shift + 5 to open the Screenshot app interface.
- Then, click on options and check either 5 or 10 seconds. You can now take a screenshot with a delay based on your selected time.

Where to Find Your Saved Screenshots on a Mac
By default, your screenshots will be saved in the Desktop folder on your Mac. However, you can change this by going to the Options menu on the Screenshot app. To do this, just follow these steps:
- Open the Screenshot app by selecting the Spotlight search feature on your Mac and typing in screenshot. Alternatively, you can press the keys Command + Shift + 5 on your keyboard.
- Click Options.
- Under Save To, the checked folder will be your default folder destination for screenshots.
- To change it, select another folder and close the app. Your saved screenshots will now be saved in your selected folder destination.
FAQ
- SnagIt
- TextSniper App
- Movavi Screen Recorder
- Monosnap
- Greenshot
- SnapNDrag
- Capto
- Skitch
- Droplr
- SnapNDrag
- Monosnap
- Movavi Screen Recorder
On Macs that are running macOS Mojave or later, you can add a timer or delay to your screen capture and choose a different folder destination for your screenshots via the Screenshot tool.
- Lightshot — free, lightweight screenshot tool with a beginner-friendly interface
- SnapNDrag — free, quick, and allows sharing screenshots to Mail, Messages, and other social media platforms
- Droplr — 4k screen recording, mobile app available, GIF creation