How to Clear Up Email Storage on Mac
Is your Mac running slower than it used to? One culprit might be your Mail app quietly hoarding gigabytes of data. But don’t worry, you’re not alone in this. Many of us overlook our inboxes when hunting for ways to free up space. This guide will walk you through some straightforward strategies to clear mail storage on Mac, from basic clean-ups to a few more advanced tricks for those feeling adventurous. So, let’s reclaim tha disk space and get your Mac running smoothly again.
Do Emails Take Up Significant Storage on Mac?
Yes, emails can definitely use up a good chunk of storage on your Mac. Usually, it’s not the emails themselves though but all the attachments and cached data that come with them. Let’s break down how Apple Mail, and similar email clients, store data on your Mac and why it can end up using more space than you might expect.
- Email messages: Even plain text emails can accumulate and start taking up space if you get a lot of them and don’t clean out your inbox regularly.
- Attachments: This is where the real space usage kicks in. Photos, documents, videos – they all add up.
- Cached data: To make loading emails quicker, Apple Mail stores certain data. Over time, this cache can grow quite large.
When you put it all together, it’s easy to see how email can become one of the larger users of your disk space. This is especially true if you’re juggling multiple accounts or if you tend to receive a lot of emails with hefty attachments.
All in all, while emails might not seem like big space hogs at first glance, the attachments, and cached data can really add up. Keeping an eye on your email storage is an important part of managing your Mac’s overall storage space.
How to Clear Mail Storage on Mac
Struggling with a Mac that’s running low on storage due to a bloated Mail app? Here are some hands-on steps to free up some much-needed space, ranging from simple clean-ups within the Mail app to more advanced tweaks for those who are comfortable diving a bit deeper into their Mac’s system settings.
Method 1: Delete Unnecessary Emails and Attachments
This method is the most obvious way of decluttering your Mail app by getting rid of emails and attachments you no longer need. Here’s a step-by-step guide:
- Start by launching the Mail application on your Mac.
- Use the sorting feature to arrange your emails by size. This will help you quickly identify emails with large attachments that are taking up the most space.
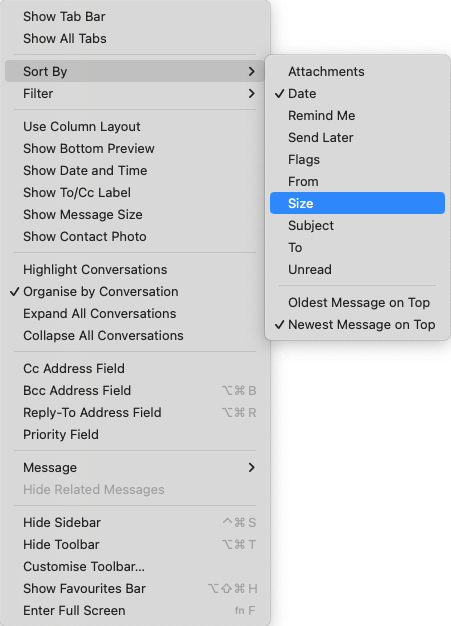
- Go through the list and select emails with attachments that you no longer need. Preview the attachment if you’re unsure whether to keep it or not.
- If the entire email is unnecessary, select it and press the ‘Delete’ key, or click the trash icon to move it to the Trash folder.
- Don’t forget to delete emails from the bin folder to permanently remove the emails, freeing up space.
By methodically sorting, reviewing, and deleting unnecessary emails and attachments, you’ll be able to significantly clear mail storage on Mac. It’s a simple yet effective way to manage your Mail app’s impact on your Mac’s overall storage without diving into more technical solutions.
Method 2: Clear Mail Cache on Mac
Over time, the Mail app accumulates cached data to speed up its performance. However, this cached data can grow to consume significant storage space. Here’s how to clear it:
- Make sure the Mail app is closed before you begin so that the app is not using the files you’re about to delete. And open a new Finder window.
- Hold down the ‘Option’ key, click on the ‘Go’ menu at the top of the screen, and select ‘Library’. The Library folder is hidden by default, but holding the ‘Option’ key reveals it.
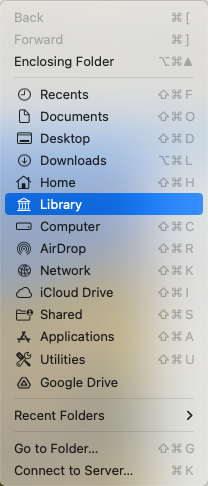
- Inside the Library folder, find and open the ‘Mail’ folder. This is where all Mail-related data, including caches, is stored.
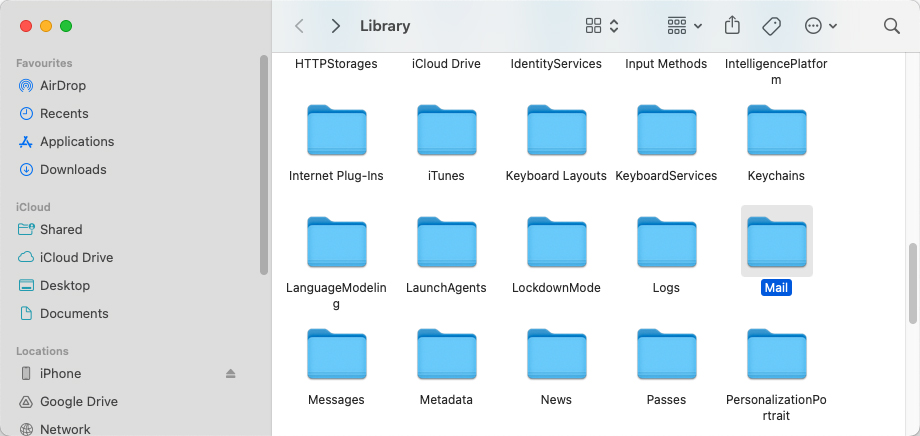
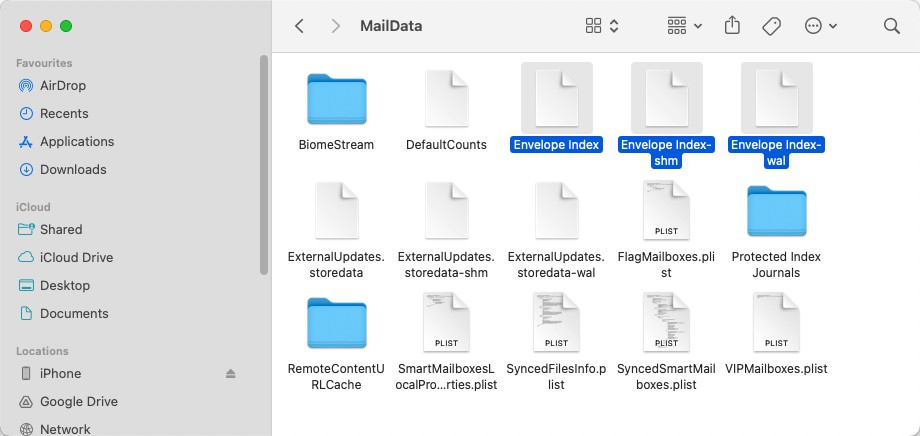
- Within the Mail folder, look for folders named like ‘V10’ or other versions depending on your macOS. Open it, and find the ‘MailData’ subfolder. Inside, locate files with names starting with “Envelope Index” and delete them. These are cache files that Mail uses to store data about your emails.
- After deleting the cache files, don’t forget to empty the Trash to permanently free up the space.
By clearing the cache, you’re forcing the Mail app to start fresh with its data storage, which can help resolve performance issues and reduce its storage footprint. This process can clear mail storage Mac users need without affecting your emails and personal settings.
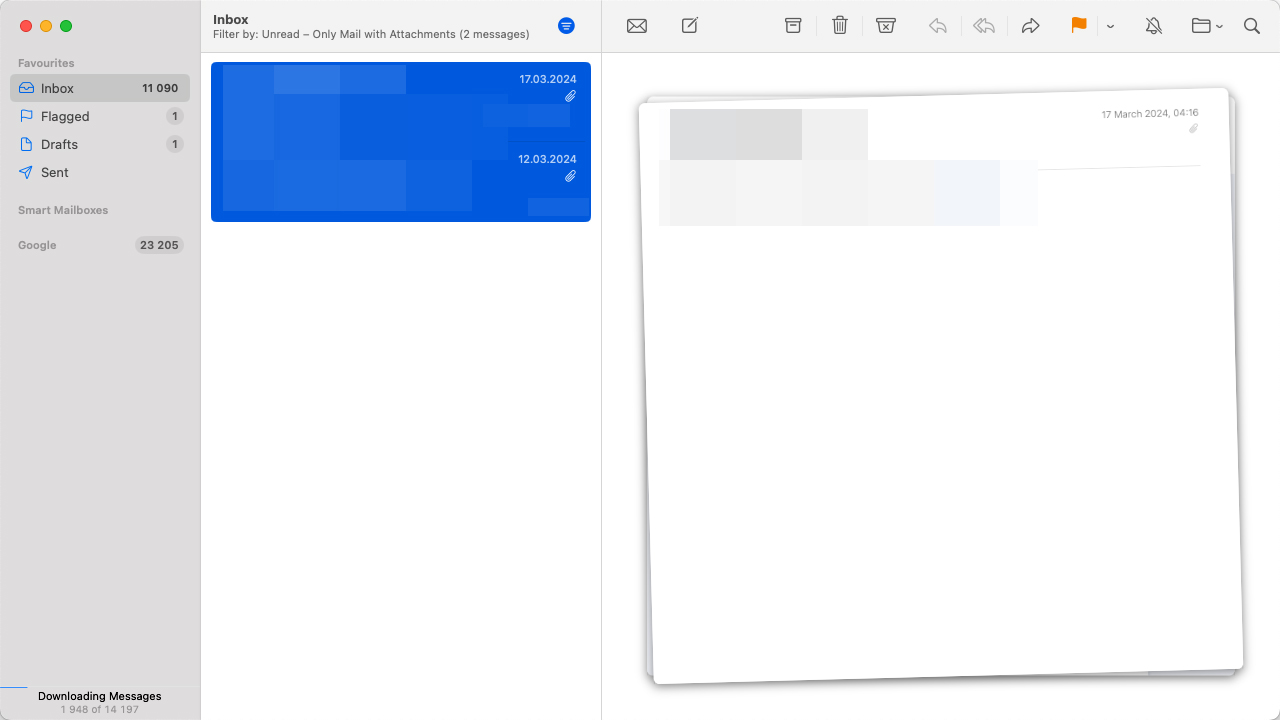
Method 3: Empty Trash within Mail Application
Deleting emails isn’t the end of the story – they linger in the Trash until it’s emptied. Here’s how to make sure they’re gone for good:
- Fire up the Mail app to get started.
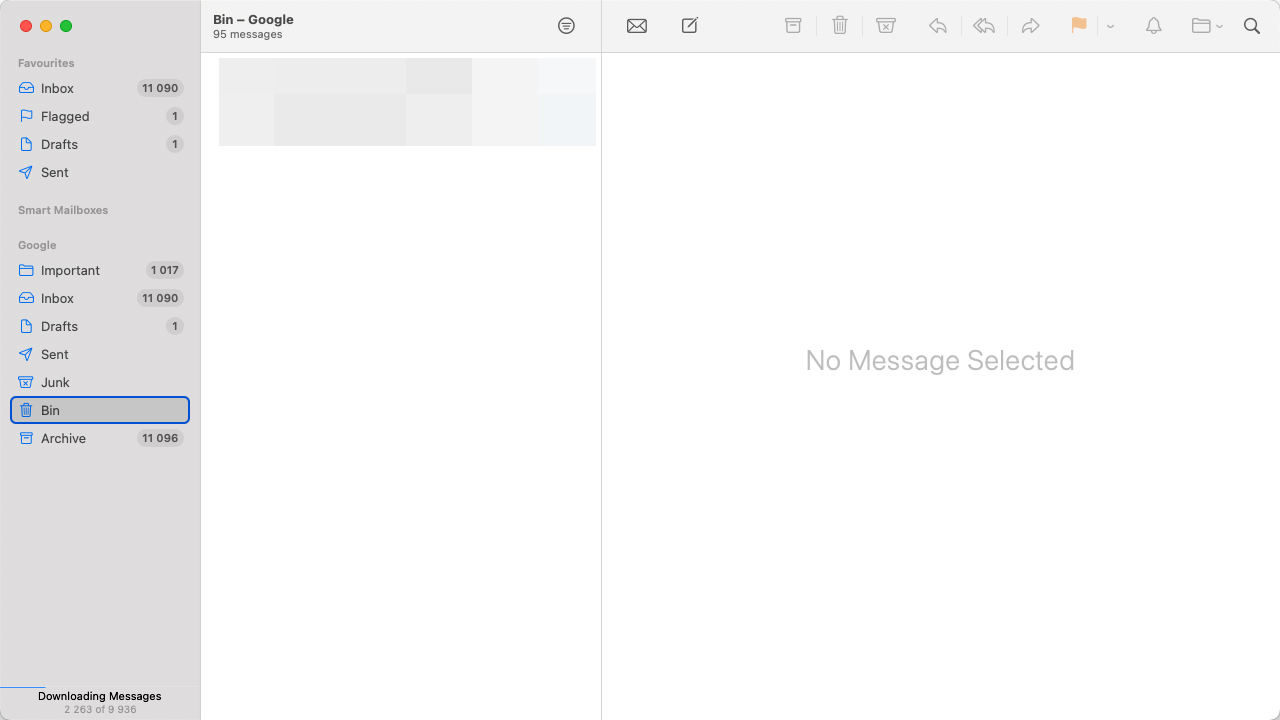
- Look for the ‘Bin’ mailbox in the sidebar. If you have multiple email accounts set up, each will have its own Trash.
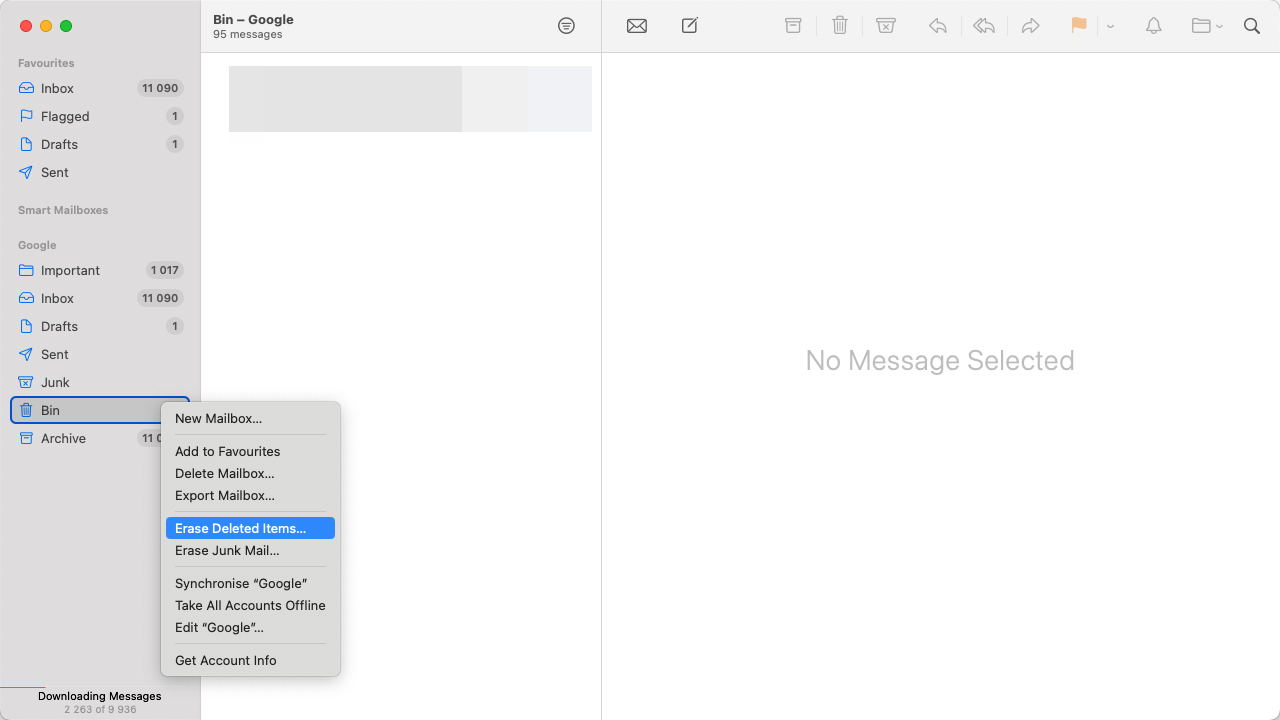
- Right-click (or control-click) on the ‘Trash’ mailbox and choose ‘Erase Deleted Items’. You’ll usually get a choice to do this for all accounts or just one. If you’re sure, go ahead and erase them all.
When you empty the Trash in Mail, those emails are completely removed from your Mac, clearing mail storage on Mac significantly. It’s a quick win for reclaiming space and keeping your Mail app tidy.
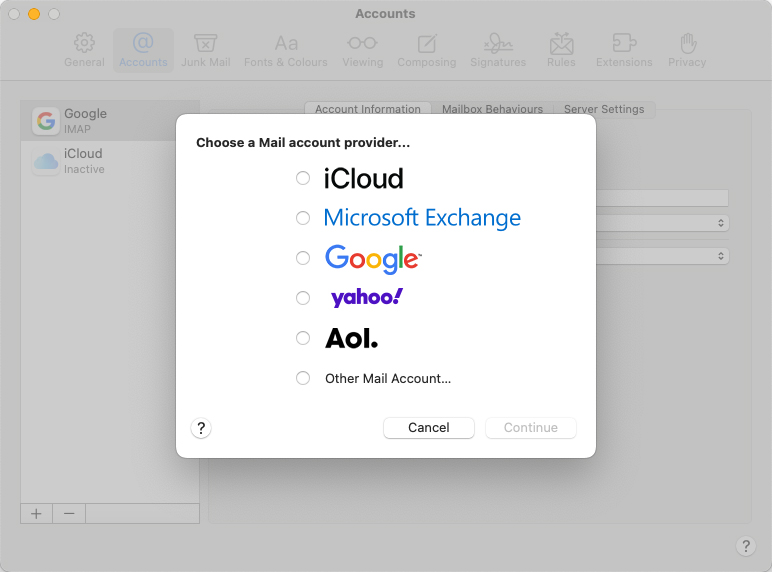
Method 4: Remove and Re-add Email Accounts
When the usual cleanup isn’t cutting it, starting fresh with your email accounts can make a big difference. Here’s how to do it safely:
- Before you start, make sure any inportant emails are backed up. You can save them as PDFs or make sure they’re synced with the server if you’re using IMAP.
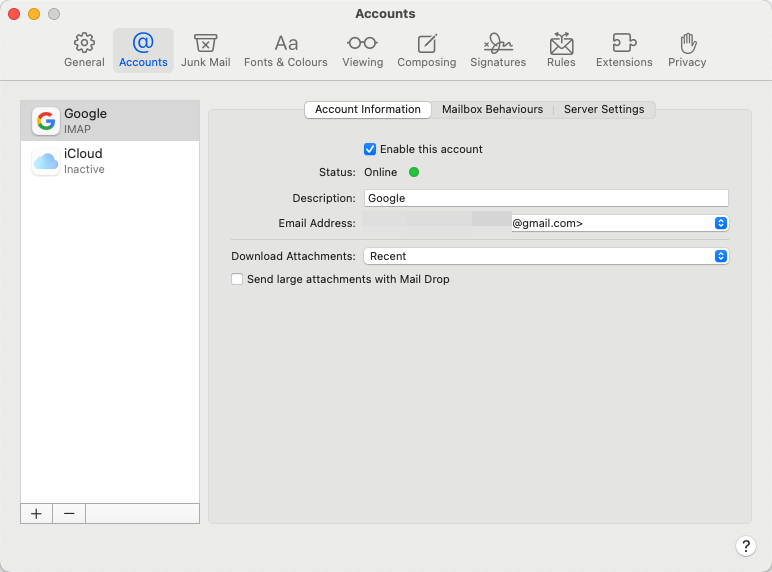
- In the Mail app, go to ‘Mail’ in the menu bar and select ‘Settings’.

- Click on the ‘Accounts’ tab to see all your email accounts listed.
- Select the account you want to remove, and click the ‘-‘ (minus) button at the bottom. Confirm when prompted.
- If you need that account back, click the ‘+’ (plus) button and follow the steps to add it again. This will re-sync your emails from the server, minus the clutter and excess data.
This method clears mail storage on Mac by wiping the slate clean for your email accounts. It’s a nuclear option though and shouldn’t be attempted before other options are exhausted.
Method 5: Use Third-Party Cleaning Tools
If manually managing your Mac’s Mail storage sounds daunting, you’re in luck. Several trusted applications can help you manage your mailbox, reclaim disk space, and improve your Mac’s performance. Here’s a closer look at some standout options:
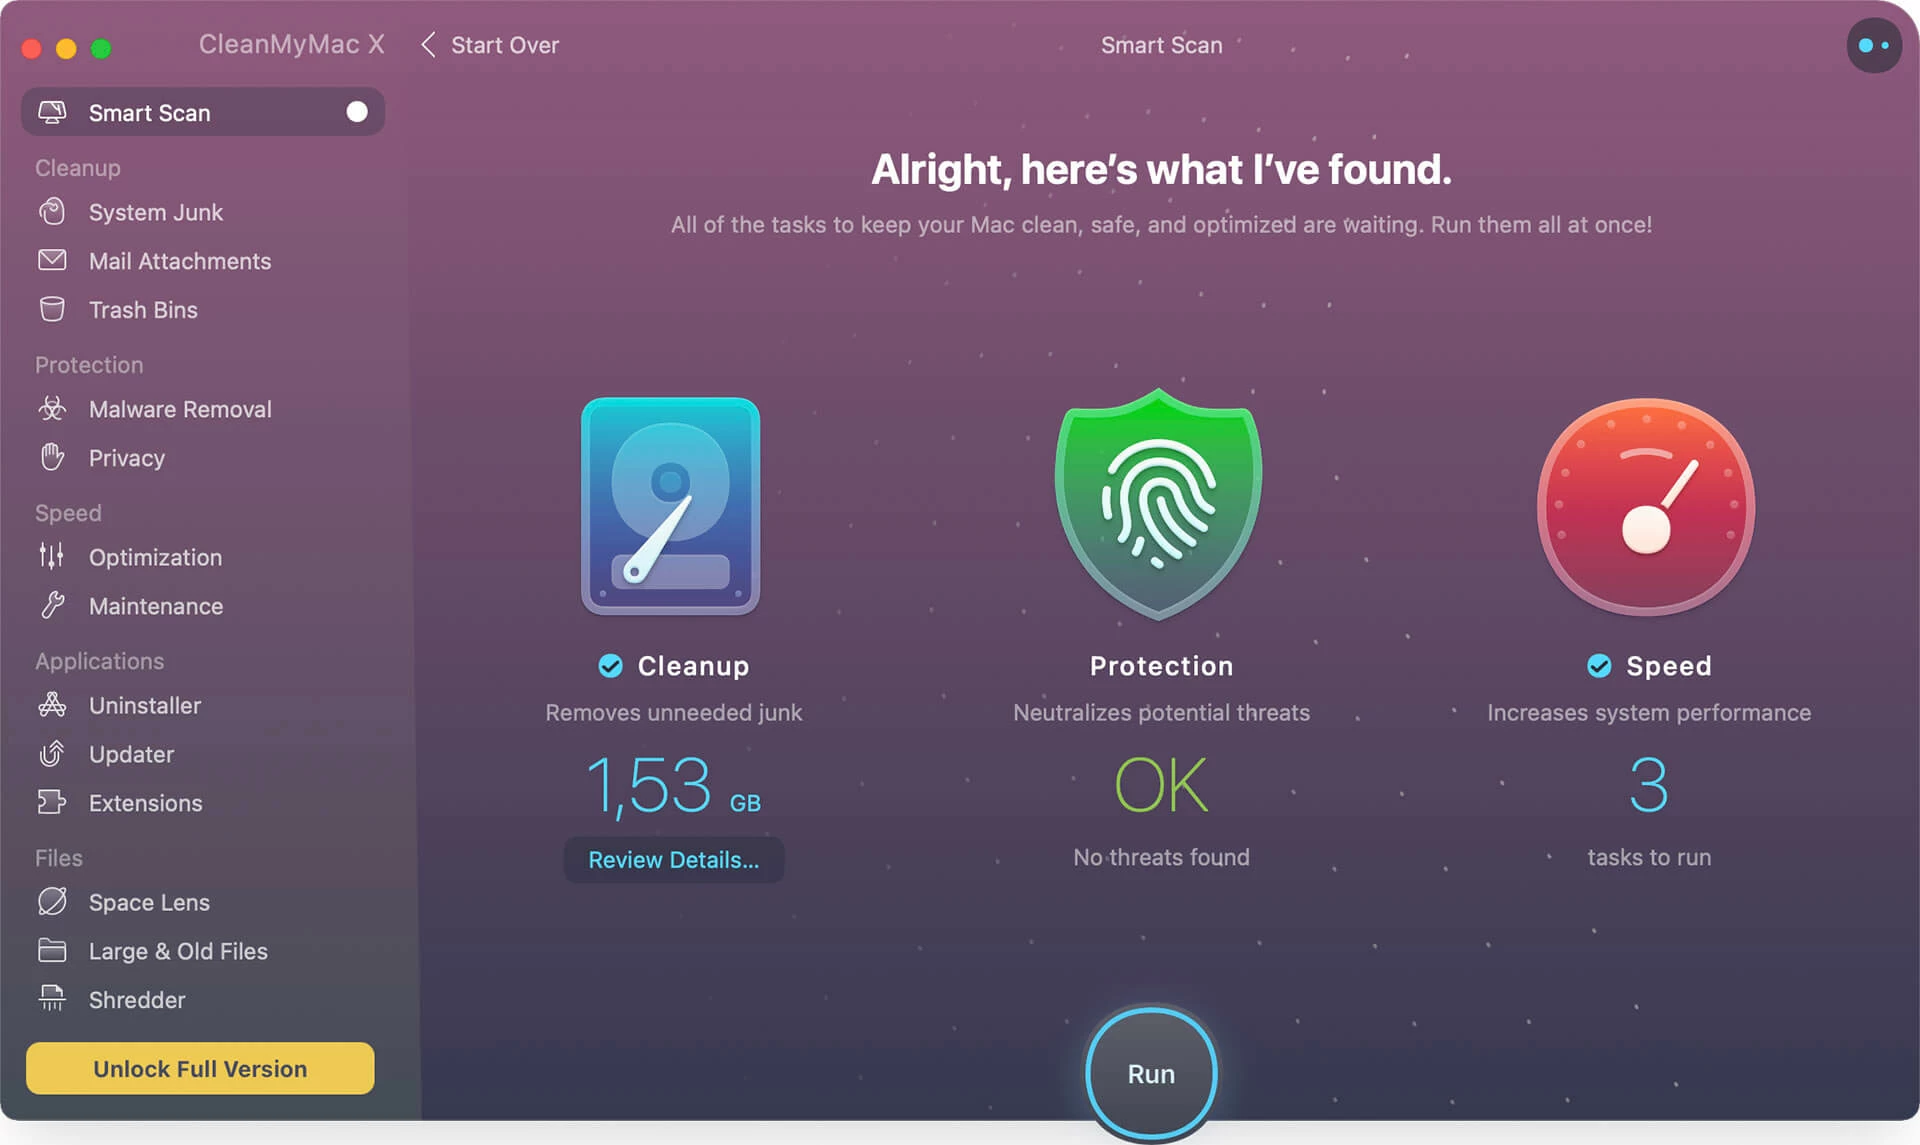
- CleanMyMac: This app is a powerhouse when it comes to tidying up your Mac. It doesn’t just stop at clearing out old mail attachments; it dives deep to root out system junk, malware, and more, ensuring your machine runs as smoothly as possible. The Mail Attachments module is particularly handy for targeting those pesky files you’ve downloaded and forgotten about. It’s designed with a user-friendly interface, making maintenance tasks accessible even to less tech-savvy users.
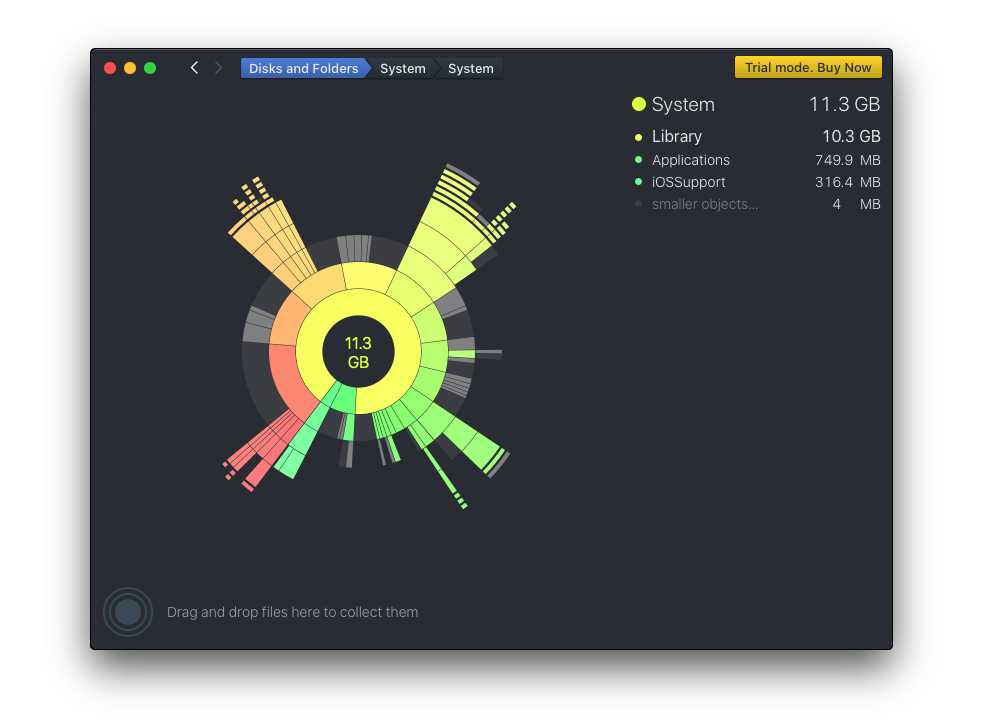
- DaisyDisk: DaisyDisk stands out with its visually engaging approach to disk cleaning. It maps out your disk space usage in an interactive, colorful wheel, allowing you to quickly identify and eliminate large files and folders, including bulky mail attachments. It’s an excellent tool for those who prefer a more graphical interface for their disk management tasks. The app offers a simple, intuitive way to scan, identify, and delete unnecessary files, freeing up valuable disk space in the process.
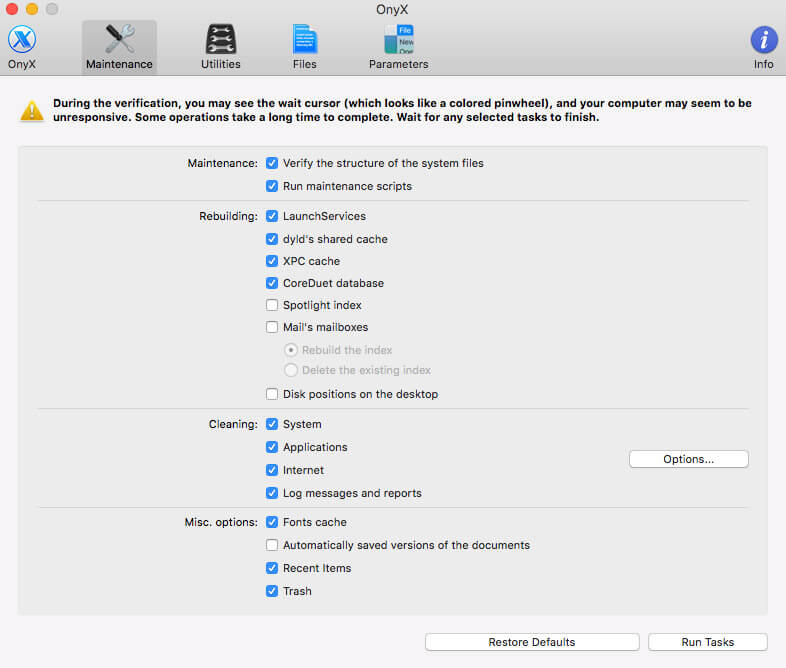
- OnyX: For the more adventurous users who don’t shy away from digging into their Mac’s settings, OnyX provides a comprehensive set of utilities to maintain and optimize macOS. Beyond just clearing mail cache, it allows you to verify your startup disk, rebuild system databases, and more, giving you granular control over your system’s health and efficiency. It’s a robust tool for those who like to keep their Mac in tip-top shape through regular, detailed maintenance.
With these tools at your disposal, managing your Mac’s mail storage can become a breeze, allowing you to focus more on your work and less on maintenance. Just remember, while these applications are powerful, always ensure you’re comfortable with what they’re set to clean before hitting that ‘delete’ button, and maintain backups of important data to prevent any accidental loss.
Prevent Mail Storage Overload in The Future
Want to avoid the hassle of constantly clearing out your Mail storage? A few tweaks and habits can keep your mailbox lean and mean. Here’s the lowdown:
- Set your Mail settings right: Go into your Mail app’s settings and opt for keeping fewer emails and attachments stored locally. It’s like telling your Mail, “Hey, let’s not get too clingy with these emails.” Head over to Mail > Preferences > Accounts, pick an account, and under ‘Download Attachments,’ select either ‘None’ or ‘Recent’.
- Make inbox cleaning a thing: Every once in a while, roll up your sleeves and sort through your emails. Trash the ones you don’t need, especially the biggies with those chunky attachments.
- Embrace the cloud: Got a hefty attachment? Skip the download and stash it in the cloud instead. iCloud, Dropbox, or Google Drive can be your digital storage lockers, keeping your Mac’s hard drive from bulking up.
- Let automation be your buddy: Use Apple Mail’s smart folders to auto-sort emails that are old or attachment-heavy. This will allow to keep your inbox in tip-top shape without much input. To set up, go to Mail > Mailbox > New Smart Mailbox and tailor it to your needs.
If you’re feeling adventurous, explore setting up Mail rules that automatically manage your emails for you. Apple’s got a handy guide to get you started.
Stick to these practices, and you’ll keep your Mail storage from ballooning. Staying on top of things and not letting those emails pile up.
Conclusion
There you have it, a variety of ways to deal with the ever-growing mountain of emails and attachments that can clog up your Mac’s storage. Whether you prefer the manual method of sifting through your inbox or opting for a more automated approach with third-party tools, the key is regular maintenance. Keeping your Mail app’s storage in check not only frees up valuable space on your Mac but also contributes to its overall performance. So, take a little time now and then to keep your digital mailbox tidy, and your Mac will thank you for it.