Leaderboard


Popular Content
Showing content with the highest reputation on 01/29/2020 in Posts
-
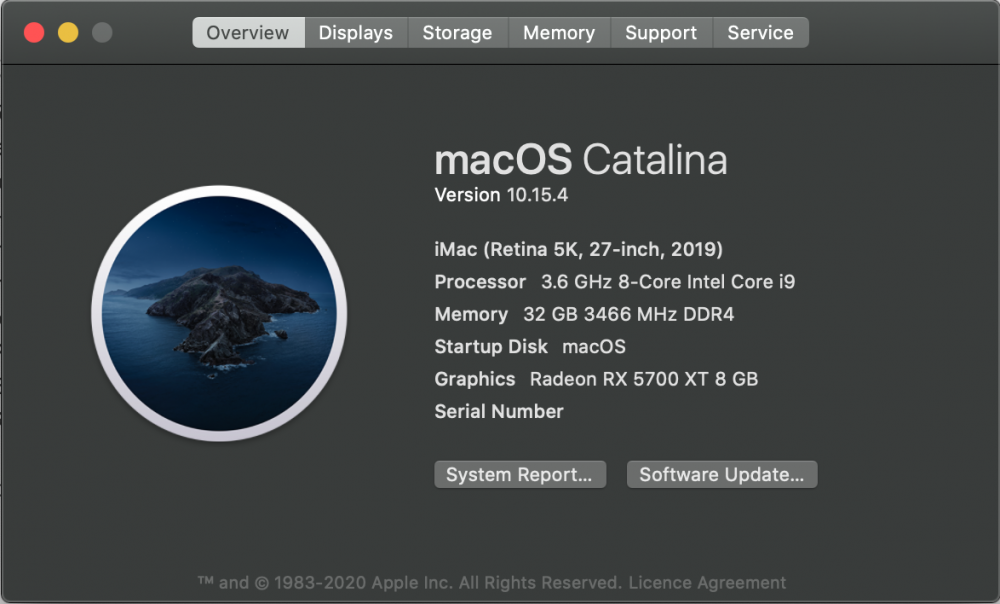
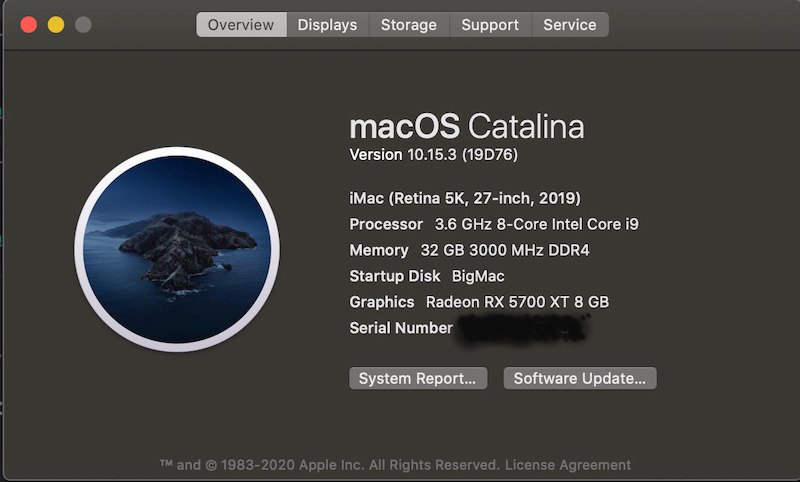
Build 19D763 points
-
I made the follow Device (PRRE) { Name (_HID, EisaId ("PNP0C02") /* PNP Motherboard Resources */) // _HID: Hardware ID Name (_UID, "PCHRESV") // _UID: Unique ID Name (_STA, 0x03) // _STA: Status Method (_CRS, 0, Serialized) // _CRS: Current Resource Settings { Name (BUF0, ResourceTemplate () { Memory32Fixed (ReadWrite, 0xFD000000, // Address Base 0x006A0000, // Address Length ) Memory32Fixed (ReadWrite, 0x00000000, // Address Base 0x00000000, // Address Length _Y16) Memory32Fixed (ReadWrite, 0xFD6F0000, // Address Base 0x00910000, // Address Length ) // Memory32Fixed (ReadWrite, // 0xFE000000, // Address Base // 0x00020000, // Address Length // ) Memory32Fixed (ReadWrite, 0xFE200000, // Address Base 0x00600000, // Address Length ) Memory32Fixed (ReadOnly, 0xFF000000, // Address Base 0x01000000, // Address Length ) IO (Decode16, 0x0000, // Range Minimum 0x0000, // Range Maximum 0x01, // Alignment 0xFF, // Length _Y15) }) And then add PMC device as in example.2 points
-
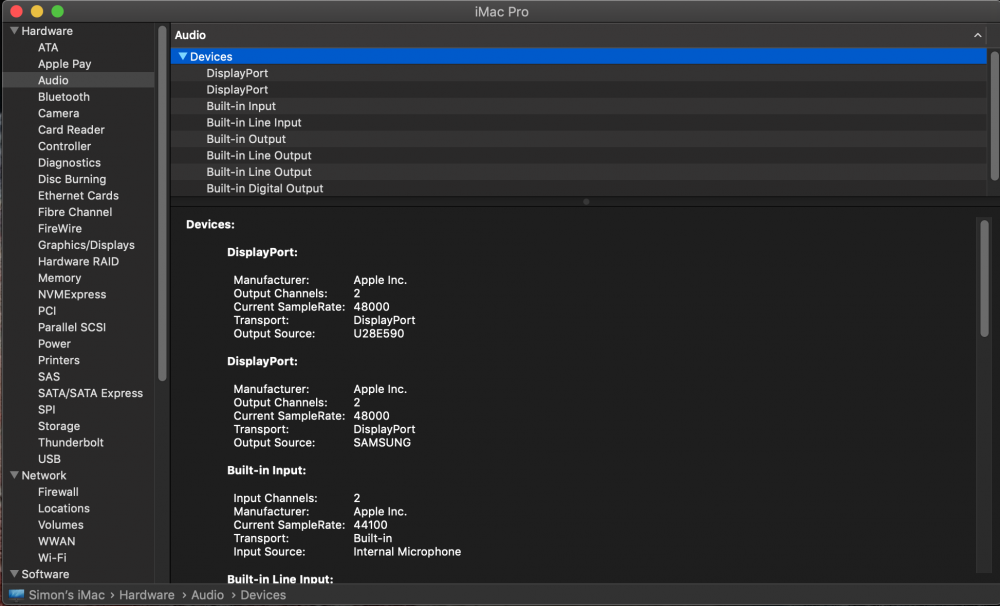
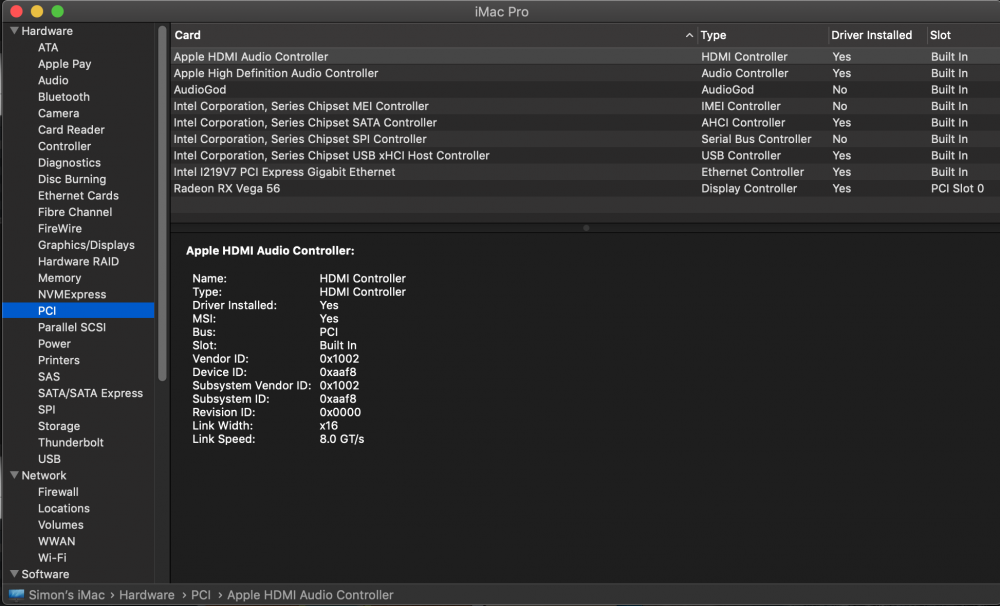
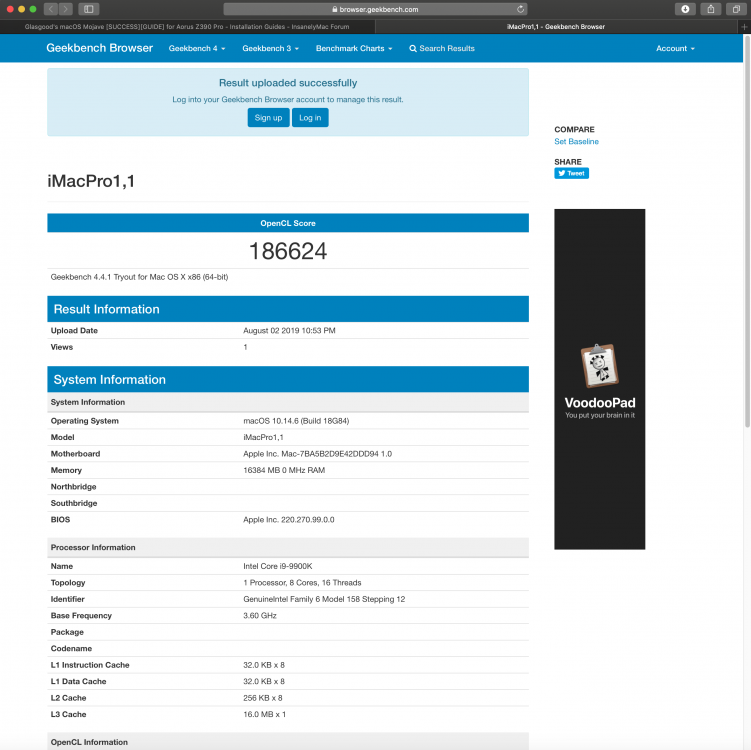
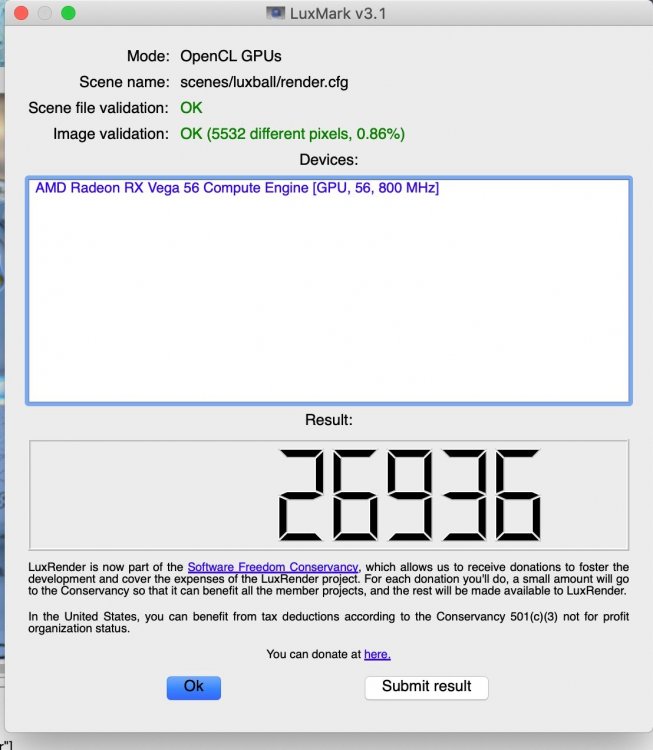
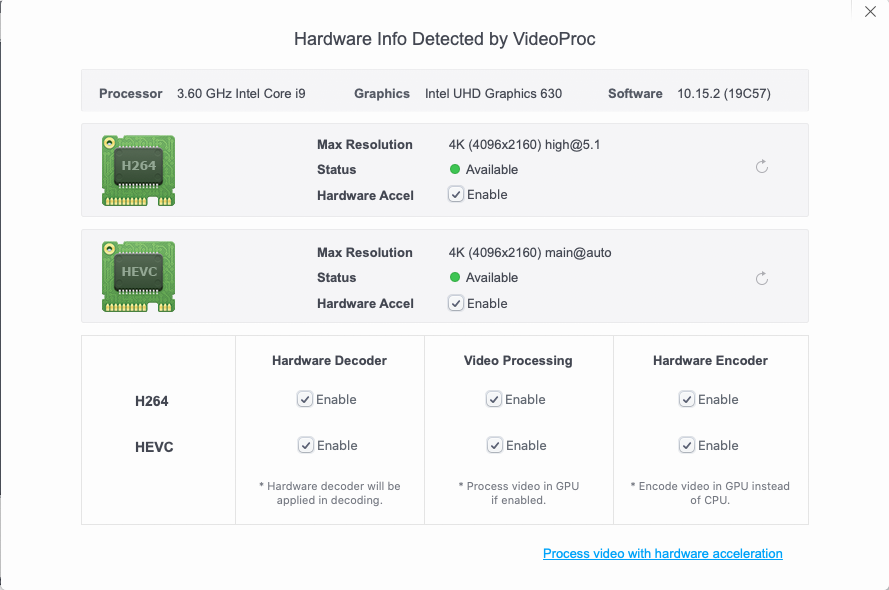
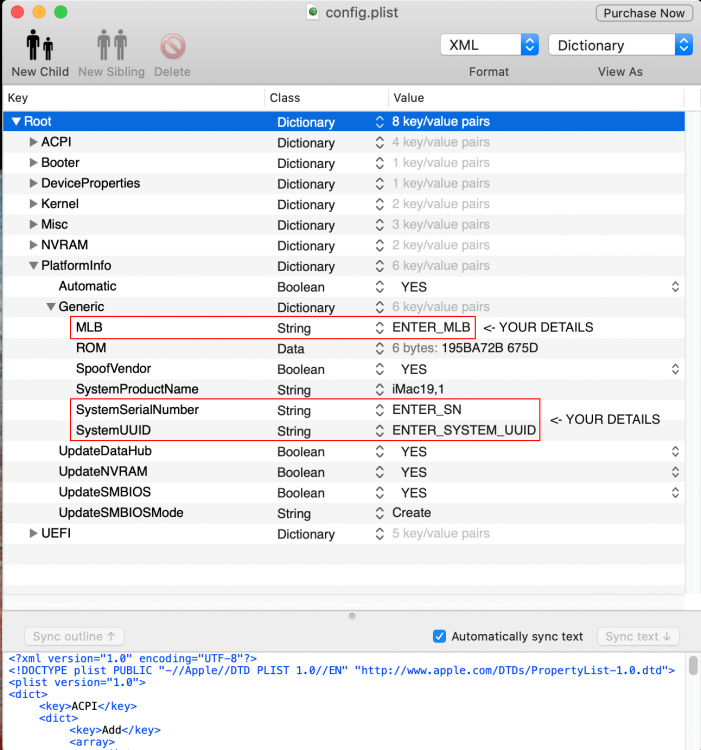
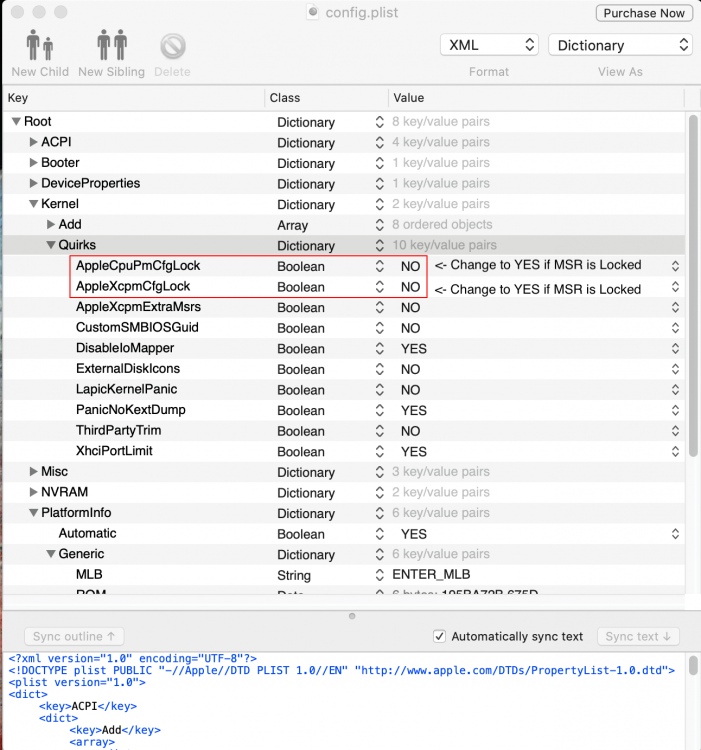
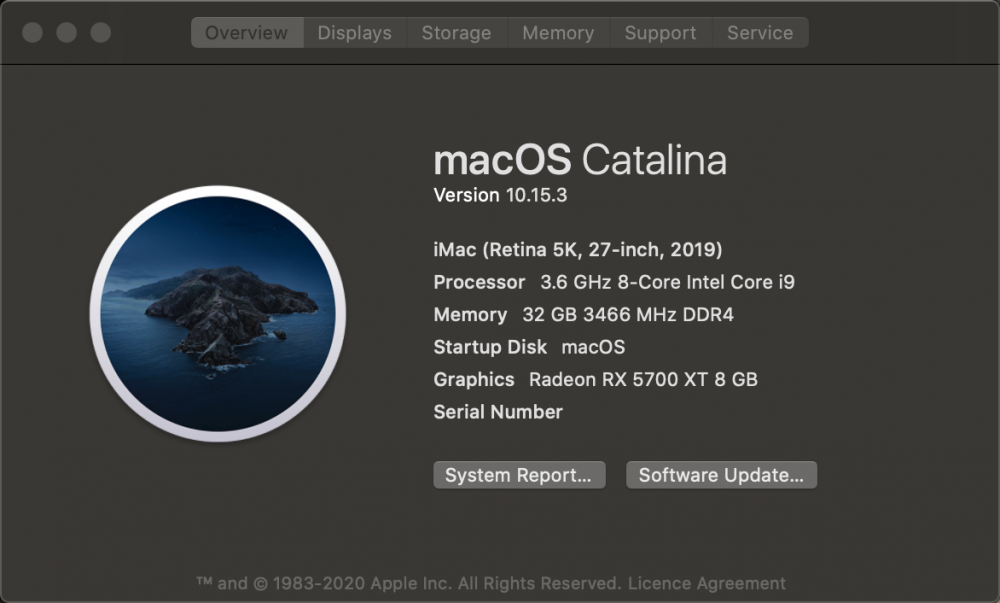
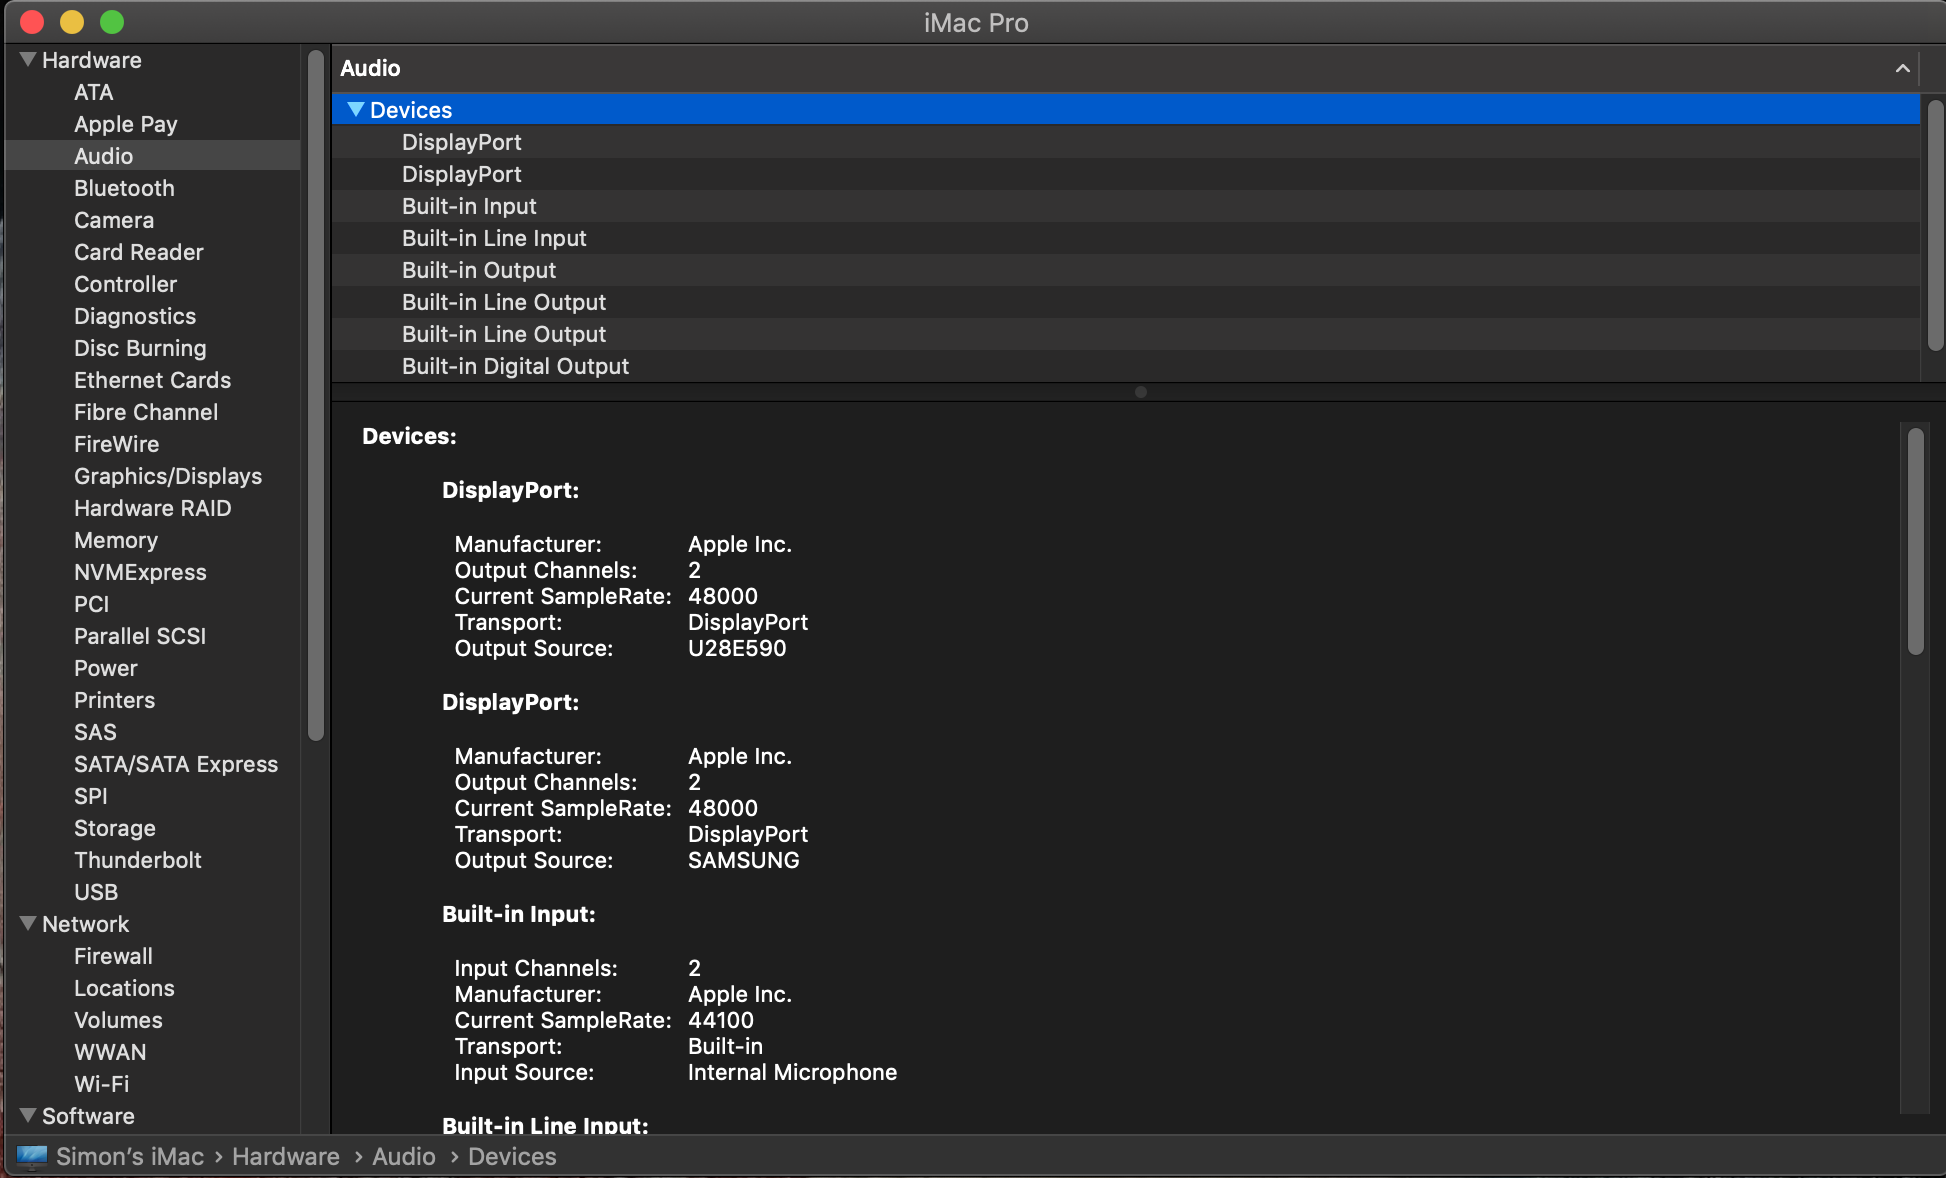
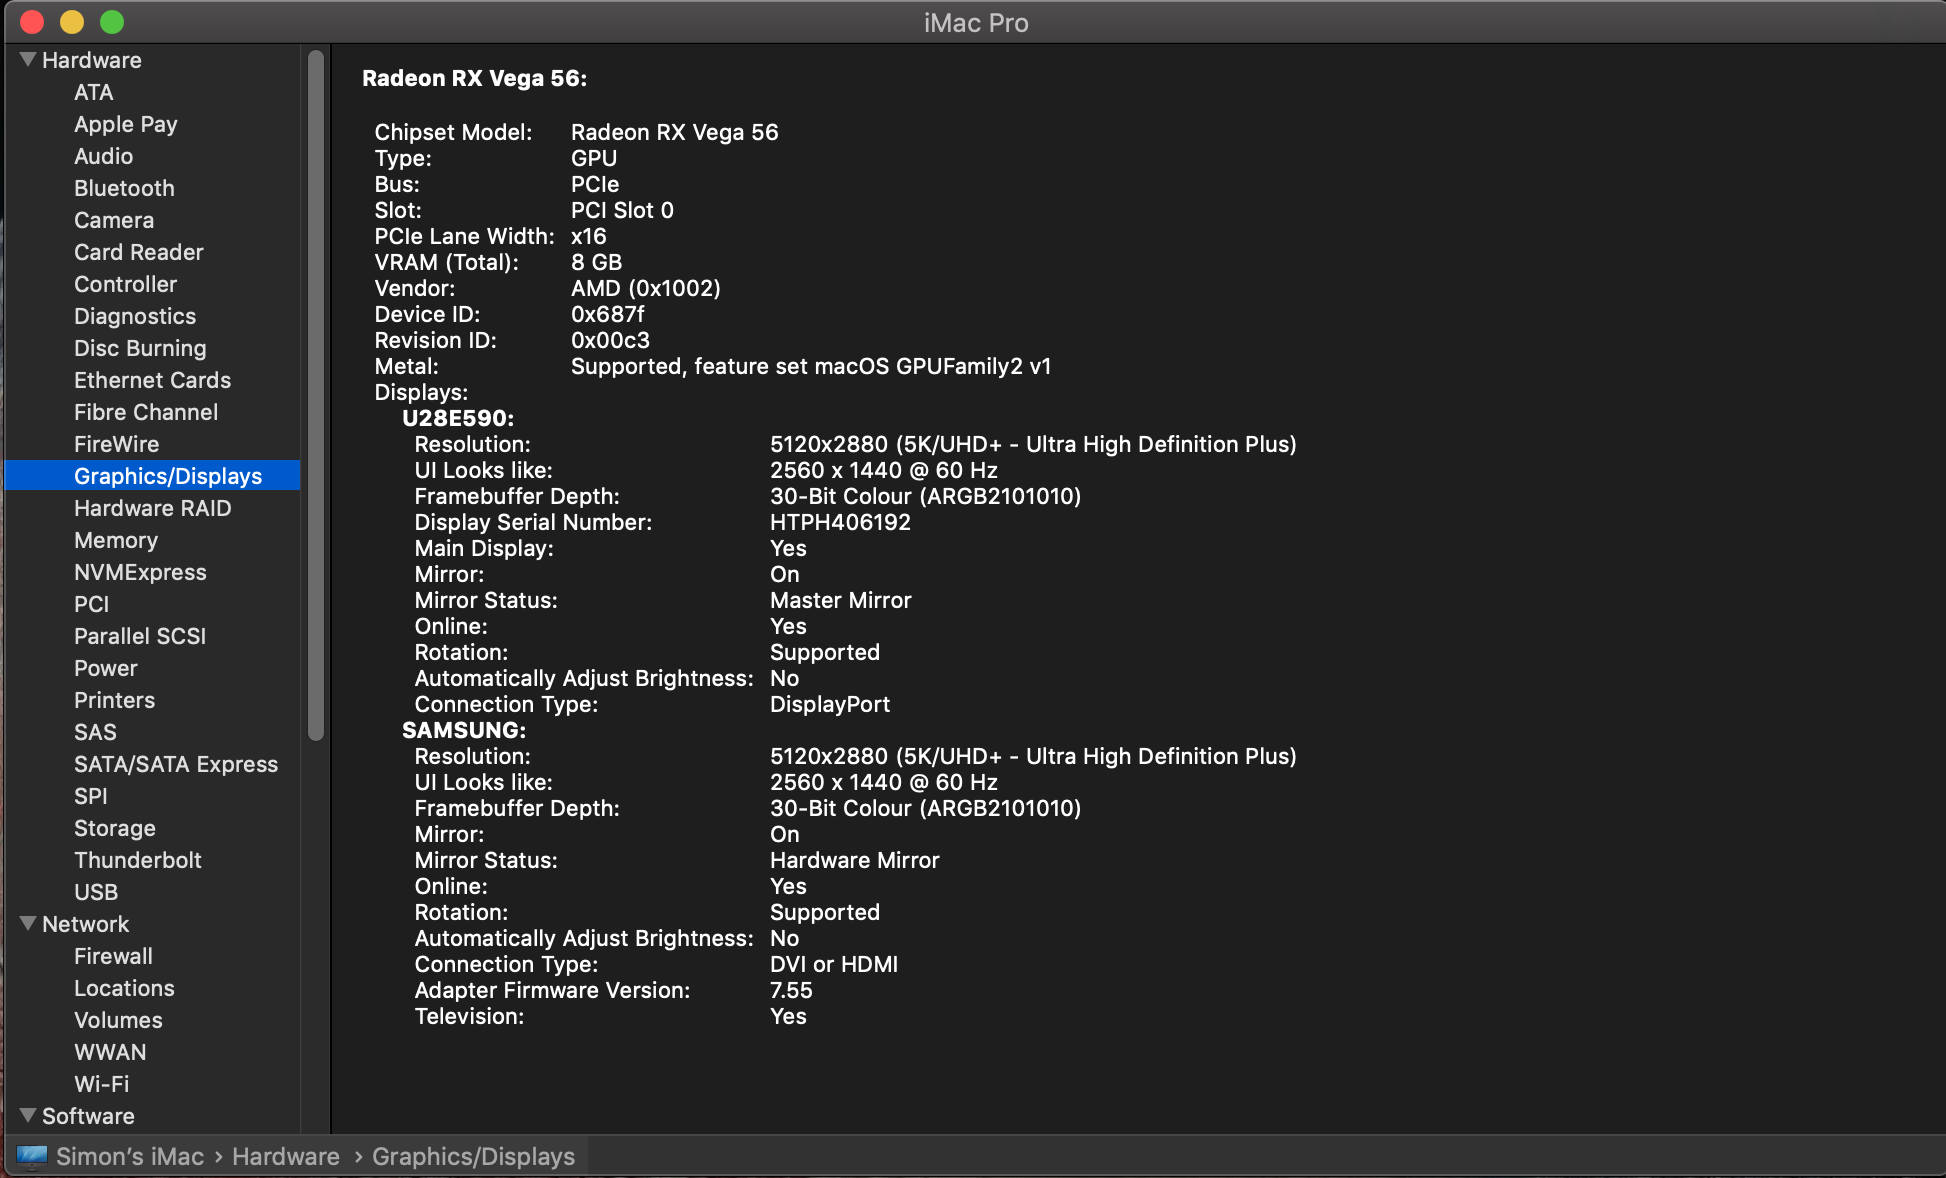
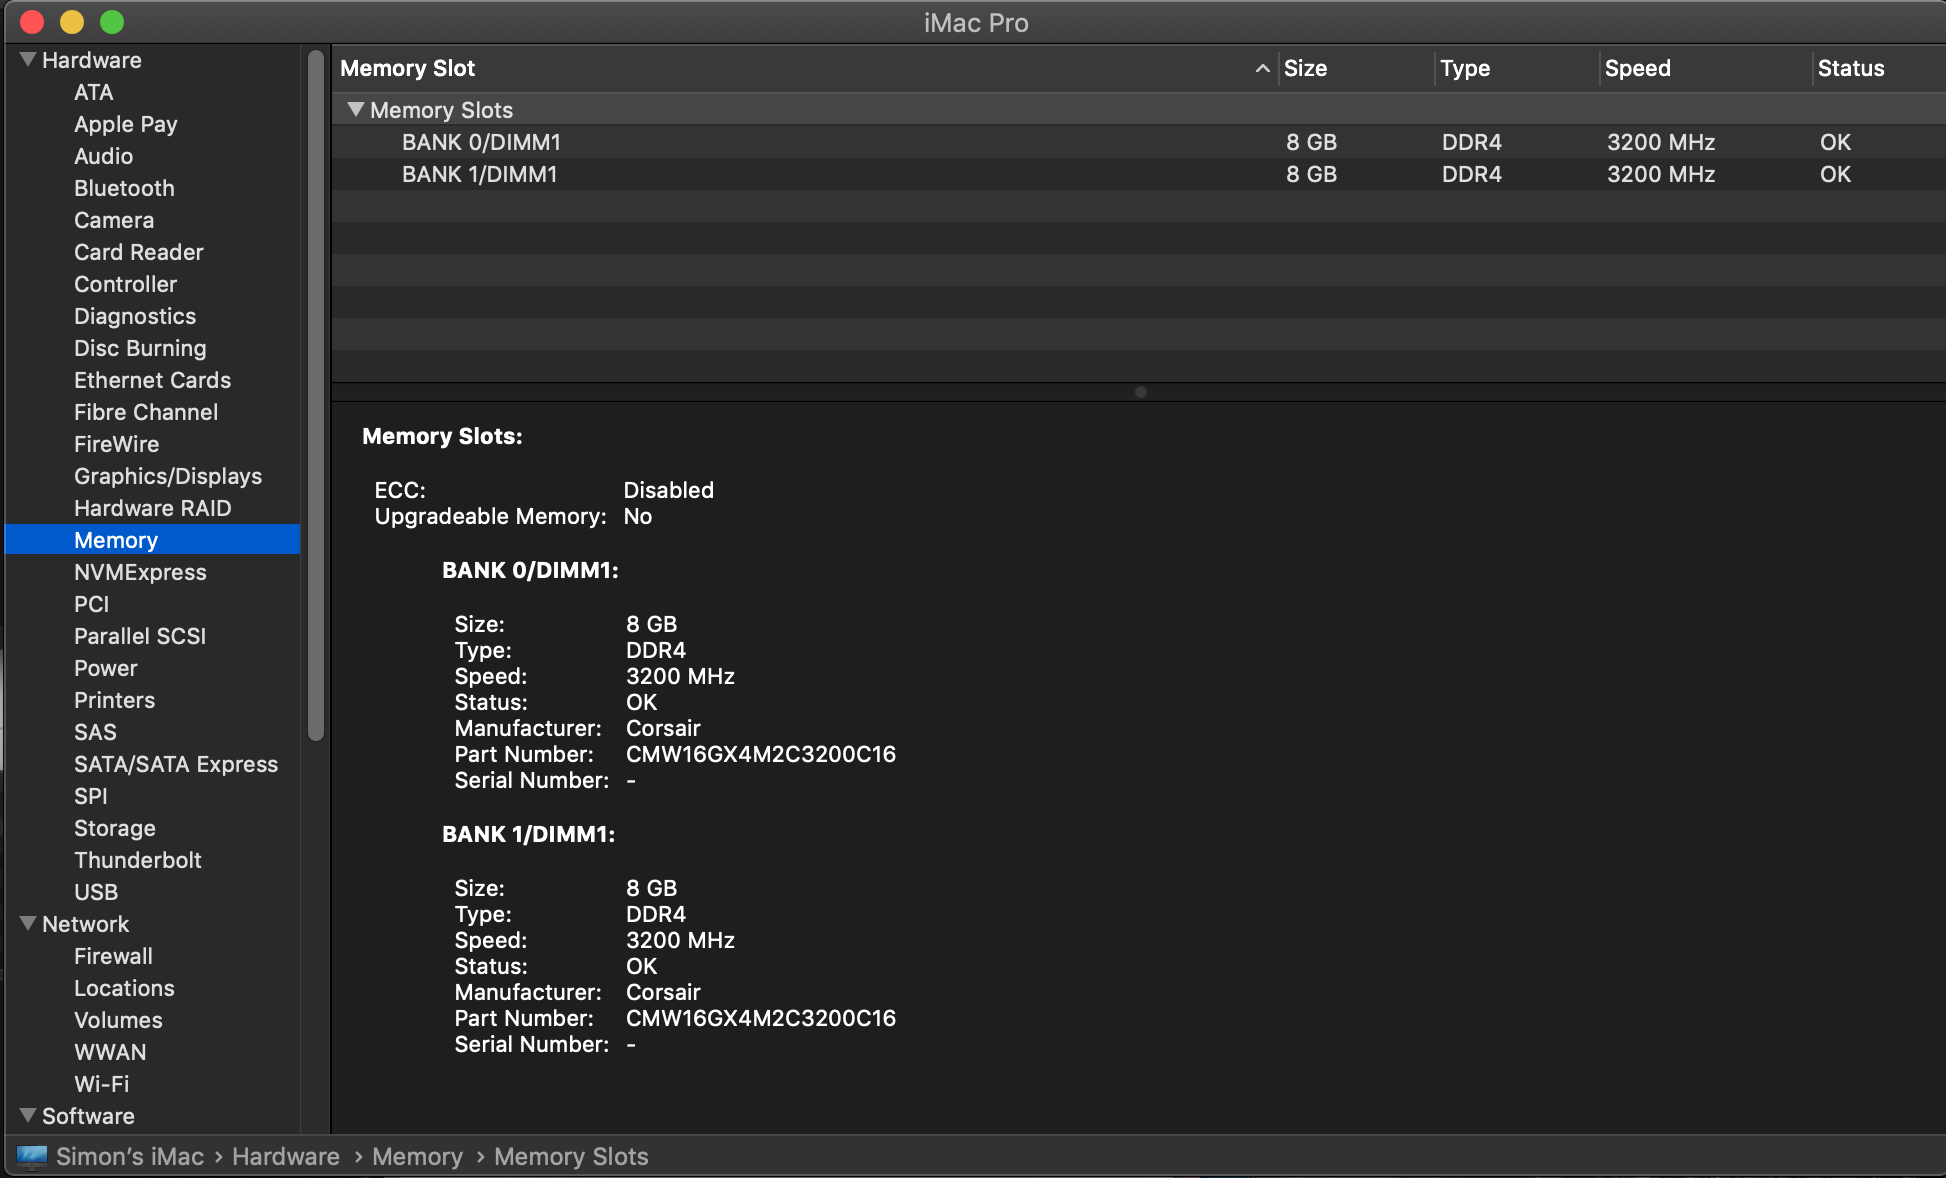
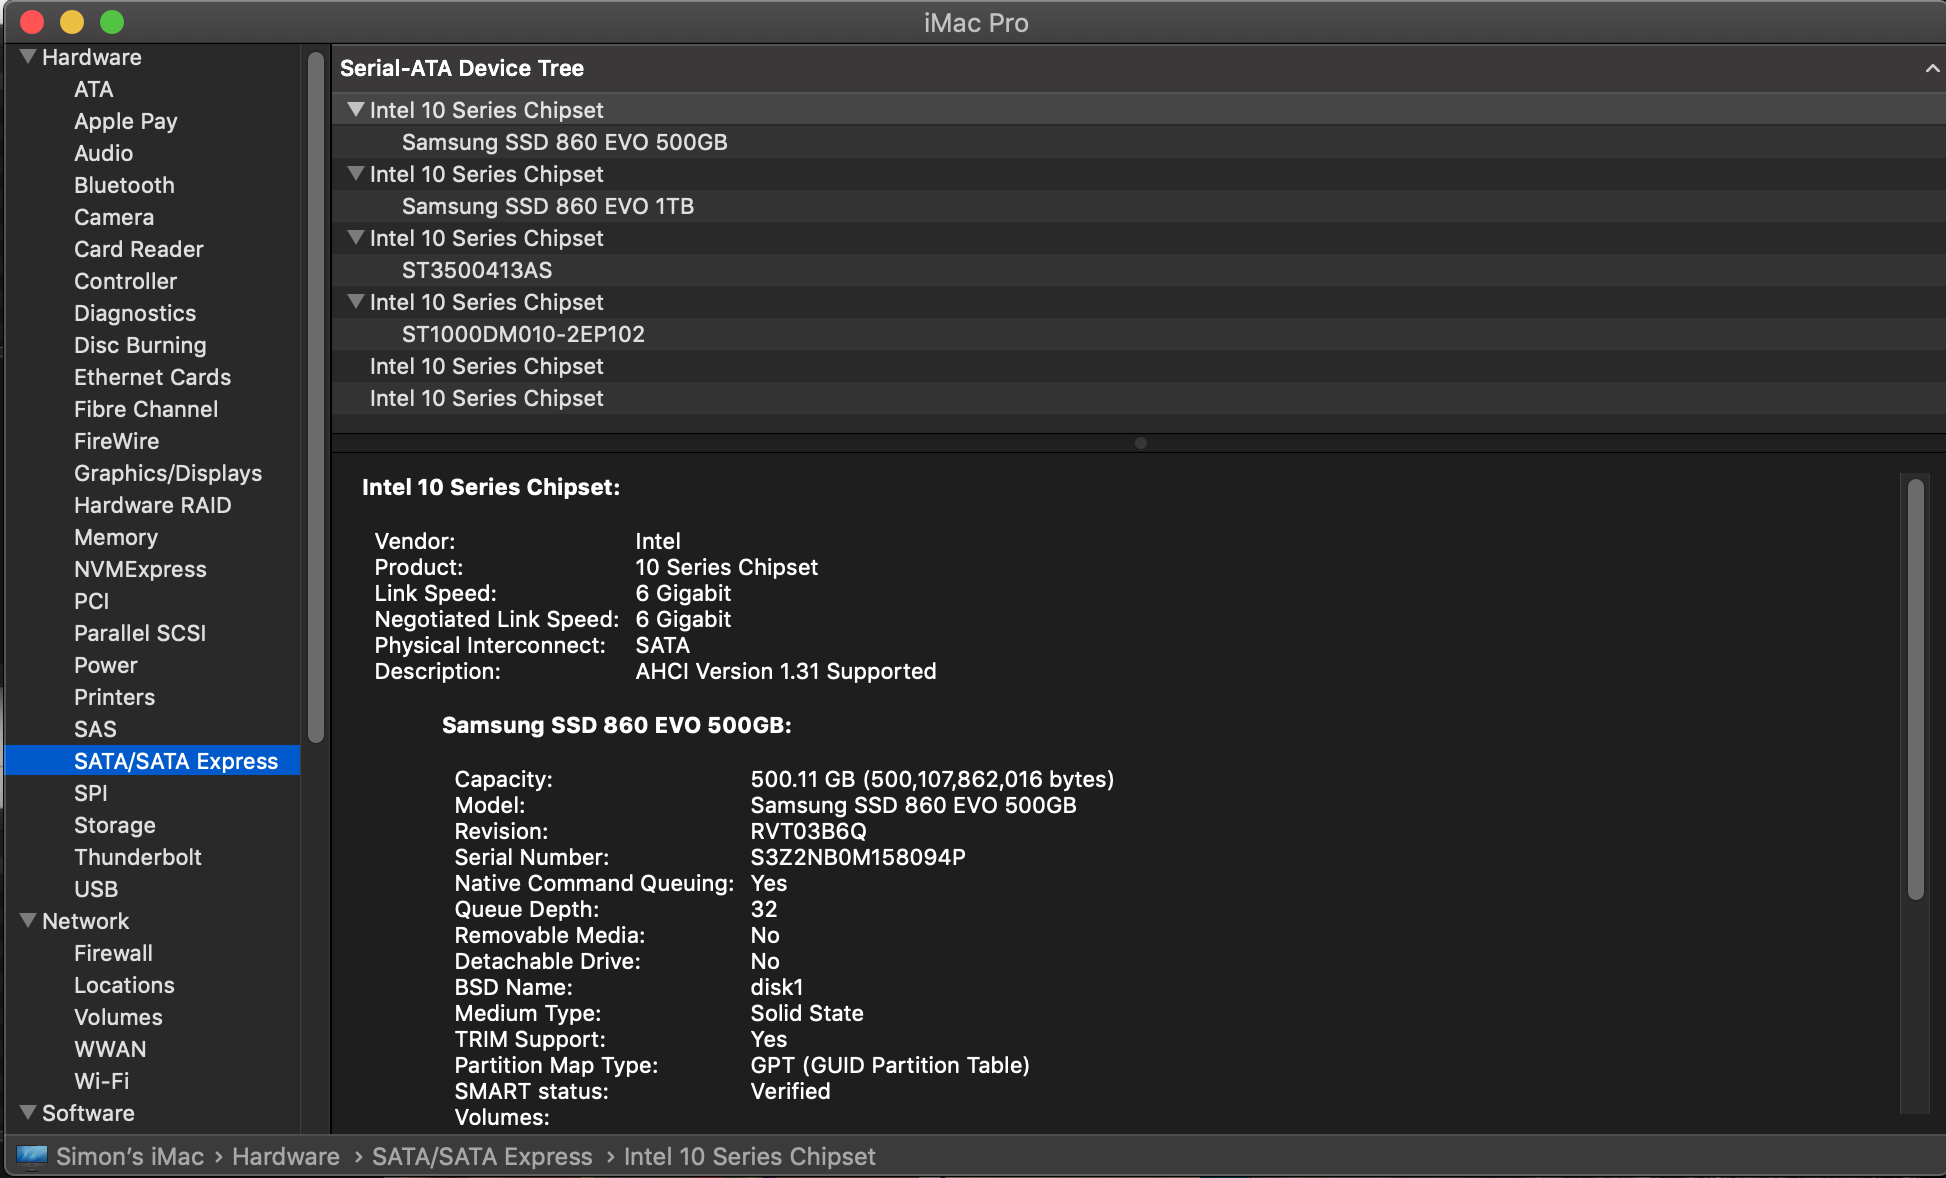
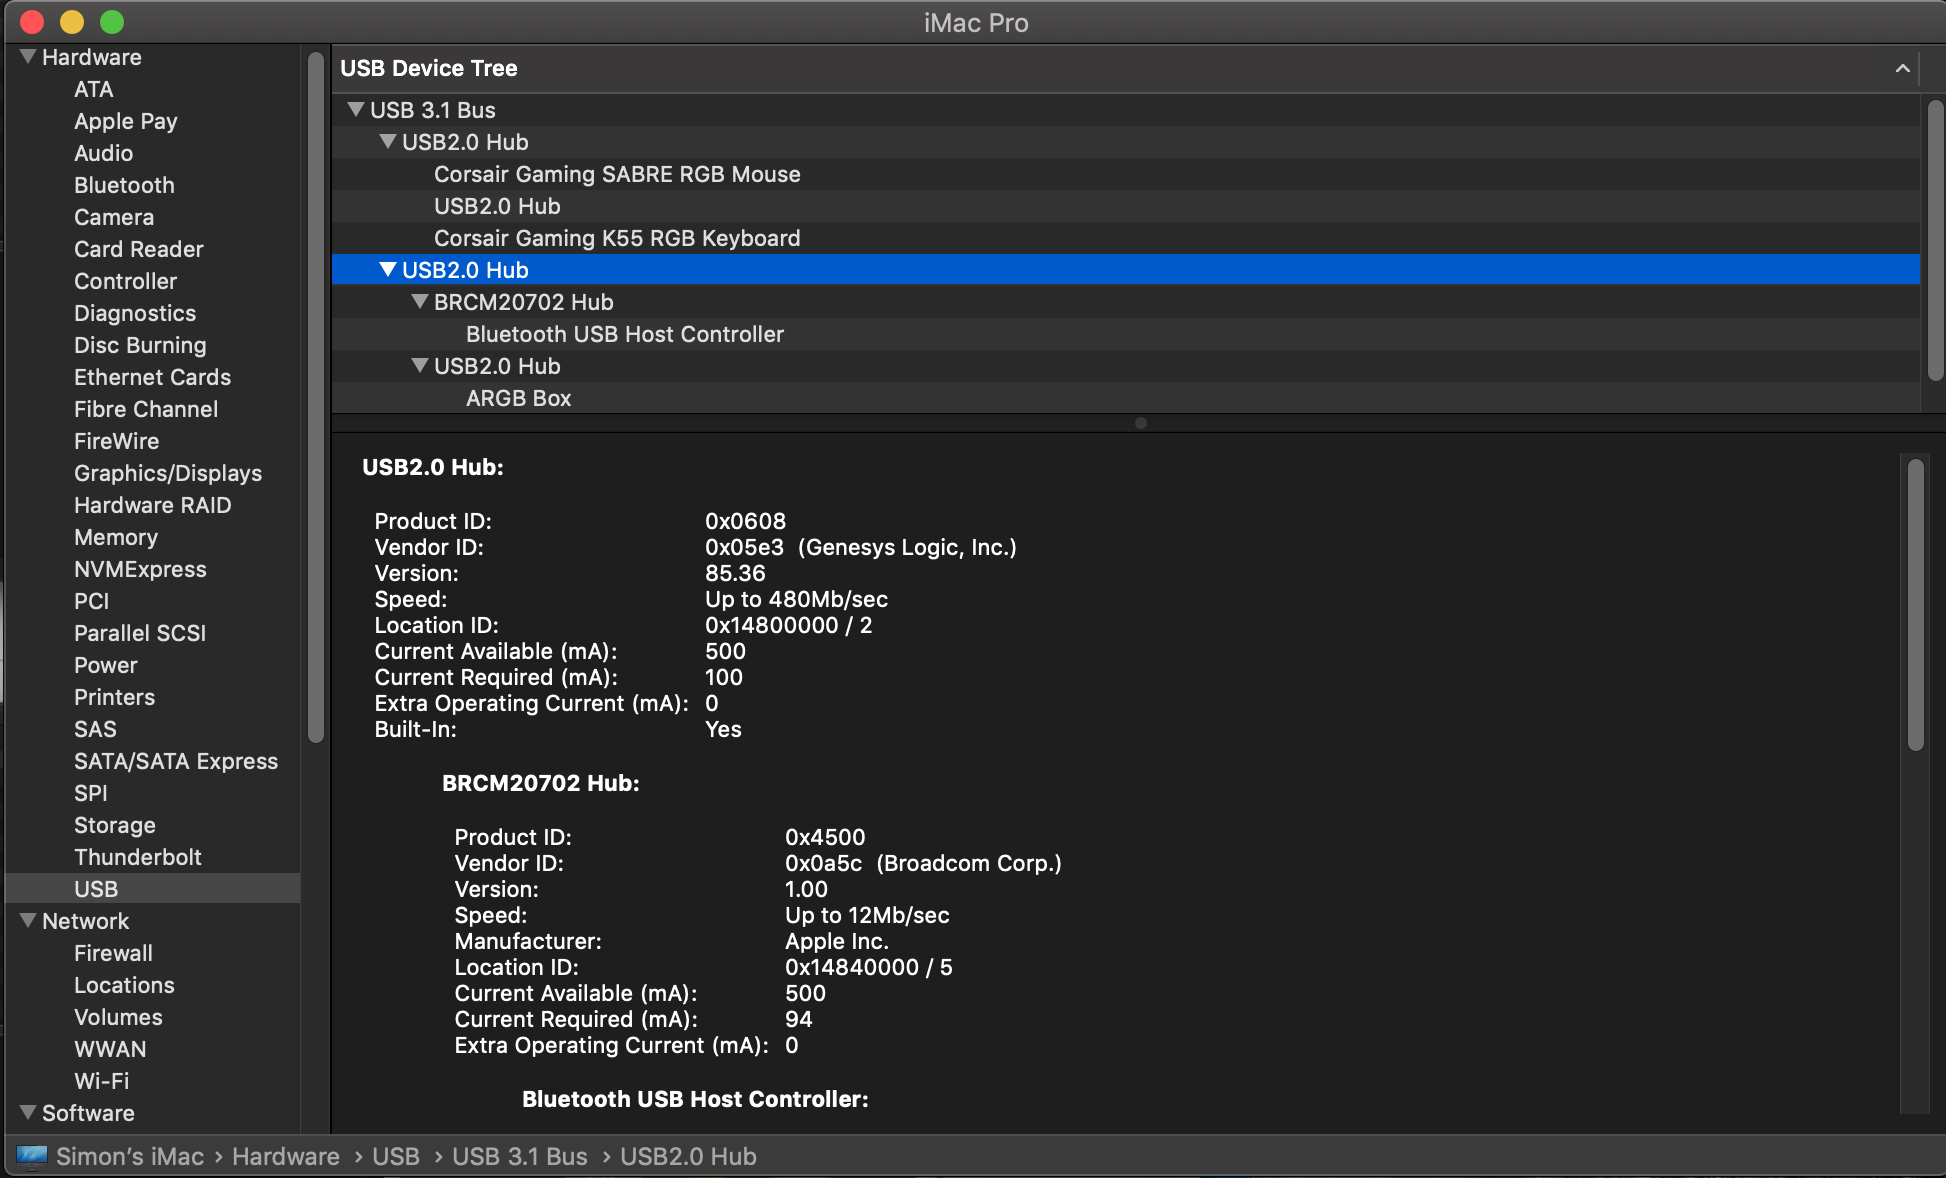
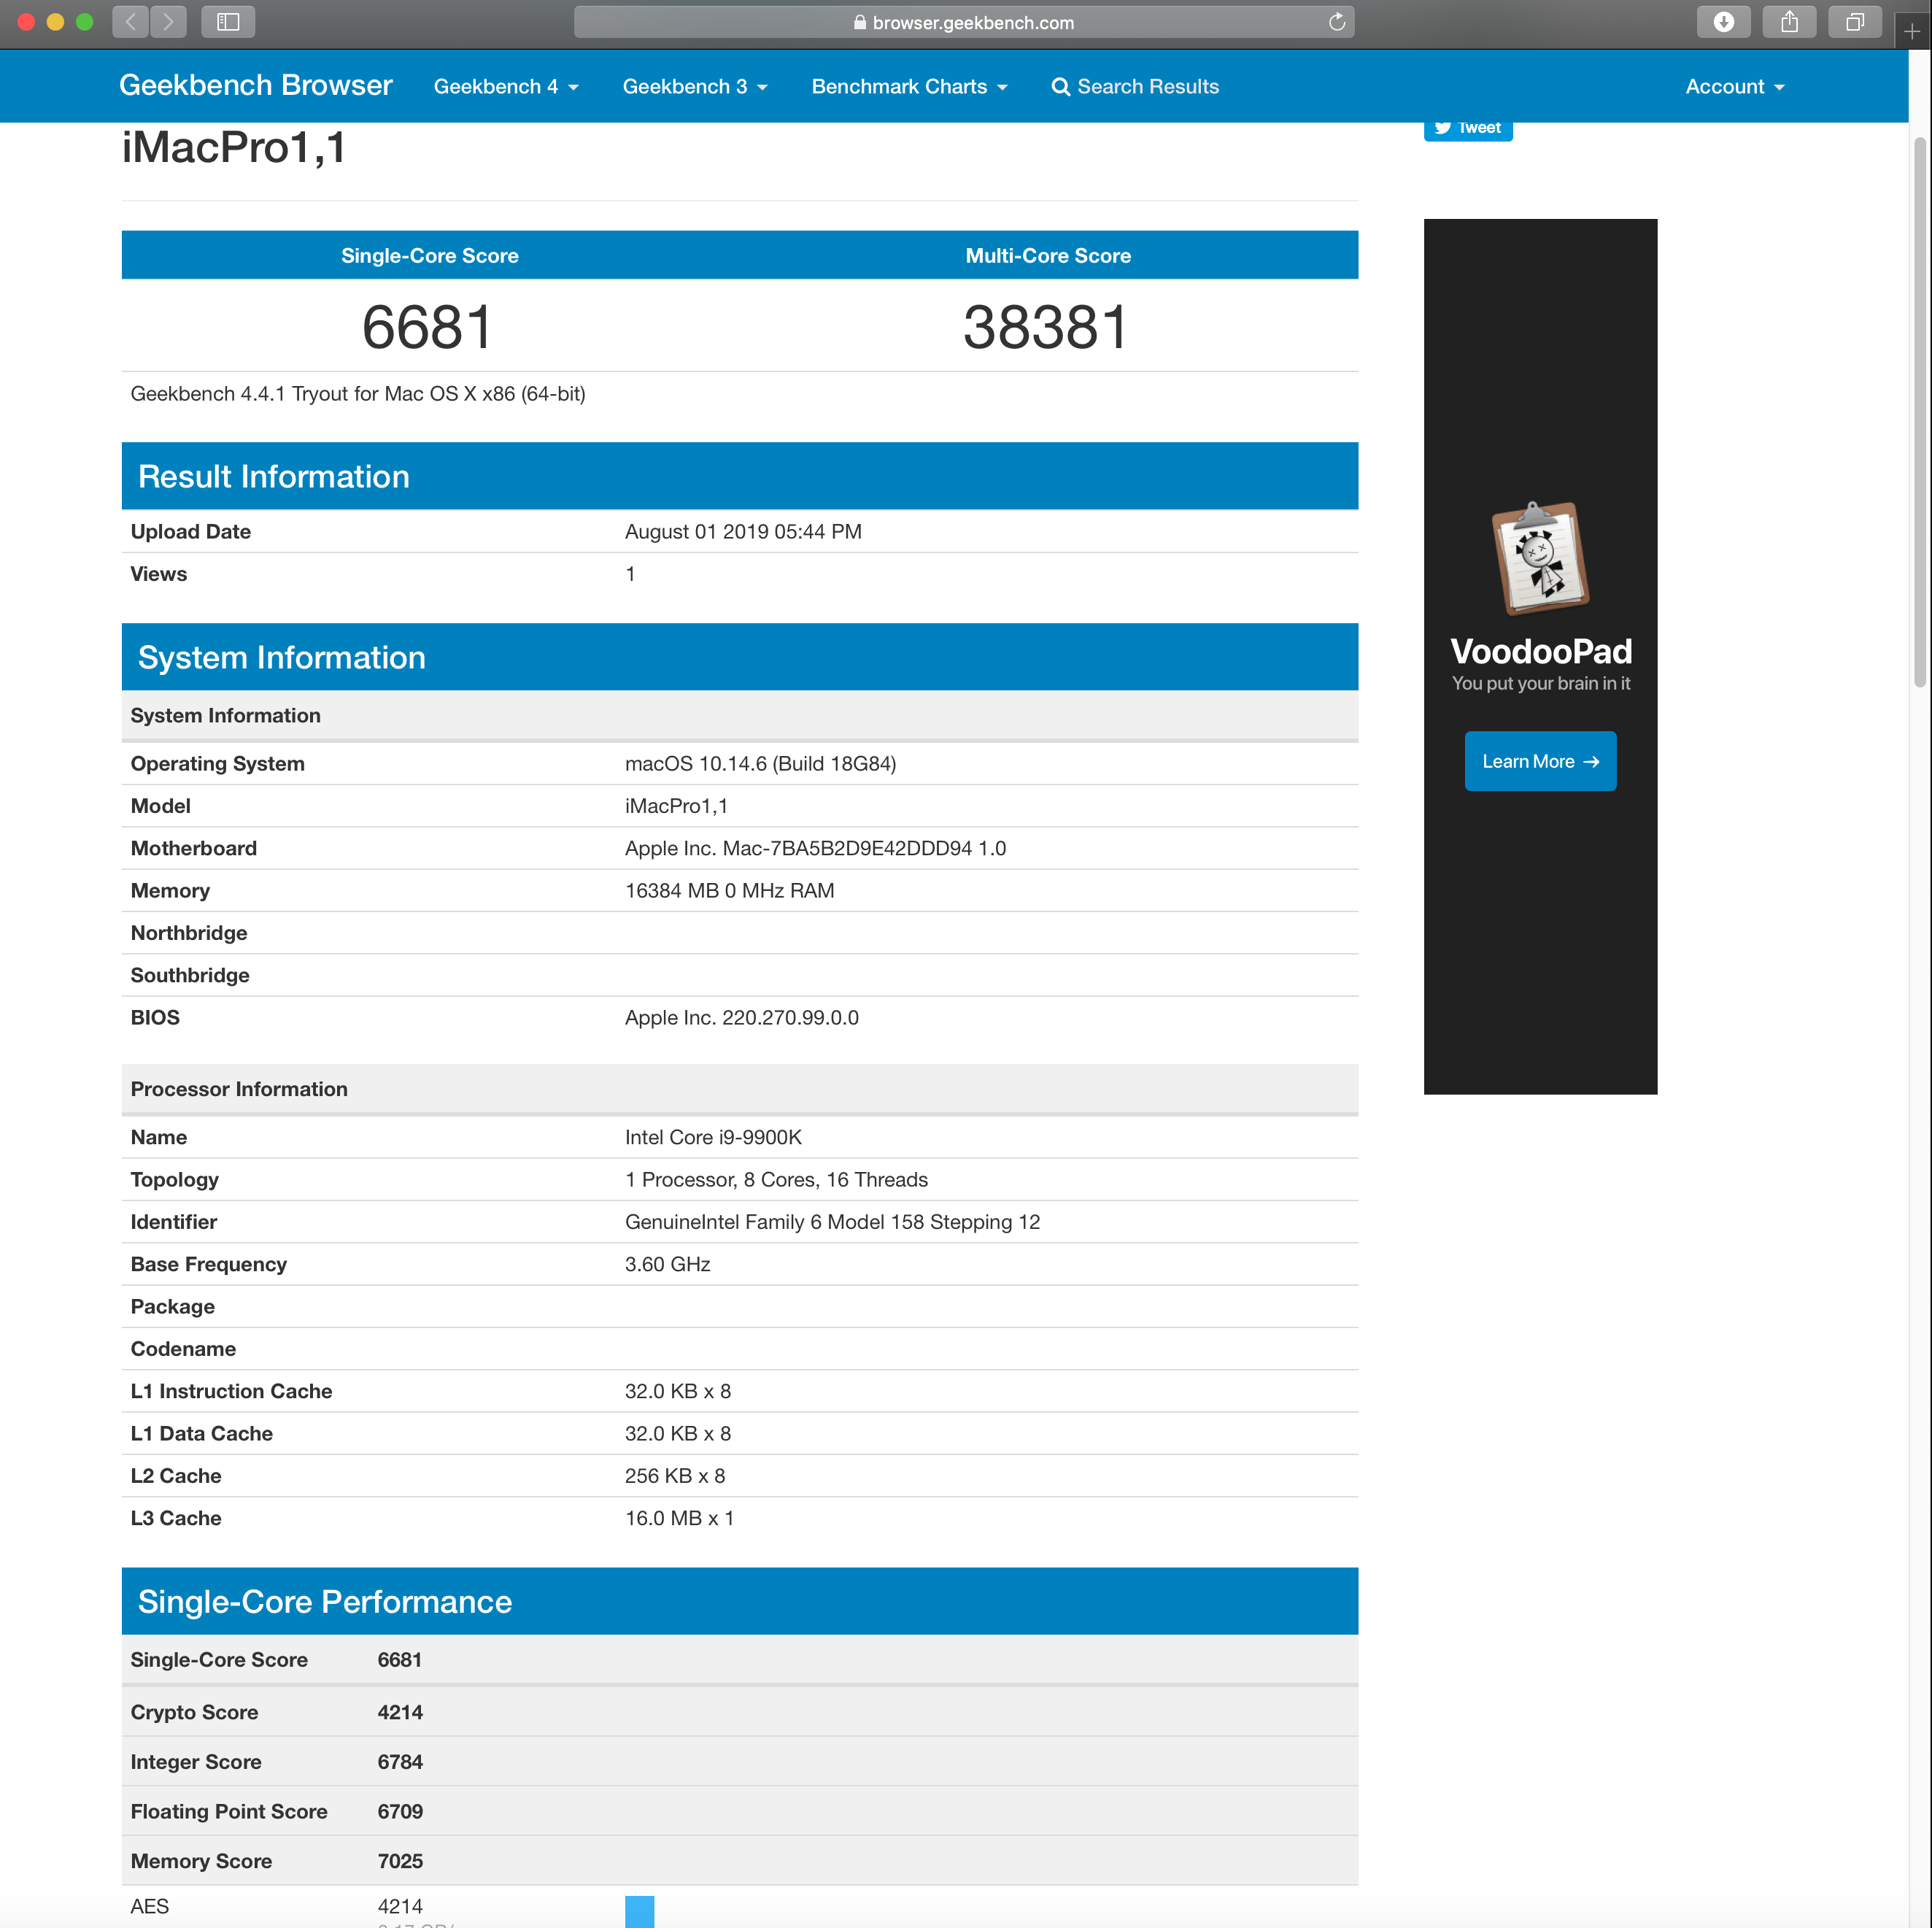
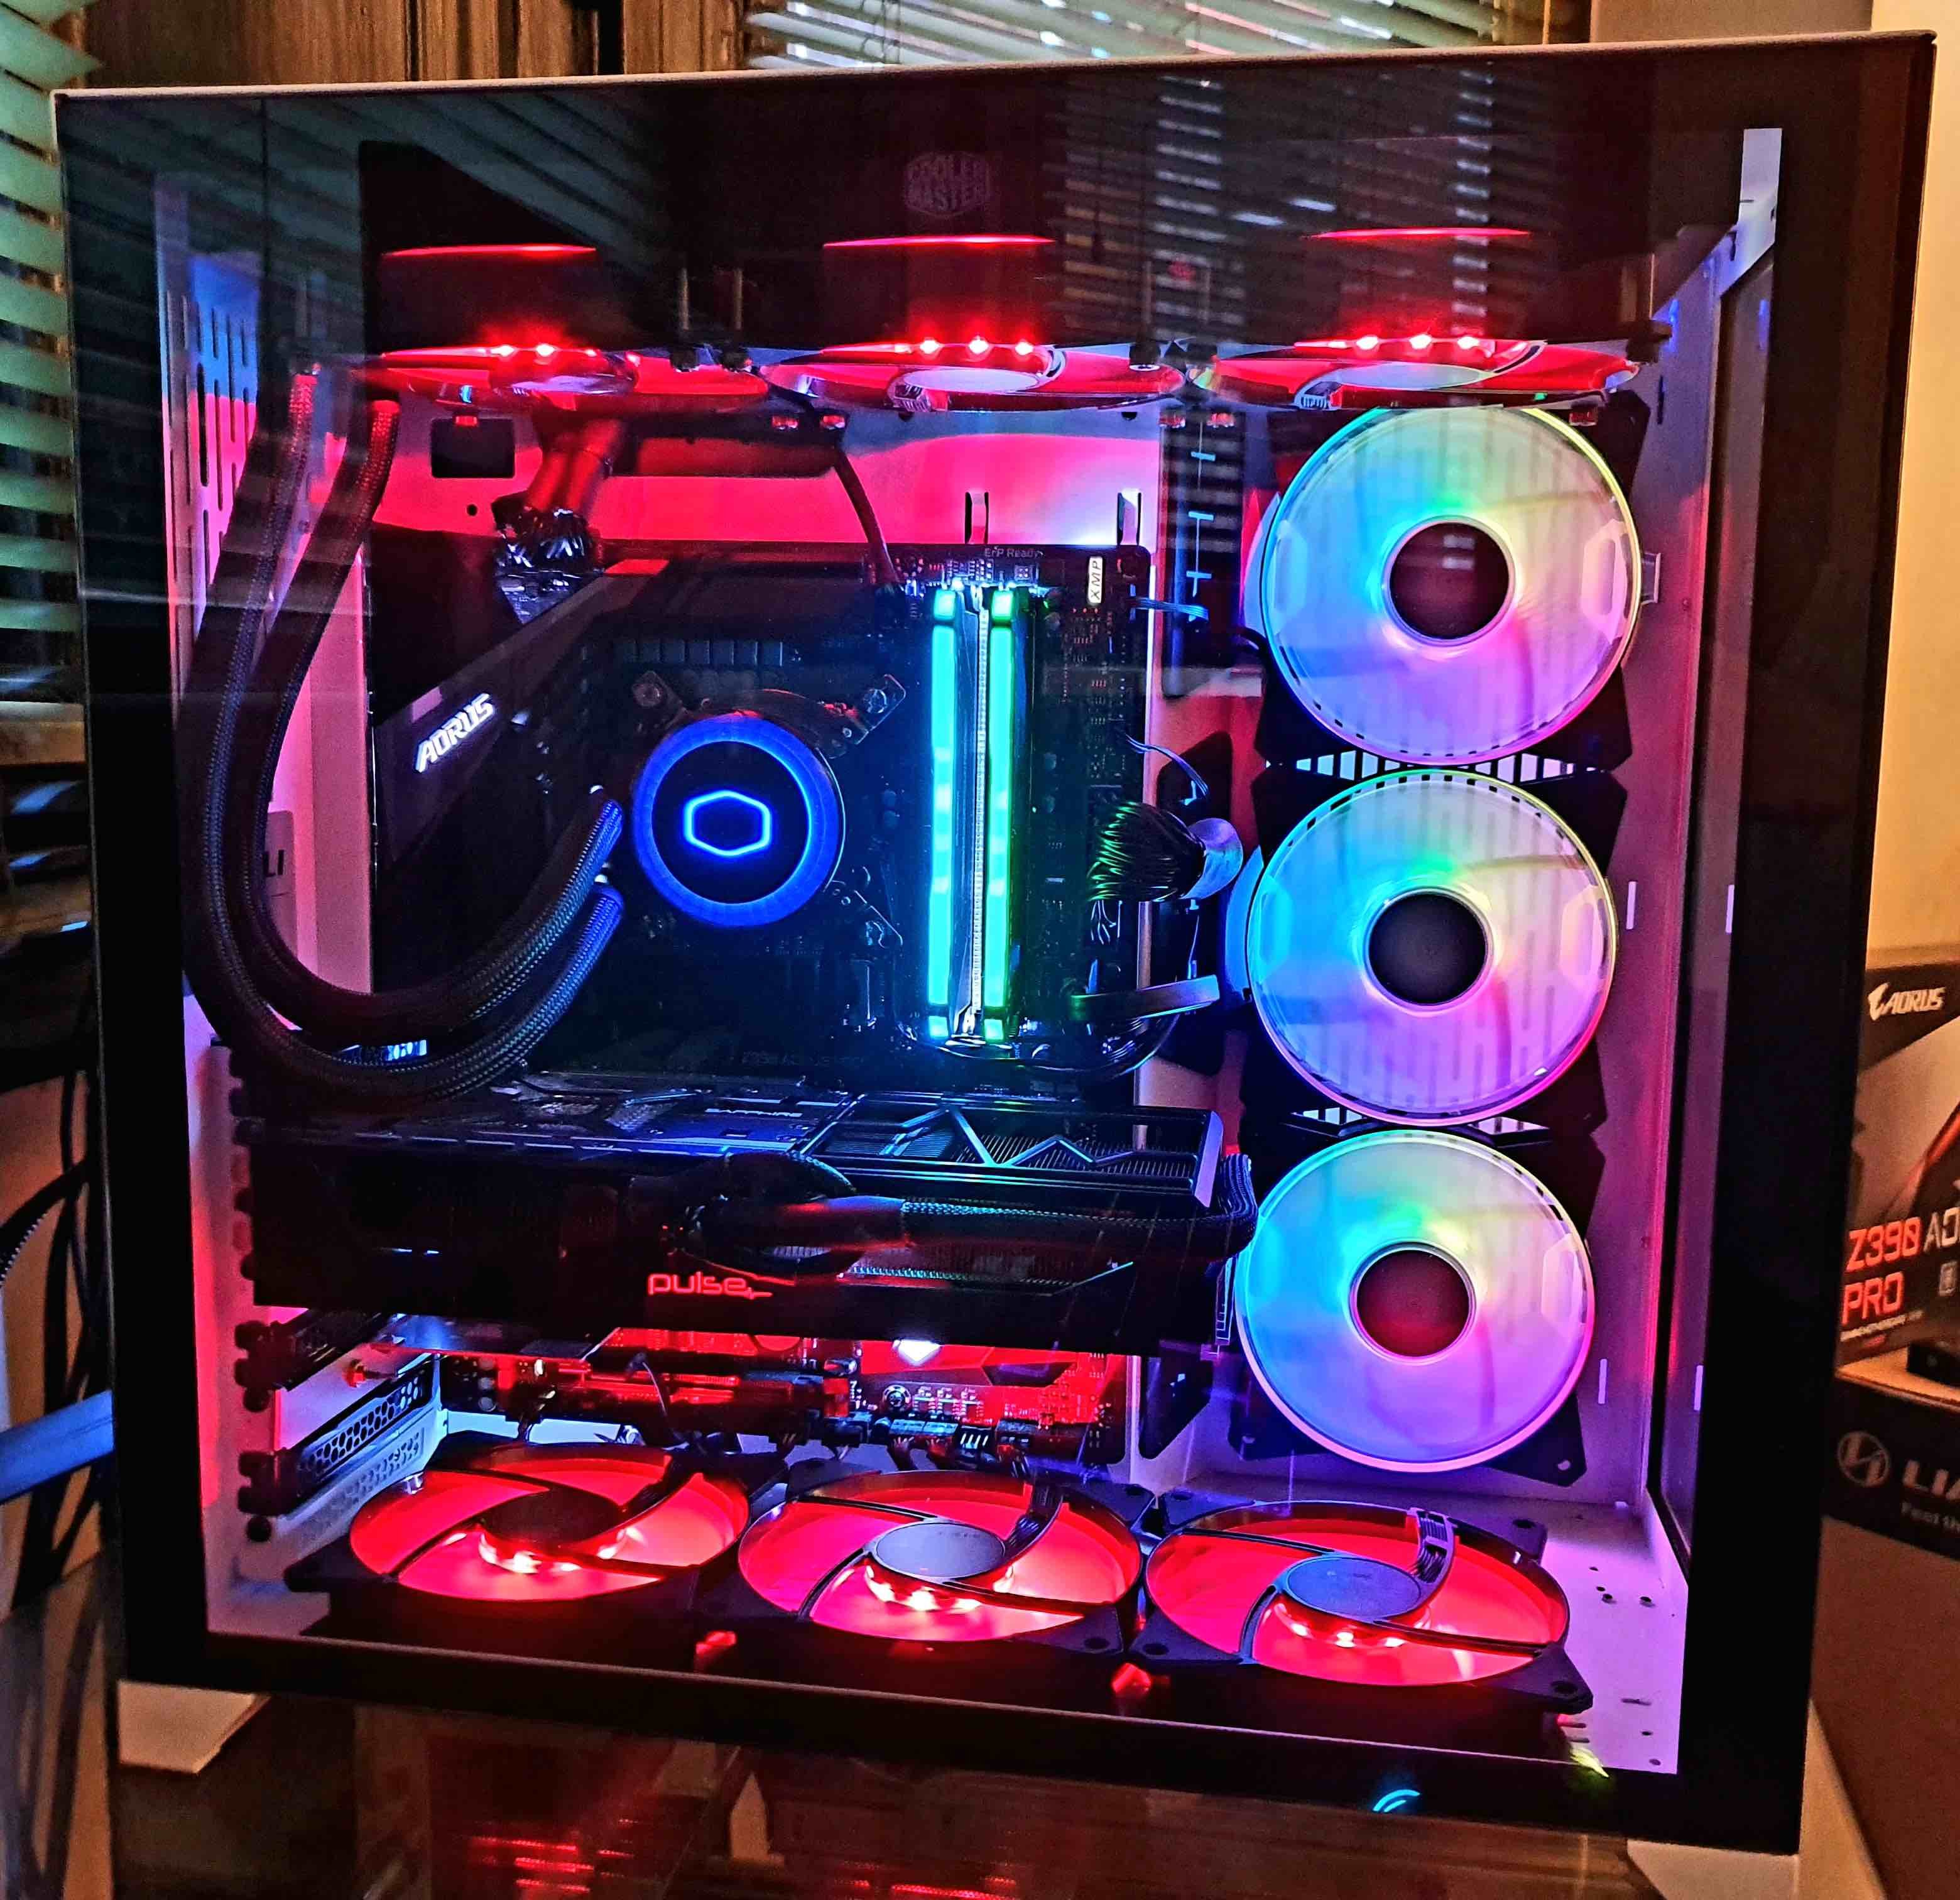
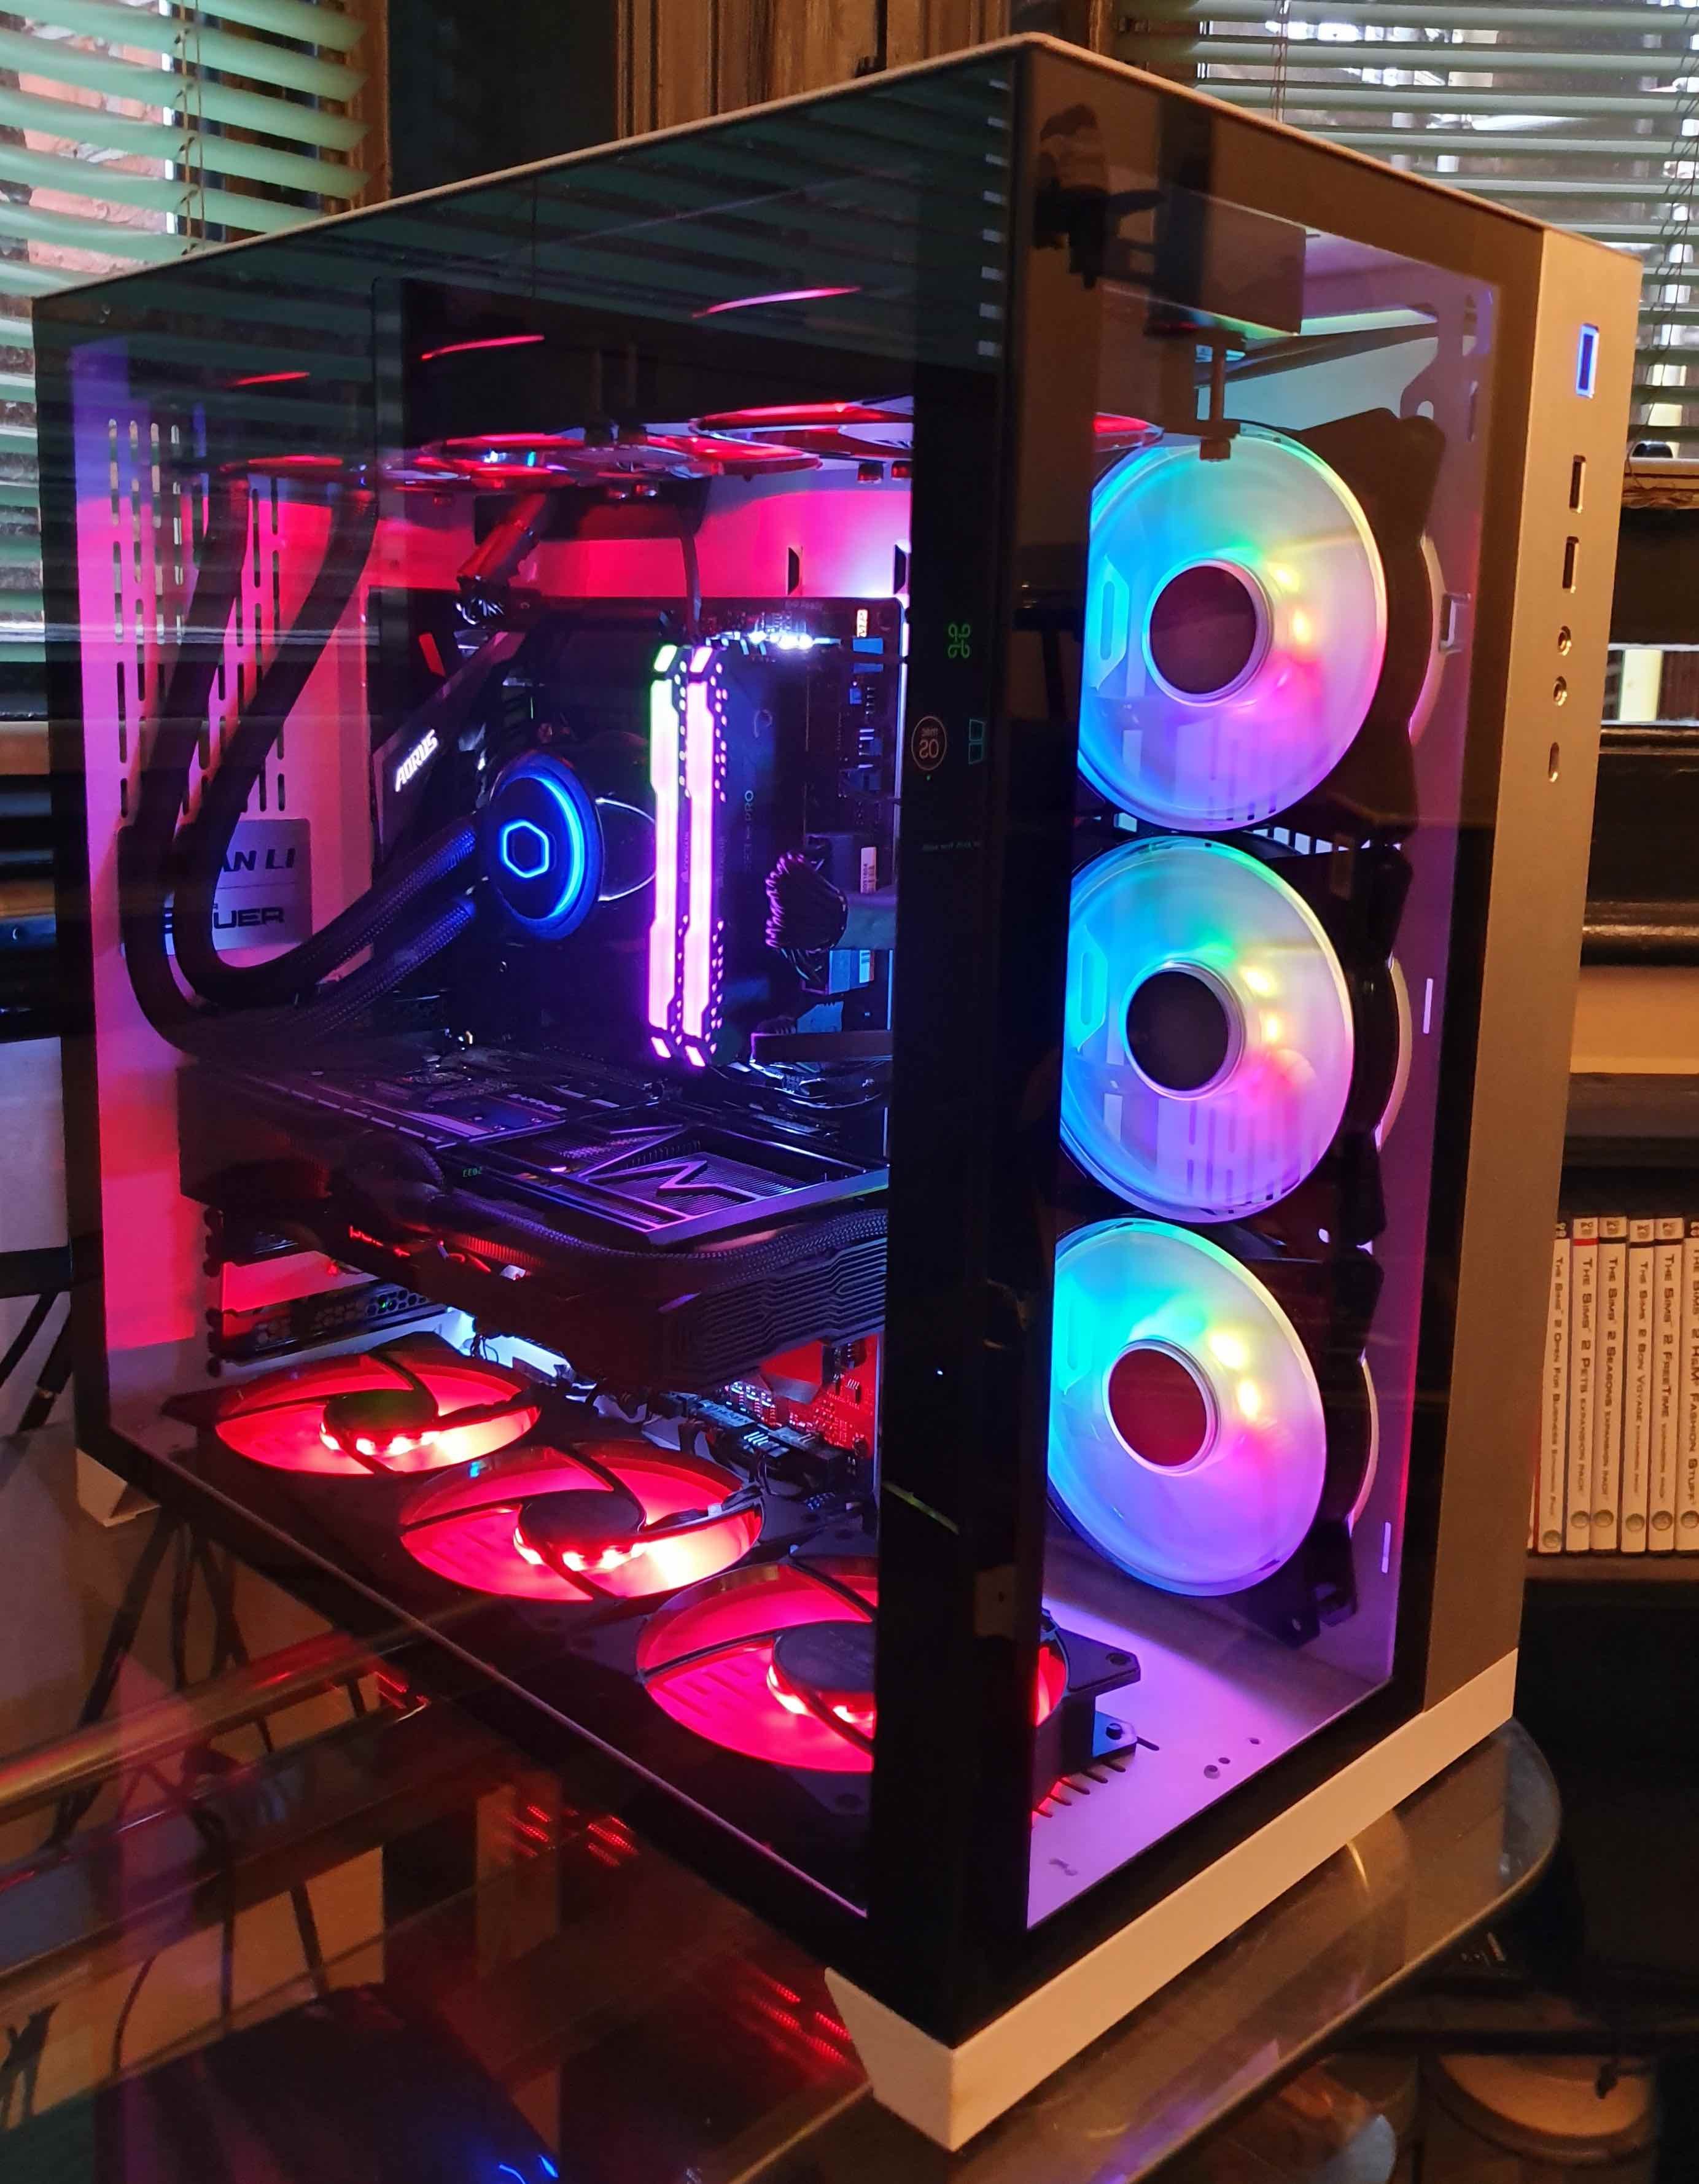
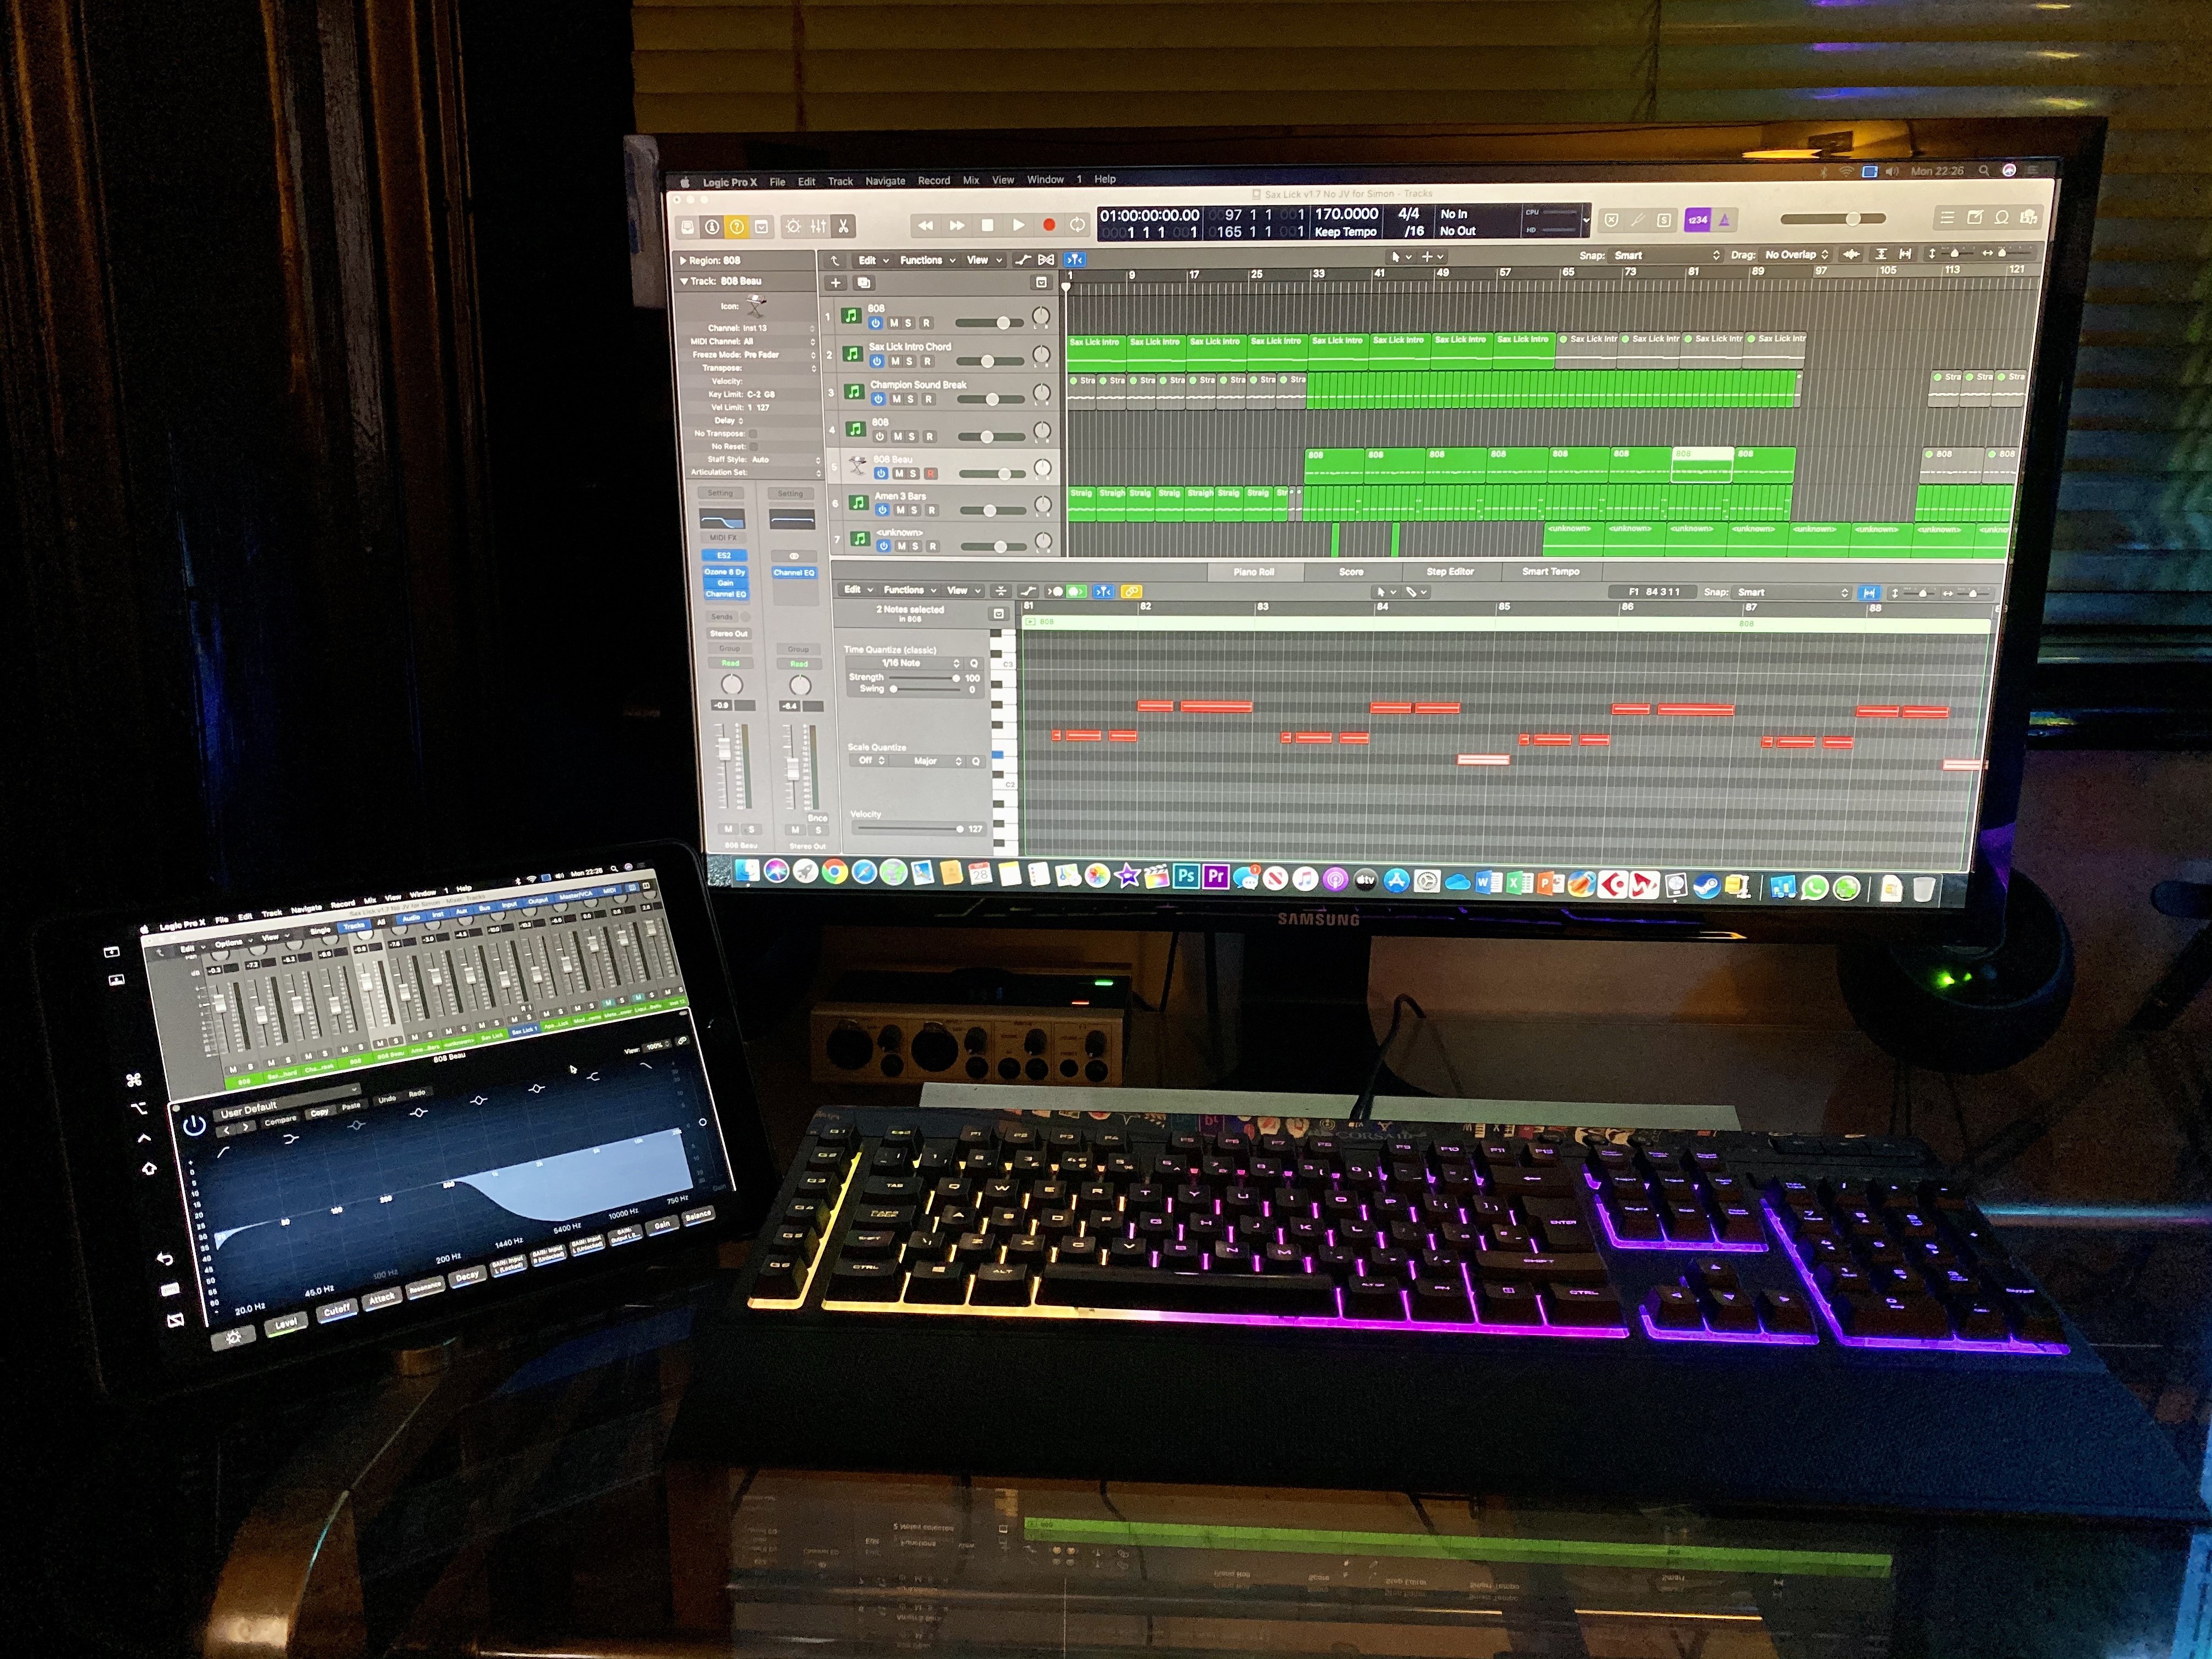
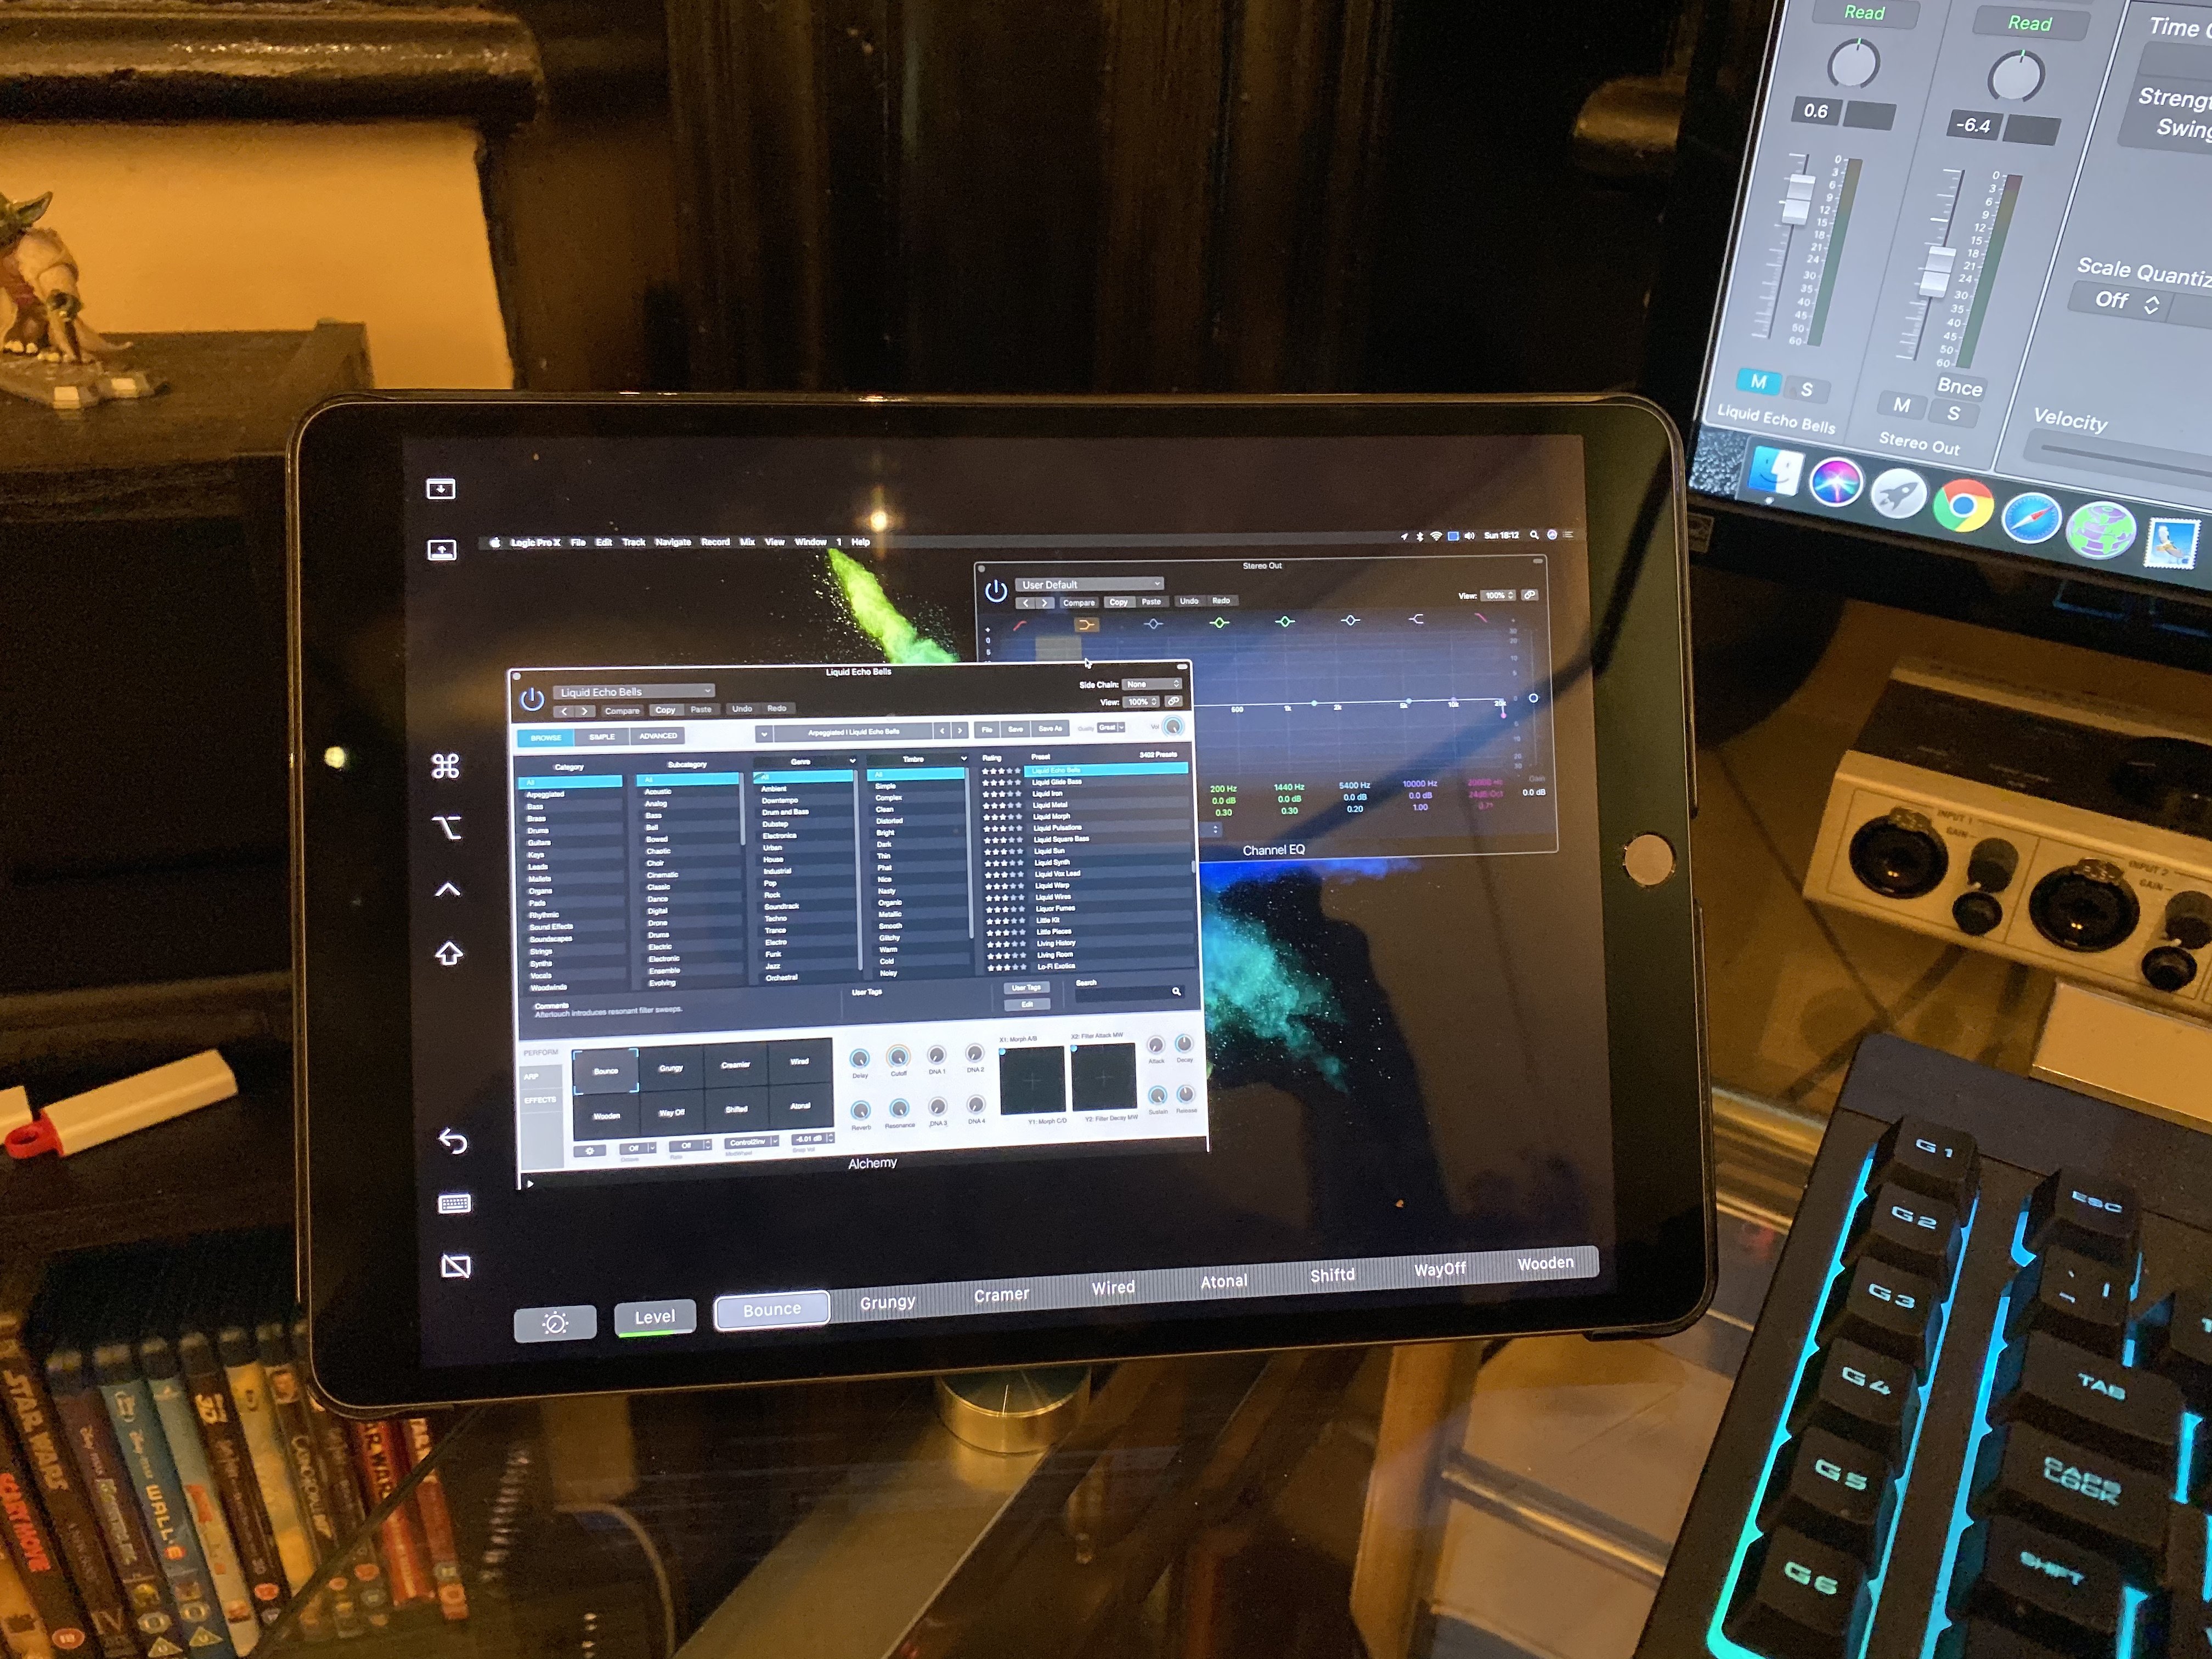
I have put together this simple little guide for anybody wanting to use a Patched DSDT EFI with the same configuration as me. This is also a thread to discuss everything Z390 Pro and try and help where we can and maybe make things a little better for you. A huge massive thank you to @glasgood @MaLd0n @larabee These three guys have helped me and talked me so much and are as helpful as you could ever get, Without them I wouldn't have a perfect working build like I do or be putting up this Guide & Discussion Thread sharing the hard work and countless hours that we have all put in to this. This EFI and Patched DSDT have been created to work with a Gigabyte Aorus Z390 Pro, 9900k with a Vega 56 but has also been tested and verified fully working with the following Hardware using Big Sur 11.0.1 CPU's 8600K, 8700, 8700K, 9400K, 9600K, 9700K, 9900K, 9900KS (All KF Models work but use SMBios iMacPro1,1 instead) GPU's RX 560, 570, 580, 590, Vega 56, Vega 64, Radion VII, RX 5500, 5500 XT, 5600, 5600 XT, 5700, 5700 XT (If you have success with any different CPU or GPU's then please do let me know) @glasgood Has kindly put together a new simple Catalina install guide so Just Follow He's Guide For a Perfect Install. HARDWARE USED • Intel I9 9900k • Gigabyte AORUS Z390 PRO • Sapphire Nitro+ SE Vega56 (connected to monitor with DisplayPort) • Corsair Vengeance Pro RGB 16GB @3200mhz (2 x 8GB) • Corsair RM850x 80 Plus Gold Power Supply Unit. • CoolerMaster MASTERLIQUID ML360R RGB CPU Cooler • Samsung 970 EVO 1TB NVMe SSD macOS Catalina 10.15.3 • Samsung 860 EVO 1TB SSD (2.5) Windows 10 Pro • ABWB BCM94360CS2 802.11AC WI-FI With Bluetooth 4.0 PCI-Express (PCI-E) • Lian Li PC-O11DW Dynamic ATX Case WORKING • Sound • Ethernet Port • WiFi • SSD Trim • USB 3.0 & 2.0 (All ports Open Natively) • AirDrop • iCloud • Hardware Acceleration • iMessages • Facetime • Sleep & Wake • Sleep and Shutdown via the Power Button • Handoff • Netflix on Safari browser • Continuity • Sidecar OPENCORE EFI Current EFI Change-Log Updated 04/10/2021 OpenCore EFI Update v0.7.4 - 04/10/2021 OC 074 19,1 Z390 Pro EFI.zip - OpenCore v0.7.4, SMBios iMac19,1 OC 074 1,1 Z390 Pro EFI.zip - OpenCore v0.7.4, SMBios iMacPro1,1 (iGPU Disabled) OC 074 19,1 Z390 Pro iGPU ONLY EFI.zip - OpenCore v0.7.4, SMBios iMac19,1 iGPU ONLY Note - If your not using a 5700 XT or any other Navi GPU then remove agdpmod=pikera from the boot arguments. Note 2 - Do not try to carry across your old OpenCore Config.plist to the new EFI as to many changes have occurred in 0.6.9. Use the new Config.plist instead. PlistEdit Pro.zip - PlistEdit Pro (use to edit OpenCore) For OpenCore Using PlistEdit Pro add your details by modifying the following PLEASE NOTE - These EFIs are setup to be used with your msr Unlocked but if for any reason you can not unlock MSR then just modify following in the OpenCore config.plist : PLEASE NOTE - Please flash your motherboard bios to revision F12K (F12J Pro Wifi) to use my current Clover EFI. It’s a major rework of the bios and vital changes have been made to the layout and power tables. New DSDTs have been created and installed into the new EFI’s but will not work correctly with any other bios revision. Latest Gigabyte Z390 PRO/Pro Wifi BIOS Firmwares mb_bios_z390-aorus-pro_f12k.zip - Aorus Z390 Pro Bios Firmware F112K mb_bios_z390-aorus-pro-wifi_f12j.zip - Aorus Z390 Pro Wifi Bios Firmware F112J CFG Unlock (MSR) F12K (F12J Pro WIFI) BIOS Profile - The Easy Way Highly recommended if your using a Vega 56/64, Radeon VII or Navi GPU DSDT's FOR CLOVER ONLY (A big thanks to @MaLd0n for compiling these DSDT's) To Create Your Own Patched DSDT Message @MaLd0n using the link bellow https://www.olarila.com/forum/17-dsdt-patch-requests/ (If you want a perfect setup then getting your own patched DSDT made would be the best thing to do, Mine will work perfectly fine but different hardware no matter how small a change it is can tend to have some sort of effect on the DSDT and your setup) If Your Not Using File Vault Then Please Disable Hibernate disablehibernate.command ADDITONAL DOWNLOADS Clover Clover Configurator Kext Updater OPTIONAL DOWNLOADS BroadcomFix.zip (Use these kexts if your Broadcom bluetooth/Wifi isn't working properly) FakeSMC (Can be used instead of VirtualSMC) Hackintool IORegistryExplorer Native Display Brightness with MonitorControl BIOS SETTINGS (Bios Revision F12k & F12j Pro Wifi) • Enter BIOS -> Press Delete -> Enter Setup • Save & Exit -> Load Optimized Defaults • Boot -> CFG Lock -> Disabled • Boot -> Windows 8/10 Features -> Win 8/10 WHQL • Boot -> CSM Support -> Disabled (Can be set to Enabled if need be but try to have it set to Disabled first) • Favourites -> Extreme Memory Profile (X.M.P.) -> Profile1 • Favourites -> VT-d -> Disabled (Can be set to Enabled or Disabled, Your choice) • Settings -> IO Ports -> Internal Display Output -> PCIe 1 Slot • Settings -> IO Ports -> Internal Graphics -> Enabled (Disabled If Using SMBios 1,1) • Settings -> IO Ports -> DVMT Pre-Allocated -> 64M • Settings -> IO Ports -> DVMT Total GFX0-Allocated -> 256M • Settings -> IO Ports -> Aperture Size -> 256MB • Settings -> IO Ports -> Wifi -> Disabled (Z390 Pro Wifi Only) • Settings -> IO Ports -> Audio Controller -> Enabled • Settings -> IO Ports -> Above 4G Decoding -> Enabled • Settings -> IO Ports -> USB Configuration -> Legacy USB Support -> Auto • Settings -> IO Ports -> USB Configuration -> XHCI Hands-off -> Enabled • Settings -> Miscellaneous -> Software Guard Extensions (SGX) -> Disabled • Settings -> Platform Power -> Platform Power Management -> Enabled • Settings -> Platform Power -> ErP -> Enabled • Settings -> Platform Power -> RC6(Render Standby) -> Enabled • Save & Exit → Save & Exit Setup SCREENSHOTS


 1 point
 -
this is OPEMU for Lilu Plugin Intel Haswell Pentium / Celeron Series Or older processor expansion instruction set Emulation USAGE: copy Lilu.kext & OpcodeEmulator.kext To /EFI/CLOVER/kexts/Other/ NOTE: if it don't work, please rebuild Lilu and OpcodeEmulator On Your Machine. Lilu Releases: https://github.com/acidanthera/Lilu/releases UPD: 2017/11/17 FIX kernel_trap UPD: 2019/02/11 BMI1/BMI2 Instruction Set Fix UPD: 2019/02/15 Store & Load x86/x64 Register Fix UPD: 2019/02/18 Modrm Addressing、XMM/R64/R32 Register Store & Load Fix UPD: 2019/02/20 BMI1/BMI2 Instruction Set Completed UPD: 2019/02/22 IMM Byte Fix UPD: 2019/03/03 High Sierra Support UPD: 2019/03/07 "lock" & "ud2" instruction return UPD: 2019/04/08 add YMM Register & F16C Instruction Set & VSSEX Instruction Set UPD: 2019/04/25 add AES / VAES Instruction Set、AVX 2.0 Gather Instruction、VSIB Addressing UPD: 2019/05/03 add AVX / AVX2 / FMA Instruction Set UPD: 2019/05/15 VSSE (VEX SSE) 、VSSE2 (VEX SSE2) Instruction Set Completed. UPD: 2019/05/18 VSSE3、VSSSE3、VSSE4.1 VSSE4.2 Instruction Set Completed. UPD: 2019/05/19 add "vpclmulqdq" instruction. & fix BMI andn & bzhi instruction. UPD: 2019/05/20 add "sysenter"、"sysexit" instruction for AMD Machines 32-bit Mode UPD: 2019/05/21 add "vpclmulqdq" VEX.256 Version & Update Lilu to 1.3.5 (Build based on Lilu 1.3.5) UPD: 2019/05/25 YMM Register Store & Load FIX. AVX、AVX 2.0 Opcode Emulator Completed. OpcodeEmulator-20190525.zip1 point
-
DSDT patches for Sleep I made this patches for All latest motherboard. Just Add 9 ACPI patches Clover or Open Core. config-Clover.plist config-OC.plist Enjoy. Thanks for your Likes.1 point
-
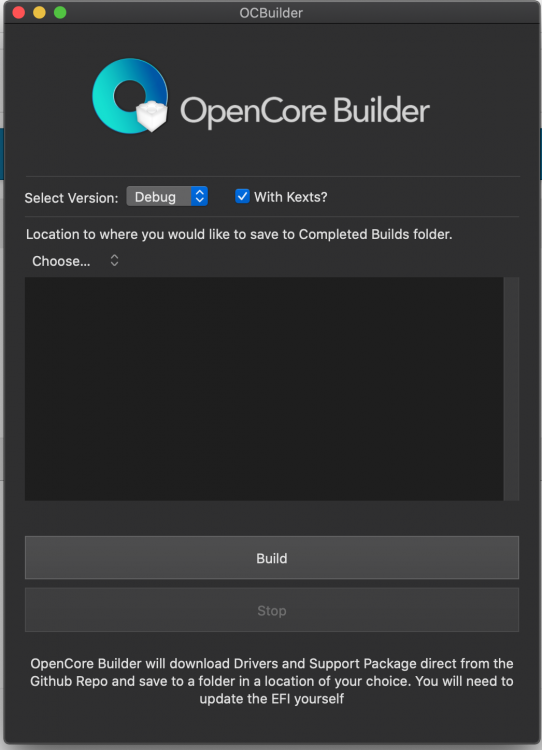
Download and Auto-Compile OpenCore, Drivers and General Kexts (Debug or Release) https://github.com/Pavo-IM/ocbuilder/releases
 1 point
 -
I don't see anything useful in the log. You should use syslog instead and look for messages starting with "apst @" and " nvmef @". On Linux you should check your power consumption to see if APST does anything there. The driver for Linux can produce some logs, but you have to figure out how to find and read them on your own.1 point
-
@Andrey1970 sorry, I have to modify the project because it is not right in case of multi CPU Systems. What I need is to have this: when only one CPU Package: "Cores Temperature AVG" = "Cores Temperature AVG"; // IA Temperature AVG "Cores Temperature MIN" = "Cores Temperature MIN"; // IA Temperature MIN "Cores Temperature MAX" = "Cores Temperature MAX"; // IA Temperature MAX "Cores AVG" = "Cores avg"; // Cores frequency AVG "Cores MIN" = "Cores min"; // Cores frequency MIN "Cores MAX" = "Cores max"; // Cores frequency MAX "Cores REQ" = "Cores req"; // Cores frequency REQ (requested by OS) "Frequency MIN" = "Frequency min"; // Frequency MIN, IGPU "Frequency MAX" = "Frequency max"; // Frequency MAX, IGPU "Frequency REQ" = "Frequency req"; // Frequency REQ (requested by OS), IGPU when more then one CPU Package: "Cores (Package %d) Temperature AVG" = "Cores (Package %d) Temperature AVG"; // IA Temperature AVG "Cores (Package %d) Temperature MIN" = "Cores (Package %d) Temperature MIN"; // IA Temperature MIN "Cores (Package %d) Temperature MAX" = "Cores (Package %d) Temperature MAX"; // IA Temperature MAX "Cores (Package %d) AVG" = "Cores (Package %d) avg"; // Cores frequency AVG "Cores (Package %d) MIN" = "Cores (Package %d) min"; // Cores frequency MIN "Cores (Package %d) MAX" = "Cores (Package %d) max"; // Cores frequency MAX "Cores (Package %d) REQ" = "Cores (Package %d) req"; // Cores frequency REQ (requested by OS) "Frequency (Package %d) MIN" = "Frequency (Package %d) min"; // Frequency MIN, IGPU "Frequency (Package %d) MAX" = "Frequency (Package %d) max"; // Frequency MAX, IGPU "Frequency (Package %d) REQ" = "Frequency (Package %d) req"; // Frequency REQ (requested by OS), IGPU and maybe we can make Package to be (Pkg)..1 point
-
That guide is wrong. Do not use setup_var 0x5C1 0x00, it will error out and not actually apply the variable. You have to use setup_var_3. You'll still receive the error, but it will patch the firmware regardless. Read more here: https://www.tonymacx86.com/threads/successfully-patched-z170x-ud5-th-cfg-lock-msr-ex02.253466/page-2#post-1847437 (see reply #26 for more details on using setup_var_3). And1 point
-
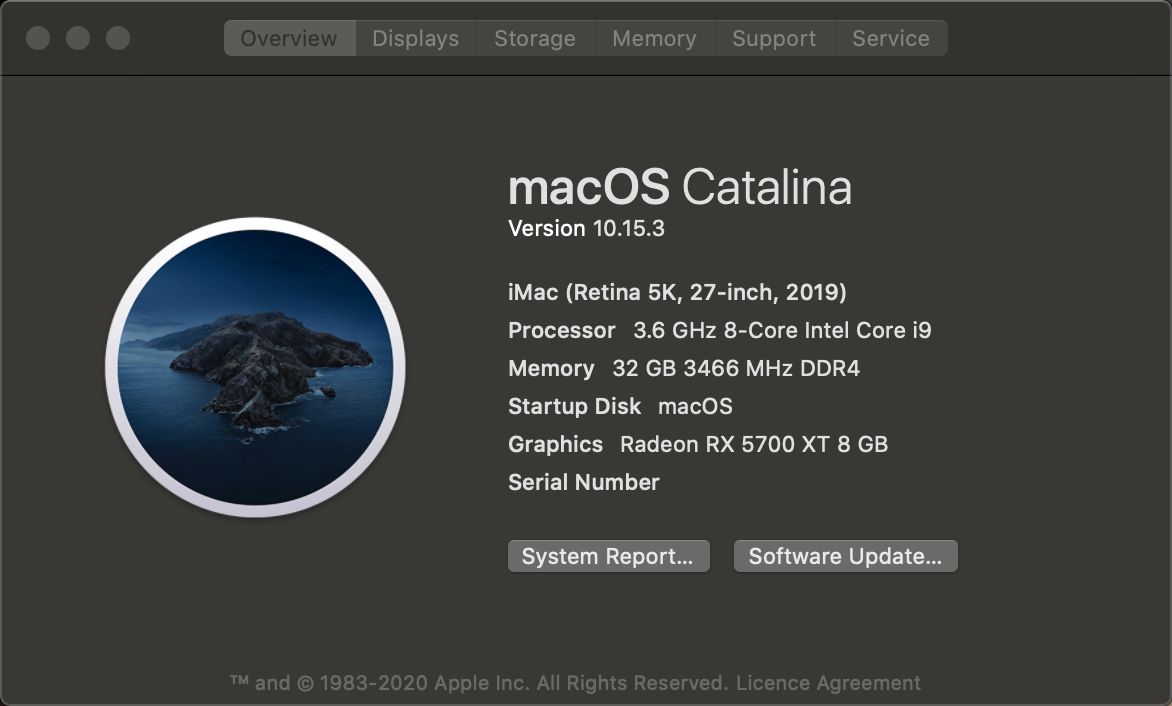
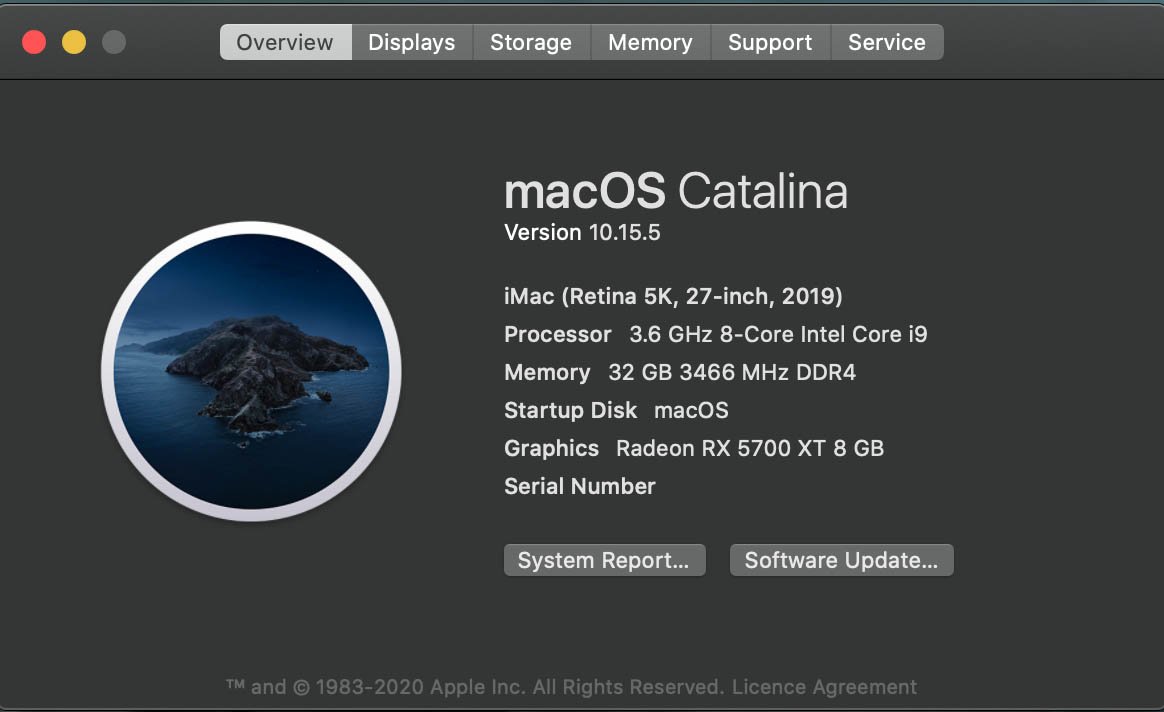
Updated to the public release of 10.15.3. Works fine but the update process killed my EFI clover entry for some reason. Had to restore it using BOOTICE. But both Clover and OC run it fine. One thing I noticed using OC is that I got little sporadic stutters. It's nice, feels really native, but tbh, Clover operates much smoother. OC looks amazing, but it's still pretty soon in the development cycle to rely on it for a production system.1 point
-
For me, i would just CCC everything to a 2nd disk so you can have a full (bootable) backup. Clover can boot from USB2 even though it may be sloooooow. I prefer to CCC my SSD to a 2nd HD. recovering from a 2nd HD is way faster than a restore from timemachine. For the OS, I consider the USB installer my system-only backup. but sure, CCC allows you to pick and choose what folders get cloned.1 point
-
If using WhateverGreen.kext add -wegnoegpu to boot args.1 point
-
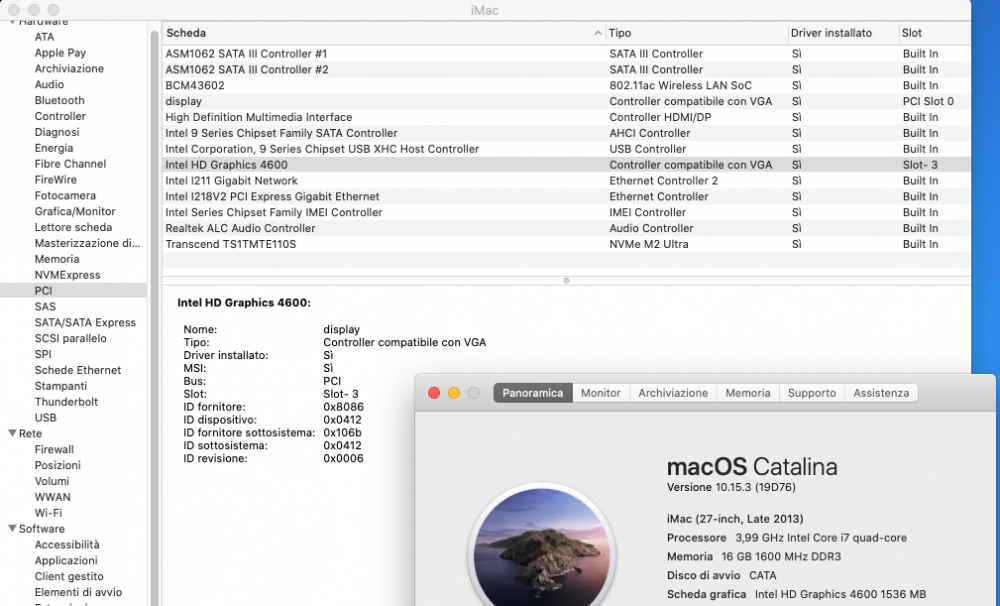
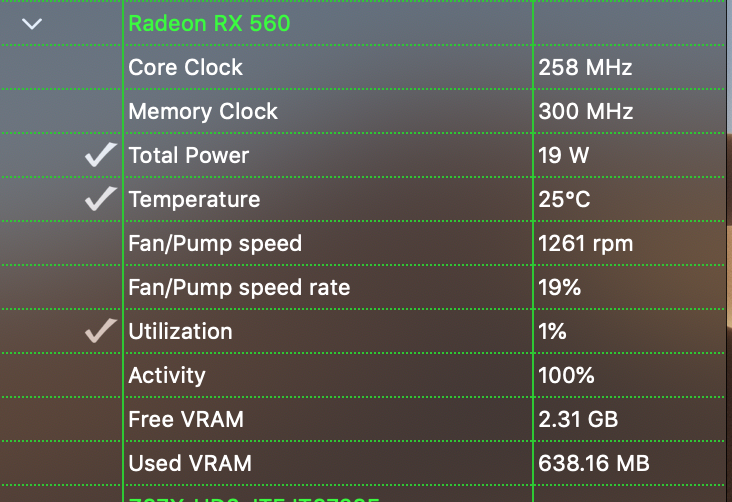
Here are the same if I set the same timing, otherwise are different of course I said this multiple times, values are taken from macOS. You should file a bug at Apple for unsupported hardware..... but I can image the answere EDIT you can try: https://support.apple.com/en-us/HT208898 They can fix it... if someone will tell to them1 point
-
hi.. done z390.. c.frio
 1 point
 -
Not until they provide themes1 point
-
1 point
-
That works? Awesome. Thanks slice1 point
-
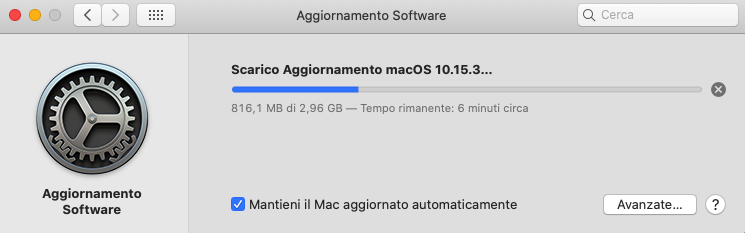
Salve a tutti E' stato rilasciato l'aggiornamento di Catalina 10.15.3 per tutti gli utenti.
 1 point
 -
Everybody’s loving NDK OpenCore at the moment...there’s a clear shift from clover happening with all the die hards on the thread. Fascinating1 point
-
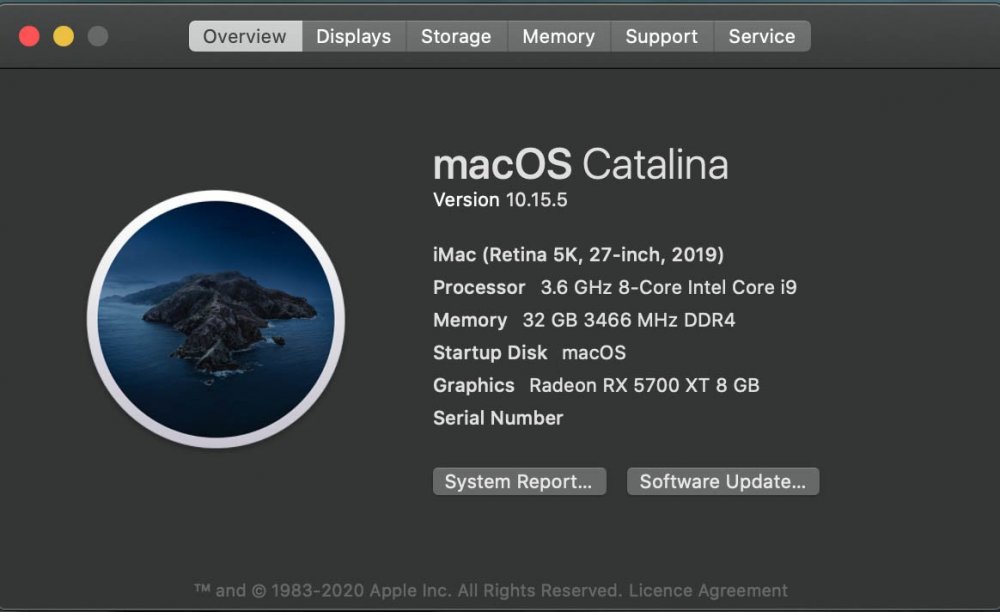
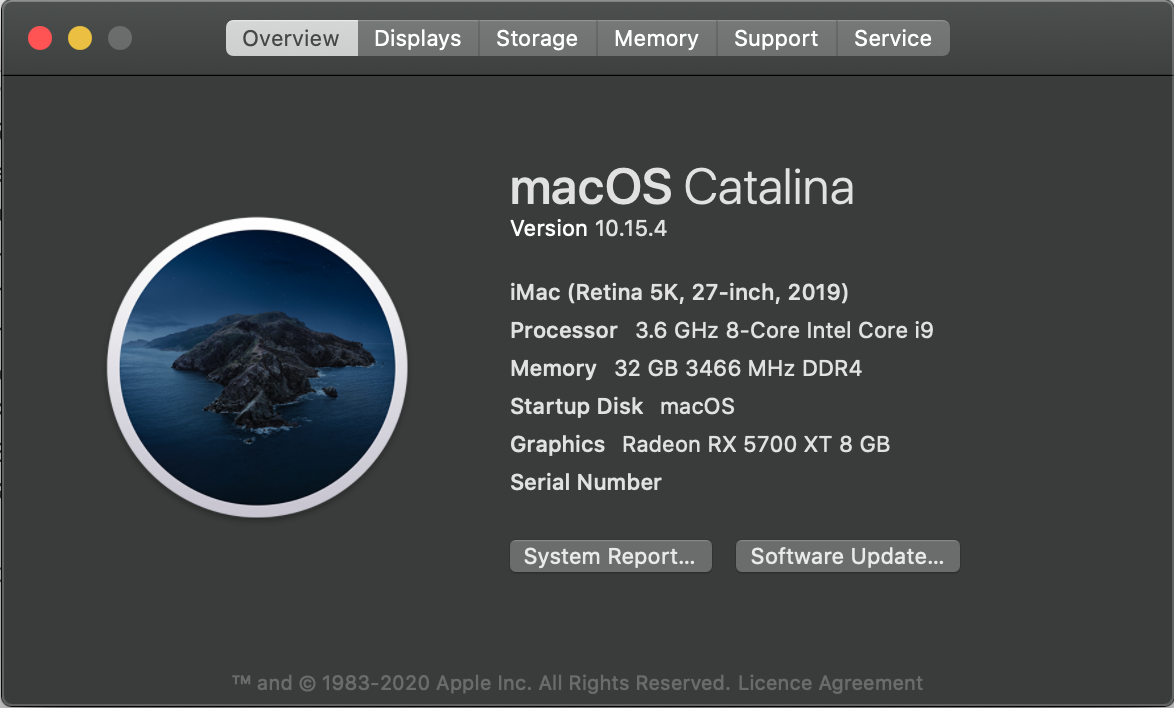
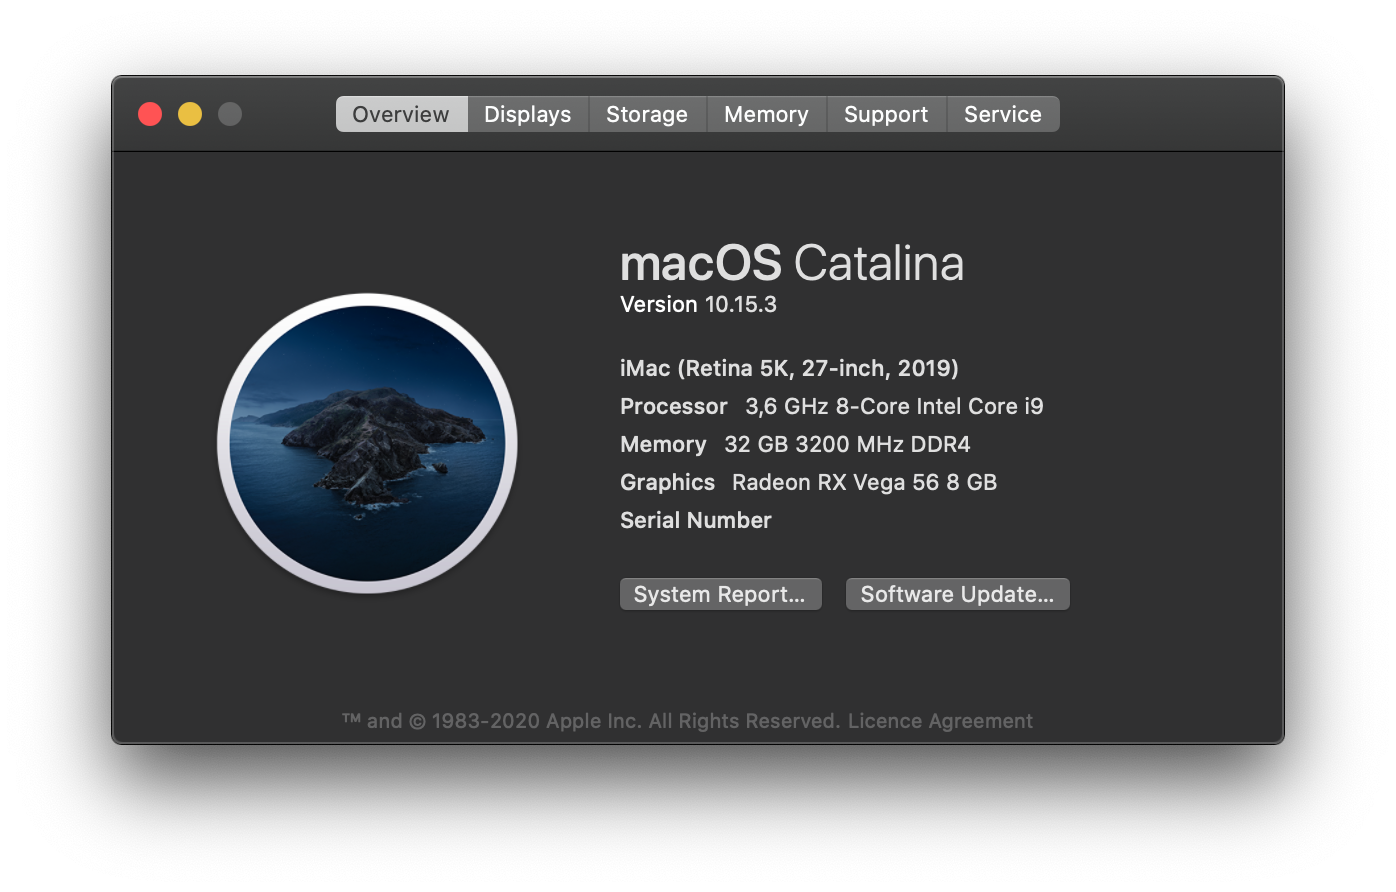
This is just to report that I upgraded to macOS Catalina 10.15.3 and everything seems to be super OK with the OpenCore variant.
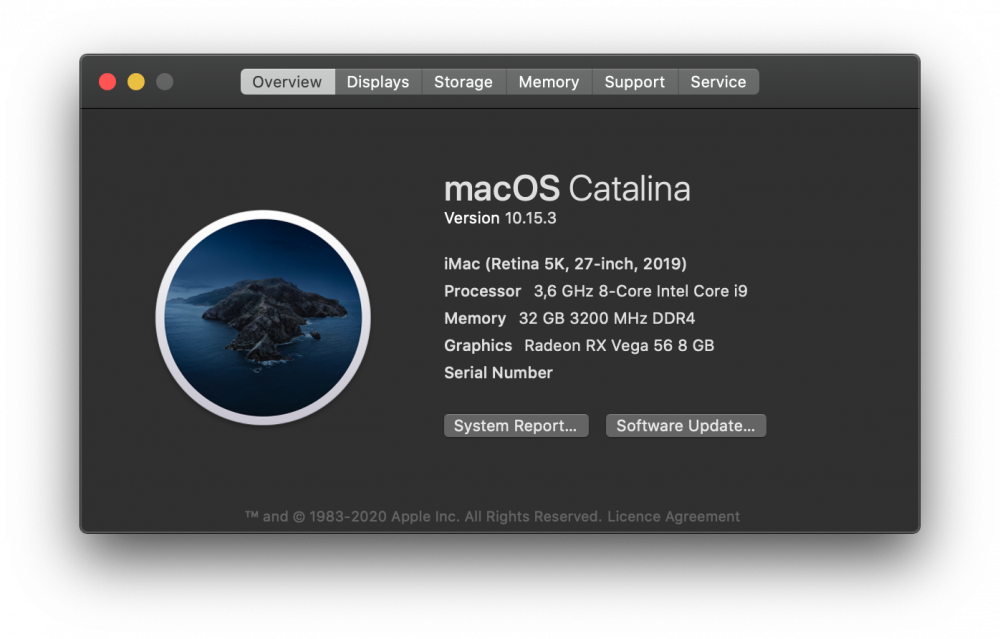 1 point
 -
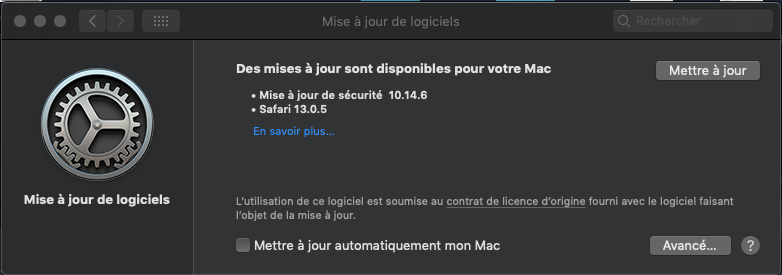
Hi Security update + Safari 13.0.5
 1 point
 -
1 point
-
@MorenoAv This is 10.15.2 topic, not 10.15.3 @telepati I see you're confused, just like I'm - DO not know if it is a bug or a new security update but it has the same build name as the first public build.1 point
-
Everything updated without issue...
 1 point
 -
1 point
-
hack 2 signature
 1 point
 -
@Slice sorry I don’t come here much it’s always better to open an issue on GitHub or contact me via Discord. The issue you’re mentioned was resolved PaulTheTall contacted about the issue, seems 7z likes a fixed path so I’d removed it and let winetricks just use the windows version to extract 7z files. ulimit -S -n 2048 # or whatever number you choose You could properly add that to the “Custom CLI” field. In other news I’ve also added something interesting WineCX19.0.1 that contains macOS Catalina support if SIP is disabled.1 point
-
You need to press spacebar to see all hidden boot options, EFI, tools, hidden entries. ( It is explained in the first page of this thread )1 point
-
@tyufhl Здесь по-русски запрещено, есть отдельная ветка где можно. AppleIntelInfo panics because it uses MSR registers not allowed on some CPUs. Panics observed by numerous users. Just wonder why such non-safe kext appears in DarwinDumper.1 point
-
Just enable this patch. It's an RTC problem. Or you can use RTCMemoryFixup.kext https://github.com/acidanthera/RTCMemoryFixup
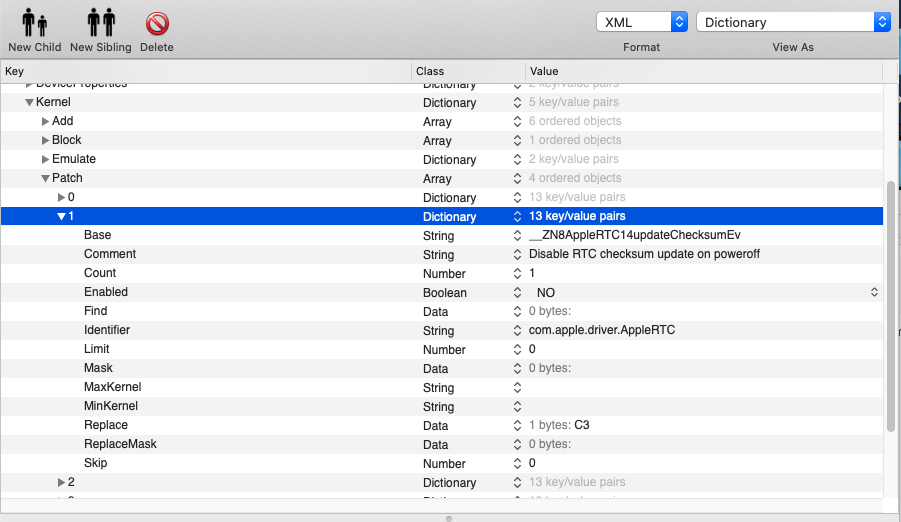 1 point
 -
Ok, so I got a reply from the OpenCore developer: https://github.com/acidanthera/bugtracker/issues/6811 point
-
Delete it: And add HfsPlus.efi HfsPlus.efi.zip
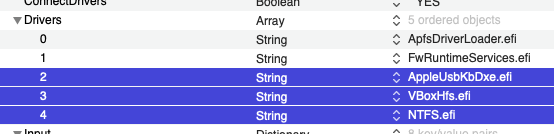 1 point
 -
It will compile the latest commits on GitHub.1 point
-
@drayon I have heard OpenCore is Open Source, maybe you can spend the time complaining on working instead.1 point
-
When you get to the main screen do you receive a "there is a problem with the graphics" related message? I have a gtx 750 ti EVGA running on Yosemite 10.10.1, I had the freezes too, after months of having this problem I solved it using this bootflag: msibase=0x90 Since then I've been having my GPU fully working, hope it helps you1 point
-
Hi, Im glad to hear your happy buddy and in answer to your question its a no, when your using the gpu you can only use the igpu in headless mode im afraid. trying to use it usually results in a crash straight away. A cheap second compatible AMD card would be your best option if you need more outputs.0 points


.thumb.png.a43579d9e280a5c4c80807bf93412ae7.png)
