Leaderboard


Popular Content
Showing content with the highest reputation on 10/25/2018 in all areas
-
I'm back to the scene since today (16/10/2018). I've bought myself a new MacBookAir7,2. Will continue to develop for the hackintosh community. I've started by uploading under the Developers Corner a new version of AutoAPBDecrypt 2.0. CommonCrypto is altered to not allow decryption of Apple Protected Binaries. Solved this using an Apple updated version of OpenSSL 1.0.1j (included in the installer package). I can report that I'm very pleased to be back.3 points
-
Well the ROM on the Vega GPUs is the lates version and we know the whole GPUs architecture has changed and has been improved so that might be the reason why there is no flashing on these GPUs. If we disable the iGPU I believe we need to do a clean install and remove all the iGPU related settings from the config.plist to be more precise. I will be doing a clean install later on if I can with iGPU being disabled completely so I can test and see if that makes a difference.2 points
-
Fixed by https://github.com/acidanthera/Lilu/commit/5d35beea4a1fc5c106275eb5e8b52ae1c3df6ffc.2 points
-
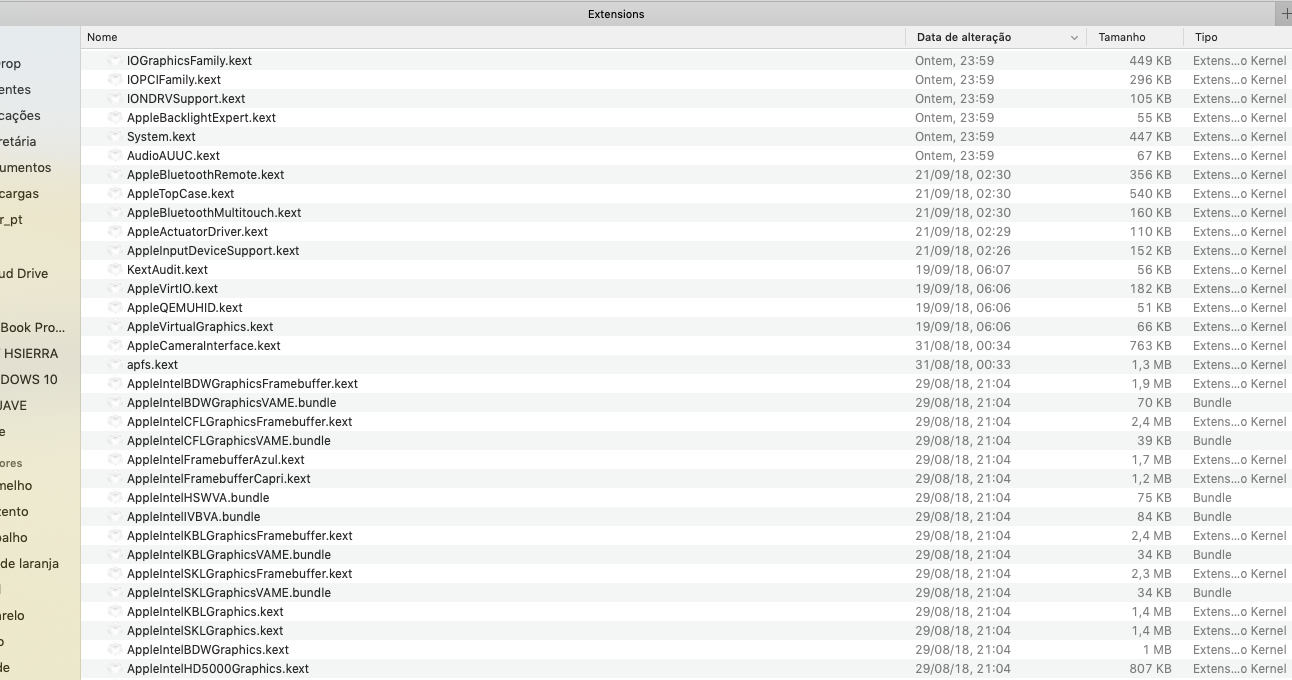
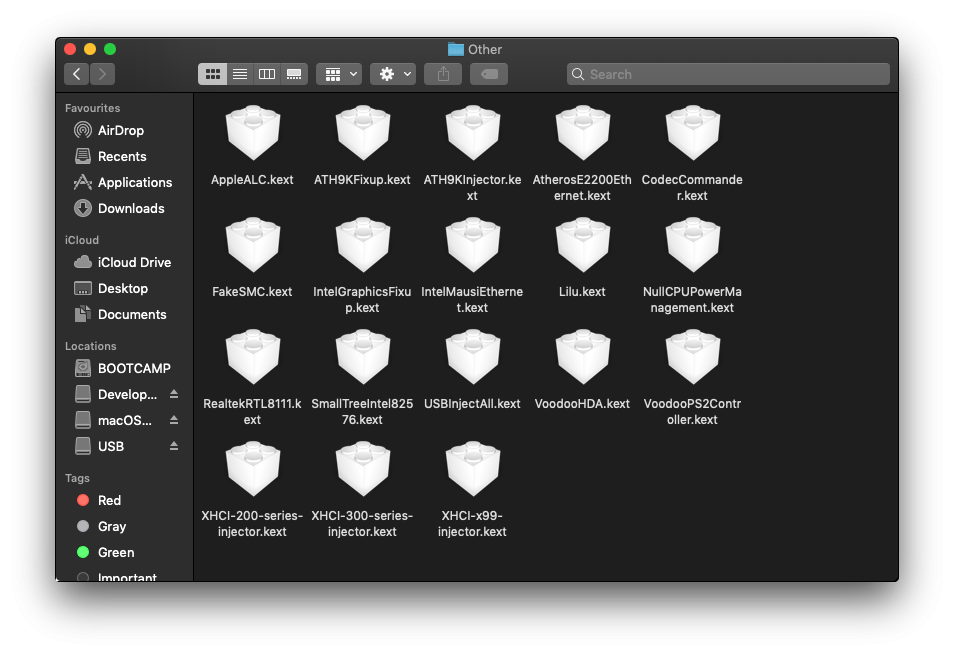
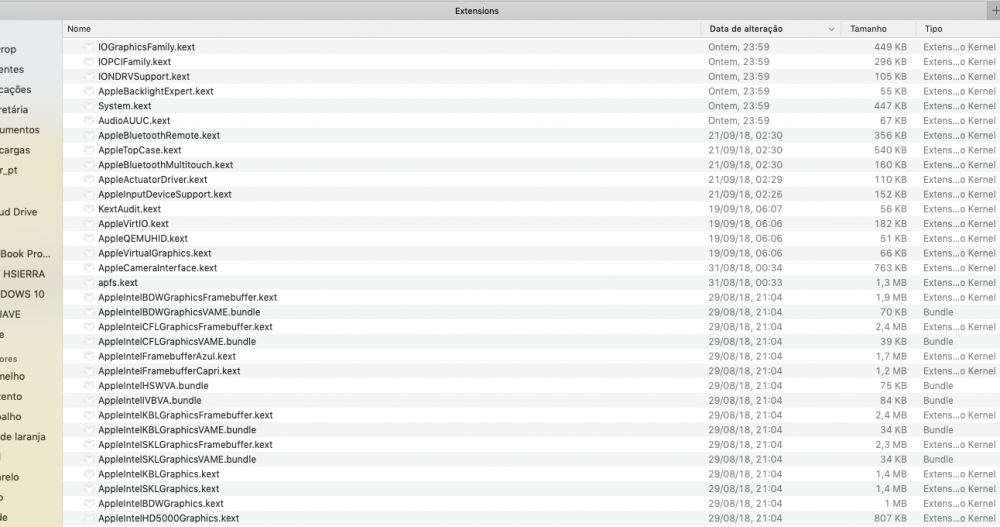
EDIT: MacOS Mojave 10.14 ONLY I didn’t test 10.14.1! The EFI folder is compatible with High Sierra. Guide to installing 10.14 Mojave on a ASUS X555L What Works: -WiFi -Sound -Graphics (Intel) What doesn't Work: -Bluetooth -NVidia Web Drivers -Battery Indicator Used Kexts: Picture Clover setup: Clover plist is downloadable in this topic. Let's start Step one: First get a USB with 8+ GB of storage and a MacOS Mojave 10.14 installer from the AppStore. Partition the USB in a GUID style and 2 partitions, one partition HFS+ and one partition FAT32. In the FAT32 partition put the EFI Folder there. On the HFS+ partition get the MacOS Mojave .app using this command: sudo /Applications/Install\ macOS\ Mojave.app/Contents/Resources/createinstallmedia --volume /Volumes/USBNAME --applicationpath /Applications/Install\ macOS\ Mojave.app --nointeraction Lets install! Put the USB in a 3.0 port on the LEFT side of the Notebook. In the BIOS follow the default Hackintosh settings, do NOT forget to put Memory allocation to 64MB (Otherwise you won't boot) Boot into the Installer and install MacOS Mojave. Boot into MacOS. Now your Graphics are working but your WiFi and Sound are not! for the WiFi follow this video: https://www.youtube.com/watch?v=OxFsjhc-AuM Once rebooted WiFi is working! For sound get the VooDooHDA.kext and place it into /Library/Extensions Reboot once again and your sound is now working flawlessly! My EFI Folder is downloadable config.plist EFI.zip
 1 point
 -
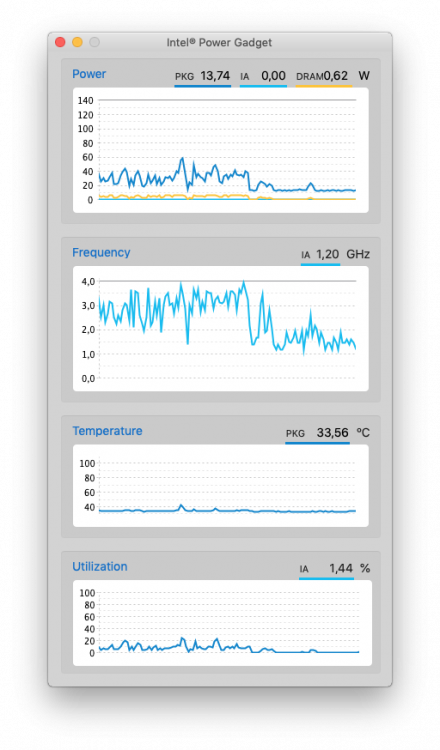
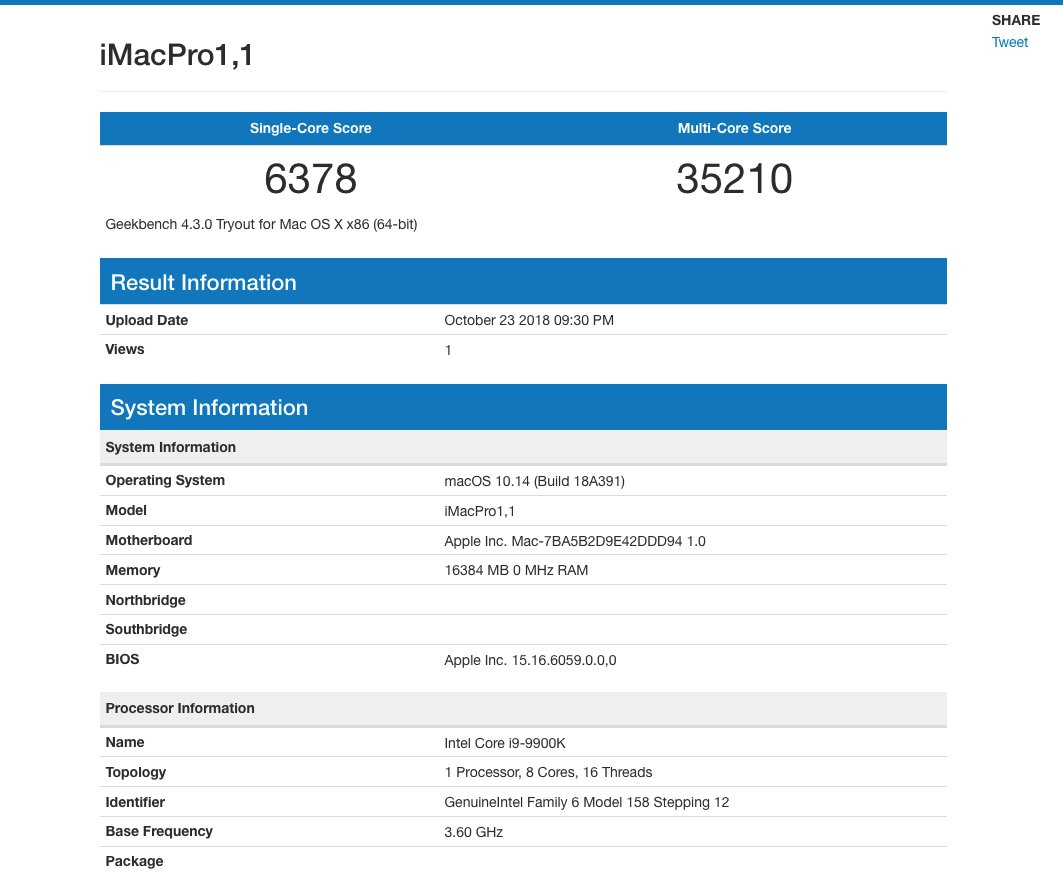
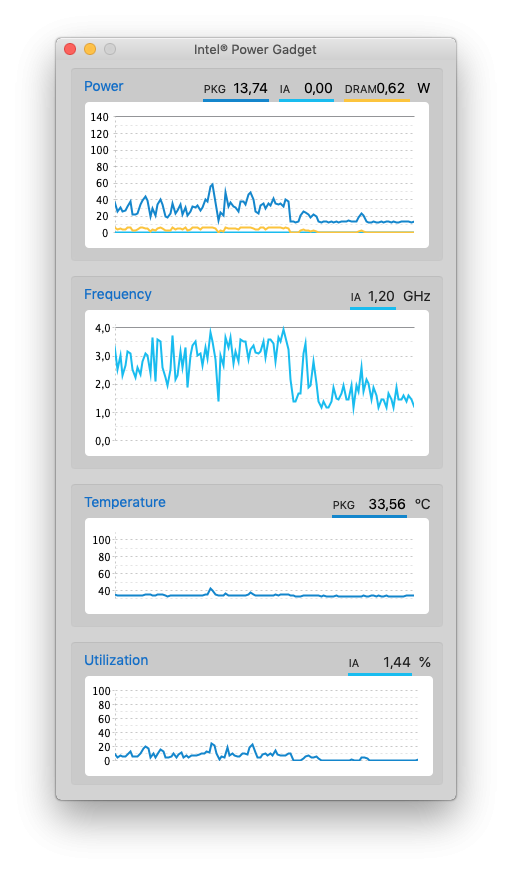
GUIDE: 10.13 GA-Z97-D3H - 4790k - GTX980 (WORKING ON 10.13 SUPPLEMENTAL UPDATE AS OF 10/8/17) (USES APFS - APPLE FILE SYSTEM) _______________________________________________________________________________________________________________________________________________________ INTRO: 1) This build uses a USB Soundcard from Amazon and works OOB (see below). I do not use the ALC1150 onboard sound with this build after having tried dozens of solutions to get audio to work. The same result occurrs regardless of what the experts think: sound cuts out after so many minutes of use. Rather than strain my brain over it, call it done and buy the sound card. 2) This build uses APFS - Apple File System. First make sure that your essential applications are able to run on APFS. The last thing you want to do is put in all the effort to install 10.13 and realize you have to reformat (not fun). This guide can be used for standard HFS+ volumes, the difference is the APFS.efi driver doesn't have to be installed to Clover/Drivers64UEFI. Please post questions below! COMPONENTS: GA-Z97-D3H (Rev 1.1, Latest Bios) Core i7 4790K (OC to 4.6ghz) MSI GTX 980 4GB OC 16GB 1866mhz HyperX Samsung 850PRO 256GB SSD 1TB WD Corsair H110i GTX ADDITIONAL HARDWARE: ASUS N13 USB WIFI DONGLE (been using same one since 10.6) Syba Virtual 7 SD-CM-UAUD71 7.1 Audio USB dongle (i have had 3 of these and work OOB) WORKING: Hardware acceleration App Store Wifi Ethernet CPU Overclock Speedstep Sleep Everything INSTALLATION:____________________________________________________________________________________________________________ Download High Sierra from App store Create a USB (theres plenty of guides around the web that work easily) Install latest clover - Note: APFS.efi driver required for APFS builds. Place in Driver64UEFI - APFS.efi IMPORTANT: Don't forget to copy FakeSMC.kext to /EFI/Clover/Kexts/10.13 before installing (if '10.13' folder not there, make a new one) Before Installing: Enable the following BIOS features and SAVE the profile in case ever lost.. Disable VT-d Set XHCI to Auto mode Disable IGFX Enable XHCI and EHCI handoff Set SATA Configuration to AHCI Next, boot from USB and wait til inside installer Select disk utility, erase the target disk and format APFS Install POST-INSTALLATION_____________________________________________________________________________________________________ 1. INSTALL ETHERNET KEXT AppleIntelE1000e.kext.zip Place in ~System/Library/Extensions Repair cache and permission with Kext Utility.app.zip Reboot <----- 2. INSTALL ASUS USB WIFI KEXT Do NOT use Asus supplied drivers------more info: Asus N13 USB Guide. Download: RT2870USBWirelessDriver.kext.zip - Place in System/Library/Extensions Download: DWA-140WirelessUtility.prefPane.zip - Install to Users>Username>Library>Preference Panes Note: I couldn't get the pane to install in System>Library>Preference Panes for some reason Repair permissions/cache with Kext Utility Reboot <----- 3. INSTALL CLOVER BOOTLOADER Download latest Clover Bootloader at sourcefourge.net Custom Settings - Check Install for UEFI Booting Only, Install Clover in the ESP. Select Drivers 64 UEFI: Check cmsvideo, emuvariable, aptiofix2, partitiondxe (NOTE: Just copy my EFI Drivers to Clover Drivers64Uefi Folder - drivers64UEFI.zip Download my config file: config.plist.zip Install at EFI>Clover Make sure FakeSMC.kext is at EFI/Clover/Kexts/10.13 (make 10.13 folder if its missing) Reboot 4. DOWNLOAD NVIDIA WEB DRIVERS Check build number. As of 10/2017, original mac app store High Sierra build 17A365 has been changed to build 17A405 and requires a different set of web drivers if you updated with the "Supplemental Update" apple just released to patch some things. Build 17A365 web drivers will cause BOOT LOOP! Must install correct drivers. Download drivers for your build number here: Nvidia Web Drivers Install drivers - if you get an error during install, simply proceed. Repair permissions, reboot If the system boots fine with graphics working in full acceleration, then finished. If the system hangs or boots to black screen at login, then boot safe mode with -x In safe mode, install the following kexts: nvidia kexts.zip Repair permissions, reboot 5. VERIFICATION Check to see if TRIM support is enabled in System Information (it should be if you used my config file, if not enabled, see guide: Enable Trim on Mac SSDs Open App Store and see if it will let you log in. if not, navigate to MAC SSD/Library/Preferences/System Configuration Delete network interfaces.plist Reboot and App Store should work, also DPCI manager should show 'En 0' for ethernet. Generate SSDT for CPU - required even if not overclocked. See guide here: overclocking guide DSDT: I had a DSDT generated back when Yosemite was latest - had an intelligent OSX86.net forum member make it for me - not sure why I need it but I still use it. You can download it here for the Z97 D3H board: DSDT.aml.zip Verify speedstep is working with Intel Powder Gadget or HW Monitor _________________________________________________________________________________________________________________________ KNOWN ISSUES: 1) System hibernates and does not wake, causing the user to hard reset the system. This has been prevalent in the last 3 versions of MacOS SOLUTION: Disable Wake on Lan (now called Wake for ethernet network access) in system pref Disable Power Nap in system pref. Run terminal command pmset -g Make sure hibernate mode = 0, if not, run command: sudo pmset -a hibernatemode 0 Set darkwake=no in Clover Config (adjusted in attached config file) PERFORMANCE: Geekbench 64bit: 19589 score _________________________________________________________________________________________________________________________ APPRECIATION: Thanks for Insanelymac forum for all the help! Also, thanks to OSX86.net and many others in the community that allow us to keep the show rolling with hackintosh! Submit any questions below. --- theconsumer11 point
-
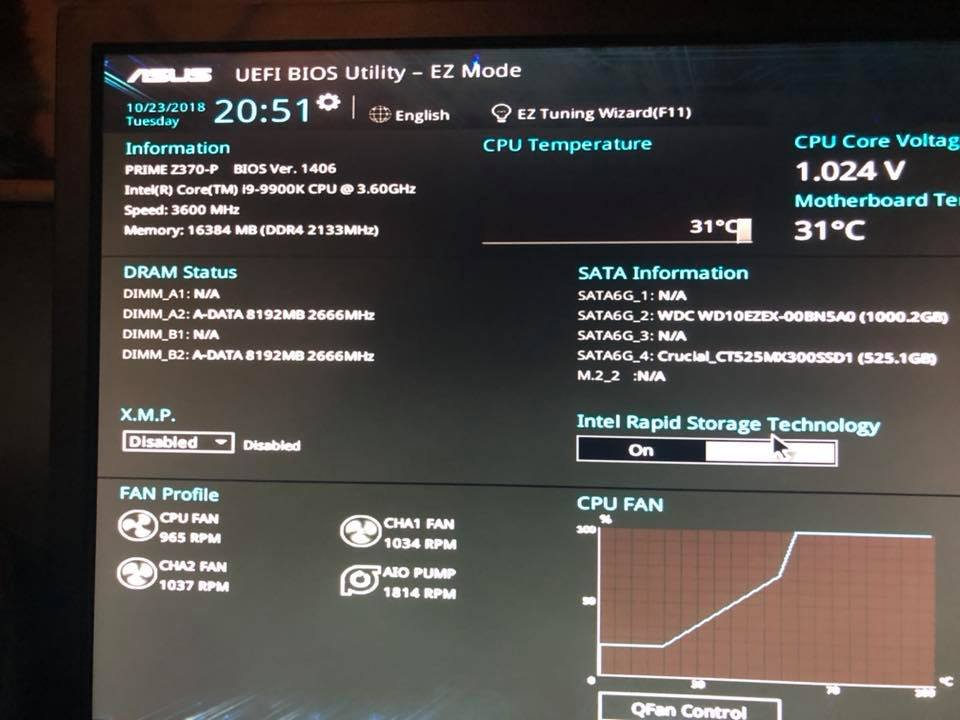
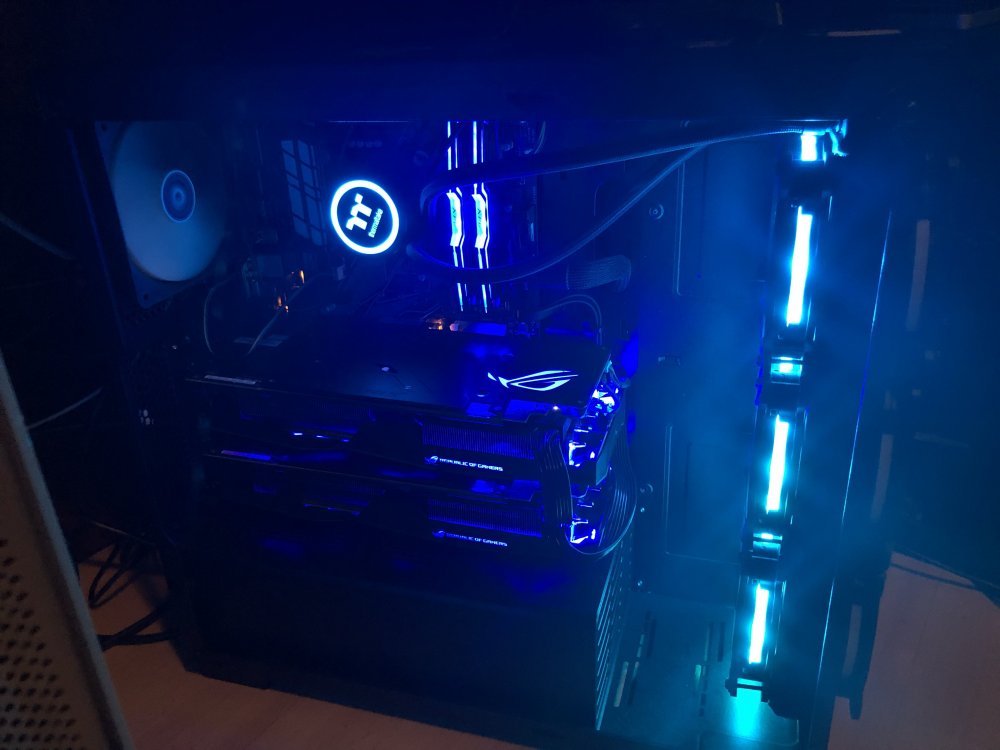
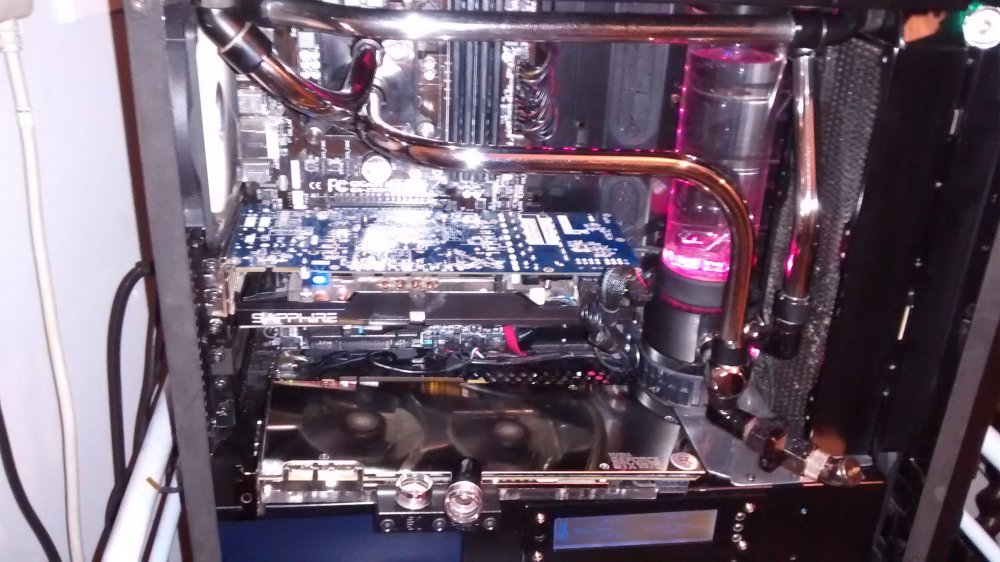
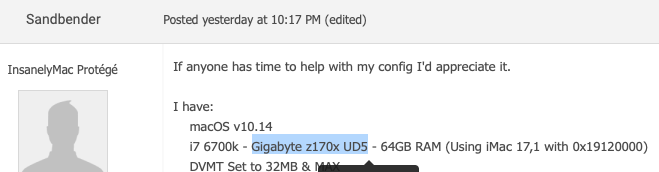
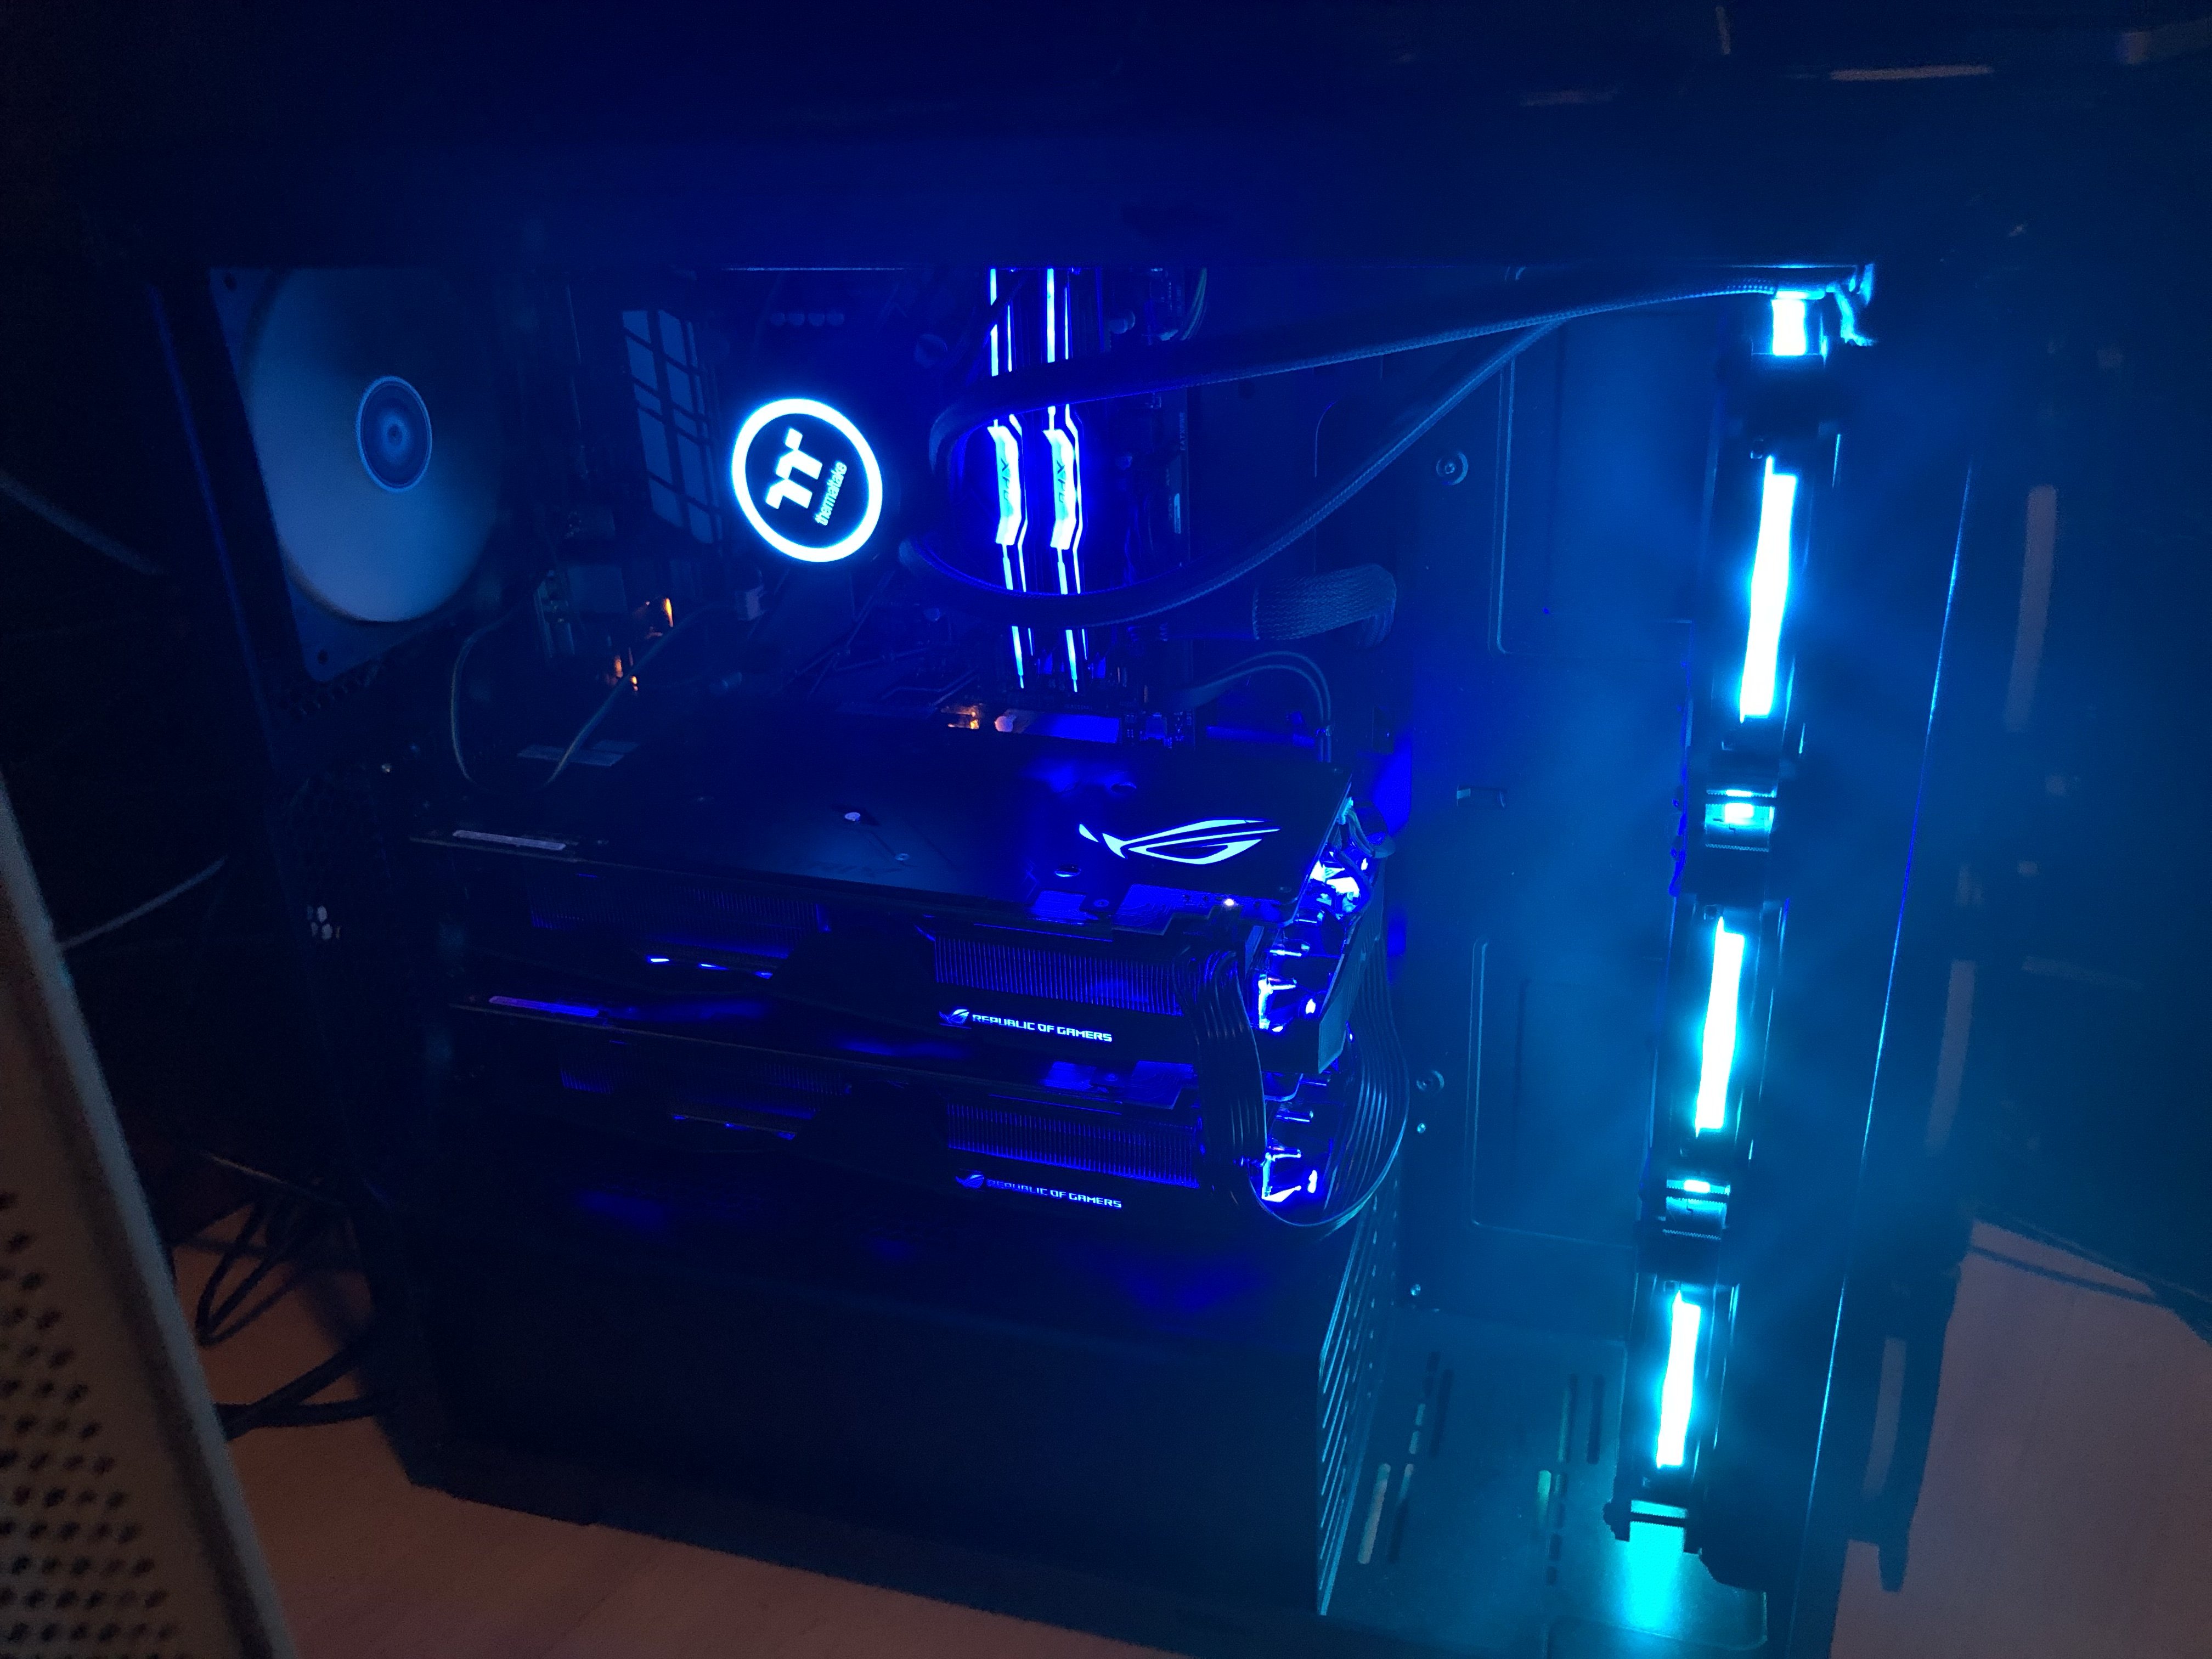
Asus z370-p i9 9900k 3.6 GHz XPG Spectrix D40 RGB 3000MHz 16GB Asus GOD Strix rx 580 8g x2 Thermaltake CL-W158-PL12SW-A Floe Triple Ring RGB 360mm AIO


 1 point
 -
Me too except the flash, but RX 460. I do get a black screen between the boot cycles.1 point
-
Update: Well the first boot stage is grey now but there's no progress indicator and the flash is still there although it's less visible1 point
-
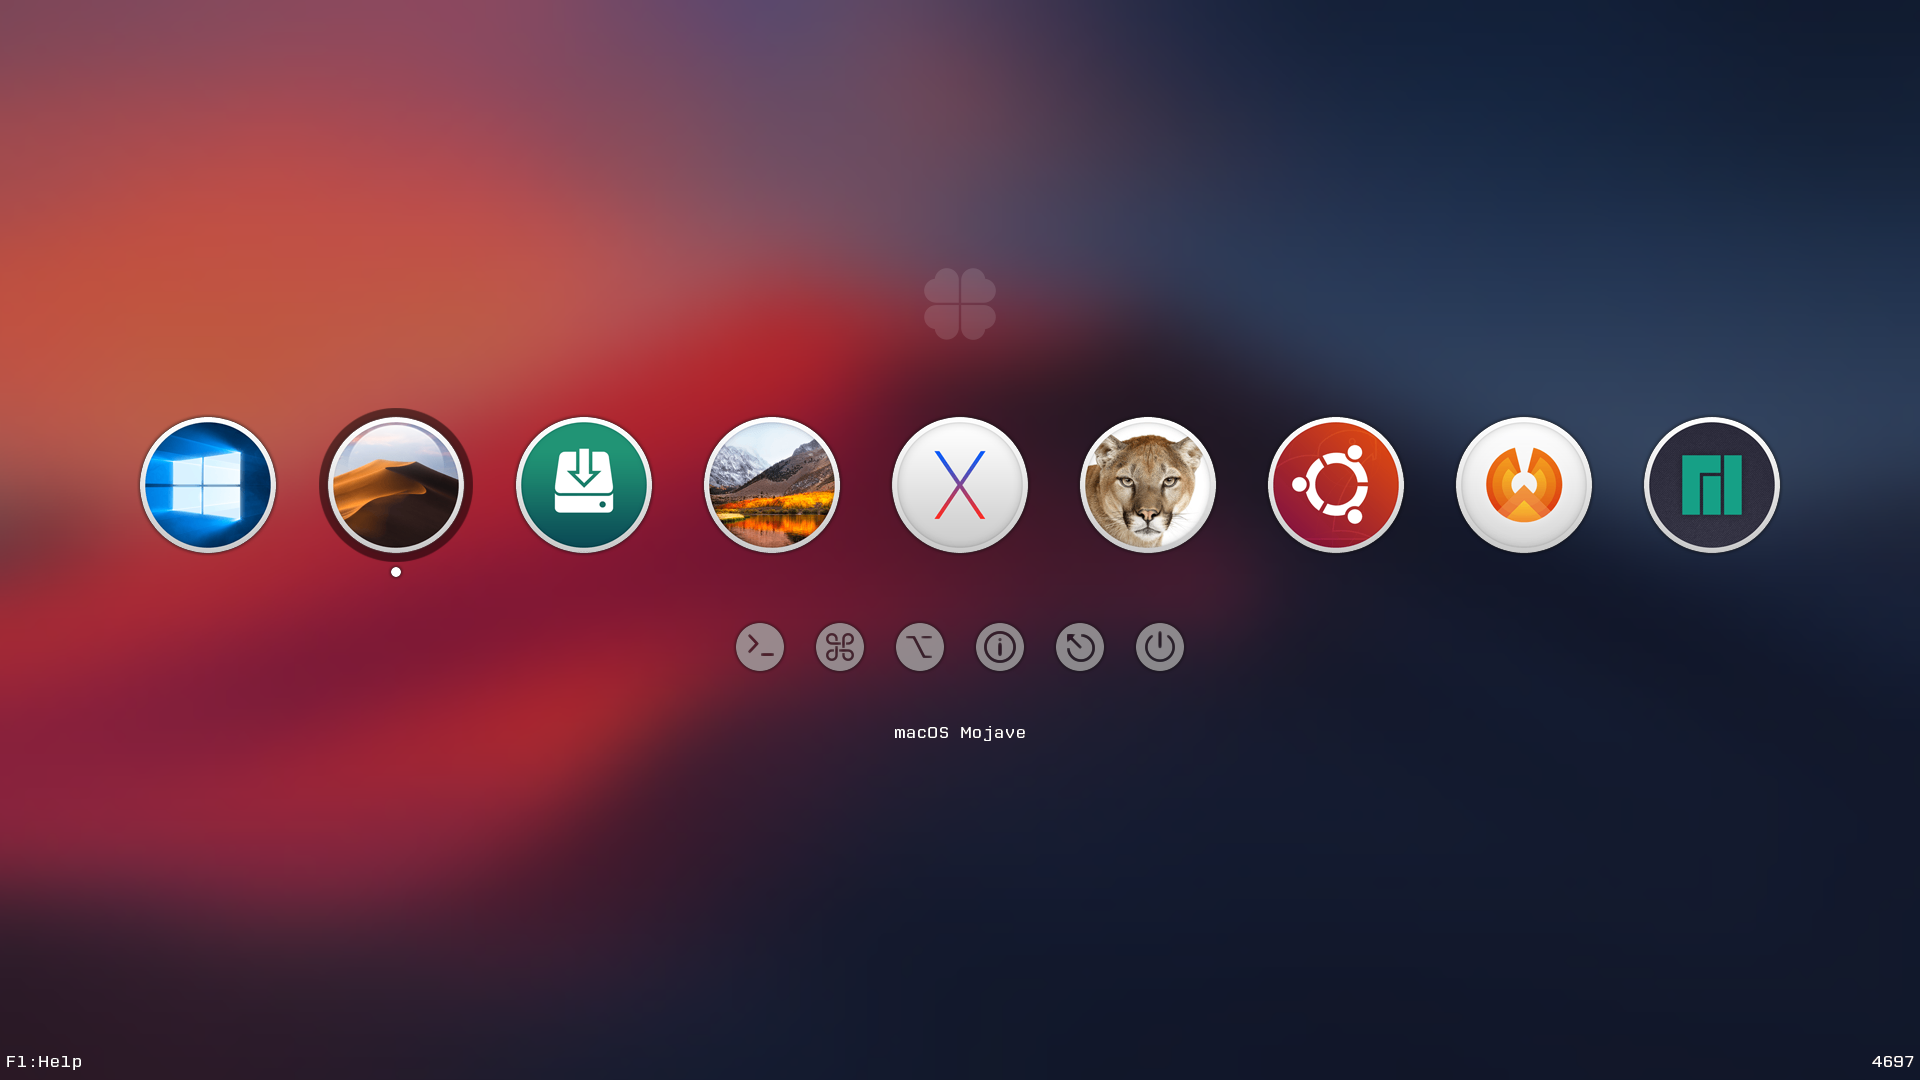
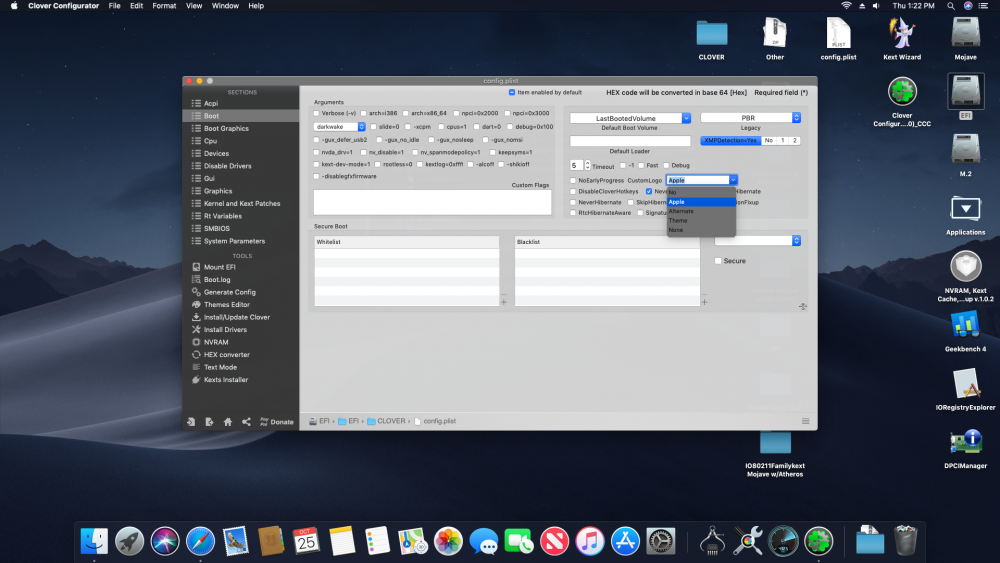
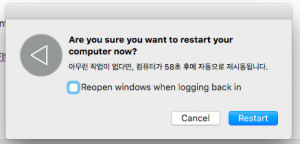
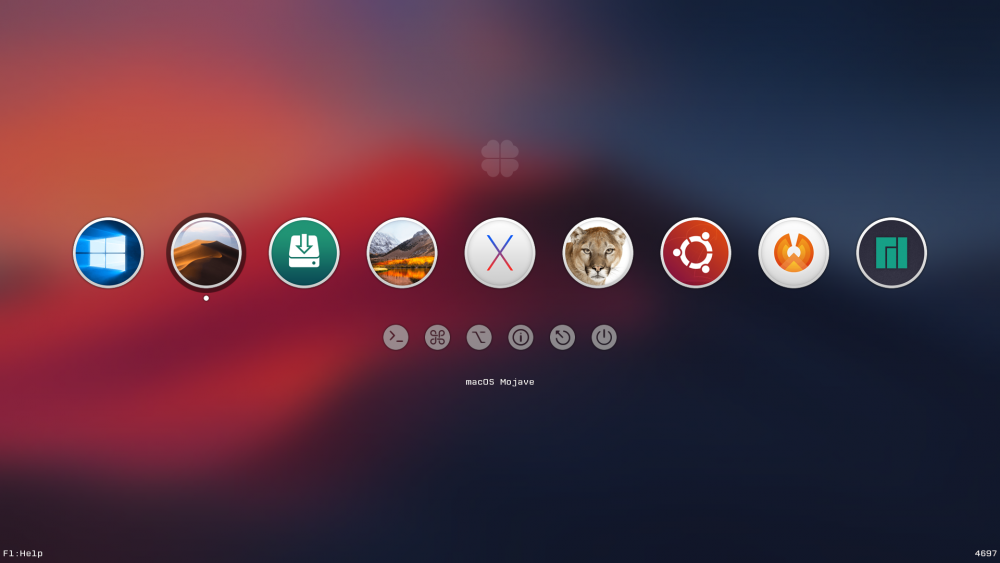
Well, it works, somewhat. I didn't try on RX 480-580 only my RX 460. The first half is white screen but it goes black and then the black progress bar finishes. Clover Configfurator boot settings select apple, see pic. Can someone test on RX 480-580 models?
 1 point
 -
I saw this on another site:1 point
-
Committed a fix to this, sorry.1 point
-
I have a MacBook Pro without dedicated graphics chip and even that has a 'break' during the boot (loading bar stops for a bit) so I'm not sure that the break on real Macs is 100% graphics related ¯\_(ツ)_/¯ How do you set the boot screen to be white? (I suppose with a black Apple or is it simply blank then?)1 point
-
Yeah the verbose has the same flash even though it's not as noticeable as the the full boot mode, I haven't tested the white boot screen though let me see how it turns out1 point
-
Yeah I remember having those issues when the black screen issue started with Sierra, but the thing is even on new iMacs there's a gap between the first stage of the boot process and the second stage but there is no flashing in between. On older Macs with a grey boot (as you mentioned) there is a slight dimming effect and that's where the OS starts to initialize the GPU. I will upload a video later just to show how it loads if you like to see that.1 point
-
In dark mode, the menu bar is very slightly transparent. In light mode helps, System Preferences / Accessibility / Display / set reduce transparency.1 point
-
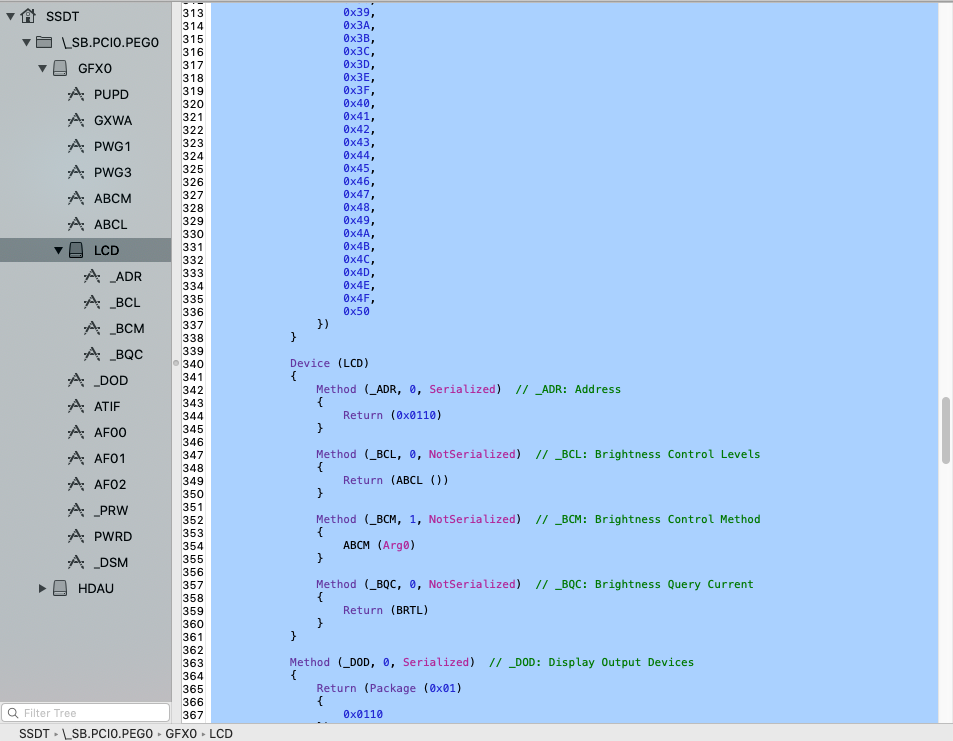
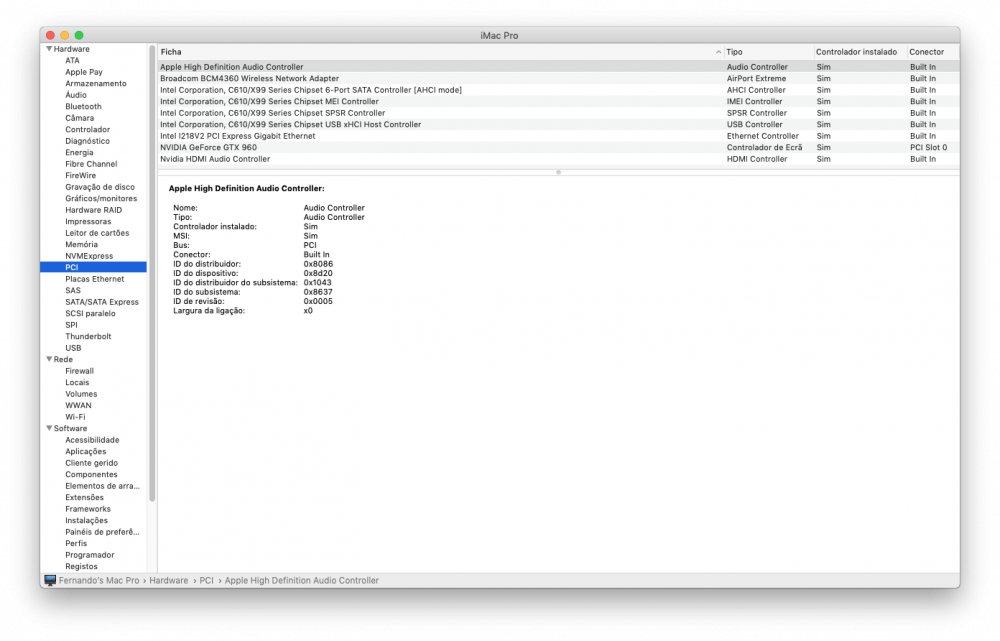
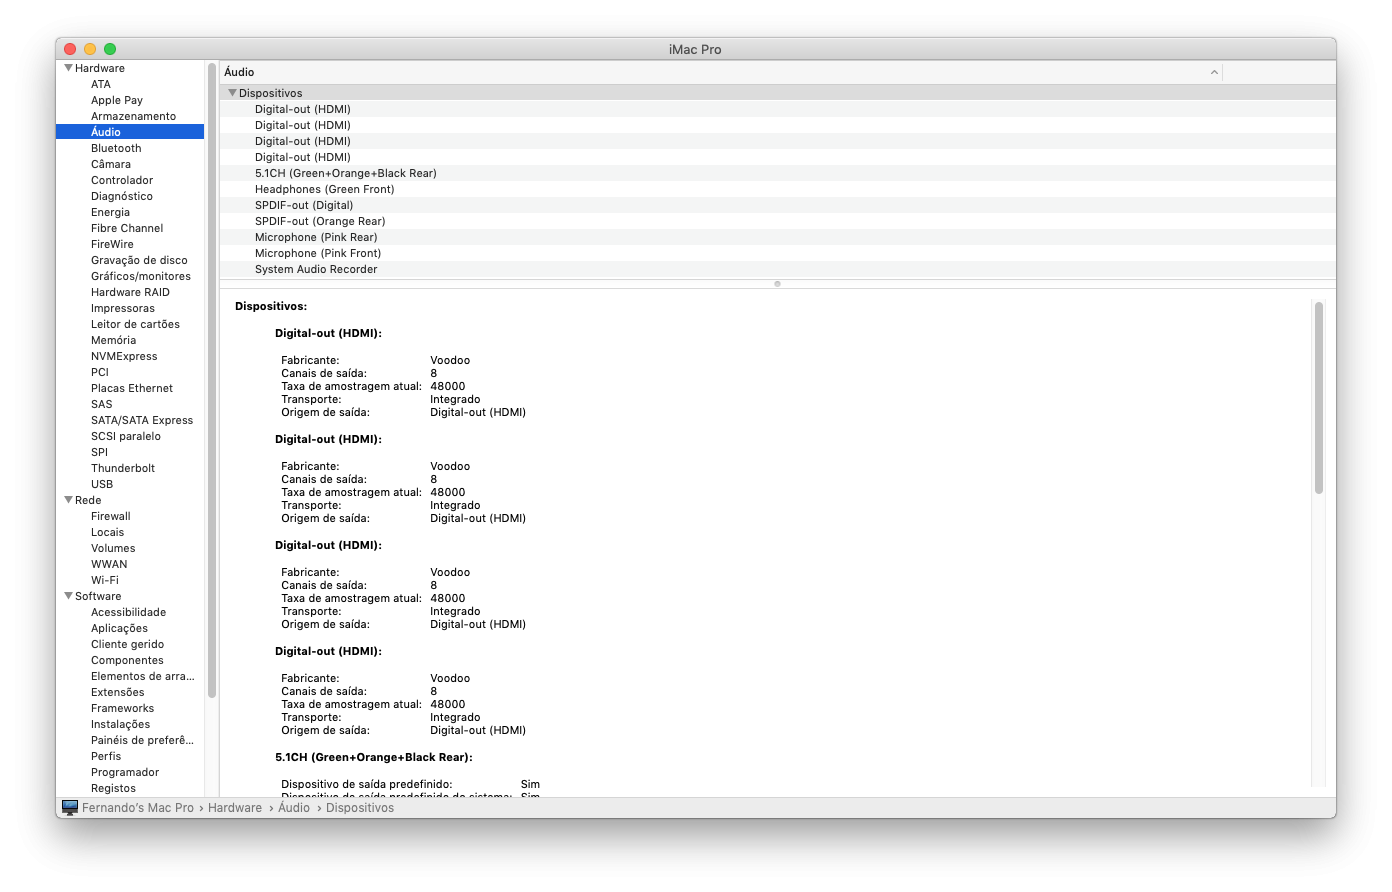
@MaLd0n and @Pavo Hi guys, can we implement this in the SSDT form for our hacks? This is what I have extracted from an iMac18,3 with a Radeon Pro 580 GPU But I don't know if we can even use such settings on our hack. So if you can please shed some light on the subject I will be appreciated. Thanks in advance PEG0GFX0 Table1 point
-
Sure thing man I will post the results as soon as I do the clean install1 point
-
Thanks @arsradu for the update and the hint about the "Radeon Pro 580"! I can confirm that even with the iGPU disabled, the issue persists. Still, it could very well be the source of the issue that the system somehow does a 'switch' between GPUs. @Cyberdevs Thanks for trying the clean install, I'm looking forward to the results a lot!1 point
-
If you are referring to @Pavo's statement as far as I know his rig doesn't have an iGPU that's one big difference from our rigs so the ACPI tables in his rig must be different. Although I have to say I'm not so good the ACPI/DSDT and SSDT tables but that might make the difference. The other difference is in the ROM itself which is different in 500 series and Vega. So for now I'm in the dark as well as the rest of us1 point
-
Unfortunately I don't have access to a Vega GPU to test so we'll have to do with our 580s to see if we can find anything in that regard1 point
-
Thanks man it's good to be here I'm really curious to see how we can resolve this issue as well so I've ben doing some tests with no result so far but I hope we find a solution if there is any1 point
-
Hi Cyber! Good to see you around here, as well. Also, thank you very much. I'm really happy I bought this monitor. The image is nice and crisp. Might need to adjust the color temperature a little bit for my taste. Seems a biiit too warm to my eyes. But it's got plenty of options for that. I just didn't get much time to do that. Just looked through the options and tried a few things. So yeah, I'll just need to fiddle with it a little to get it done perfectly. Also, I'll check that tonight! Many, many thanks!1 point
-
@arsradu Congrats on the upgrade and sorry that it didn't work out they way it should. Here's a part of the SSDT from an 18,3 iMac with Radeon Pro 580 (which is technically the same as the RX 580 only sub vendor ID is from Apple with their own EFI ROM for the GPU). I checked the details and the device ID is the same but probably with lower frequency to reduce the heat in the chipset among other things. So you can see it has a section called LCD in the SSDT which can be the key for resolving the flash thingy if we can implement the same on our hacks.
 1 point
 -
Hi guys, So, I said I'll come back with news. So here I am. The monitor I've bought is this LG 27UD59P-B. And it looks really, really nice. I'm not sorry I bought it. Especially since I'm selling the old one. So I'm getting part of the money back. So, to me, it's really worth the upgrade. Sad news is that, as Justin said above, the issue still occurs...:( Even with a FreeSync monitor, and even with FreeSync enabled. Initially I thought it's because FreeSync was not enabled by default. So I enabled it and...no change. Still, I don't understand...Some people don't have this issue. Something's gotta be different for them. Maybe the manufacturer...maybe something else. I don't know. I'll keep searching.1 point
-
It looks to be absent feature.1 point
-
@Sherlocks, what is power state problem (iovar)? What do these patches: BCM4352-Airport-Extreme, (credit skvo) com.apple.driver.AirPort.Brcm4360 6b100000 750d 6b100000 9090 10.13.x BCM4352-Airport-Extreme, (credit Sherlocks based on skvo original) com.apple.driver.AirPort.BrcmNIC 6b100000 750d 6b100000 9090 BCM4352-fvco, (credit Sherlocks based on the-darkvoid original) com.apple.driver.AirPort.BrcmNIC 81f952aa 000074bf 81f952aa 00006690 BCM4352-iovar, (credit Sherlocks) com.apple.driver.AirPort.BrcmNIC 85db4c8b 65c87971 85db4c8b 65c8eb71 BCM4352-iovar, (credit Sherlocks) com.apple.driver.AirPort.BrcmNIC 4883c410 89c385db 7946 4883c410 89c385db eb46 AirPortBrcmNIC1 point
-
I see now, and everything looks fine, AirportBrcmFixup callbacks were called (wlc_set_countrycode_rev, newVendorString. start in AirPort_BrcmNIC). May be some patches are missing in AirportBrcmFixup, but in my system this kext works perfectly with 10.13.6 and 10.14.1 (0x43b1). Some functionality in AirPortBrcmNIC depends on device-id. @Sherlocks, could you describe all required patches for 10.13 and 10.14 in details?1 point
-
Since bluetooth Handoff doesn't work with AirPortBrcmNIC-MFG. It is still experimental version... Lower IOProbeScore does not always prevent kext loading, I saw system where AirPortBrcmNIC or AirPortBrcmNIC-MFG were loaded randomly.1 point
-
@ellaosx only thing there is port limit patch @Pavo made.1 point
-
Ok, was getting it before, just puzzled me that's all. Thanks1 point
-
Hola mcsterpro, te recomiendo buscar tutoriales de sistemas similares al tuyo y cambiar algunos detalles para ajustarlos a tu hardware específico. Por ejemplo, este usuario tiene un paso a paso para una PC muy parecida a la tuya, difieren solo en el motherboard y los ajustes que necesitarás hacer serán menores. Por ej, el instala el driver LAN de Intel, pero tu mother tiene una controladora Atheros, por lo que en tu caso debes instalar este otro driver de Mieze que puedes encontrar en la sección de descargas del foro. Lo que si veo que no incluye es el driver de audio, pero eso tiene una solución muy sencilla gracias a Lilu y AppleALC. Una vez que puedas arrancar el sistema -- y si quieres estudiar el mundo macOS y hackintosh -- puedes ir afinando detalles (DSDT, SSDT, parches, drivers, etc) para obtener el mejor rendimiento posible. Para facilitarte la edición del config.plist te recomiendo Clover Configurator, y para descargar drivers y mantenerlos al día existe Kext Updater. Suerte!1 point
-
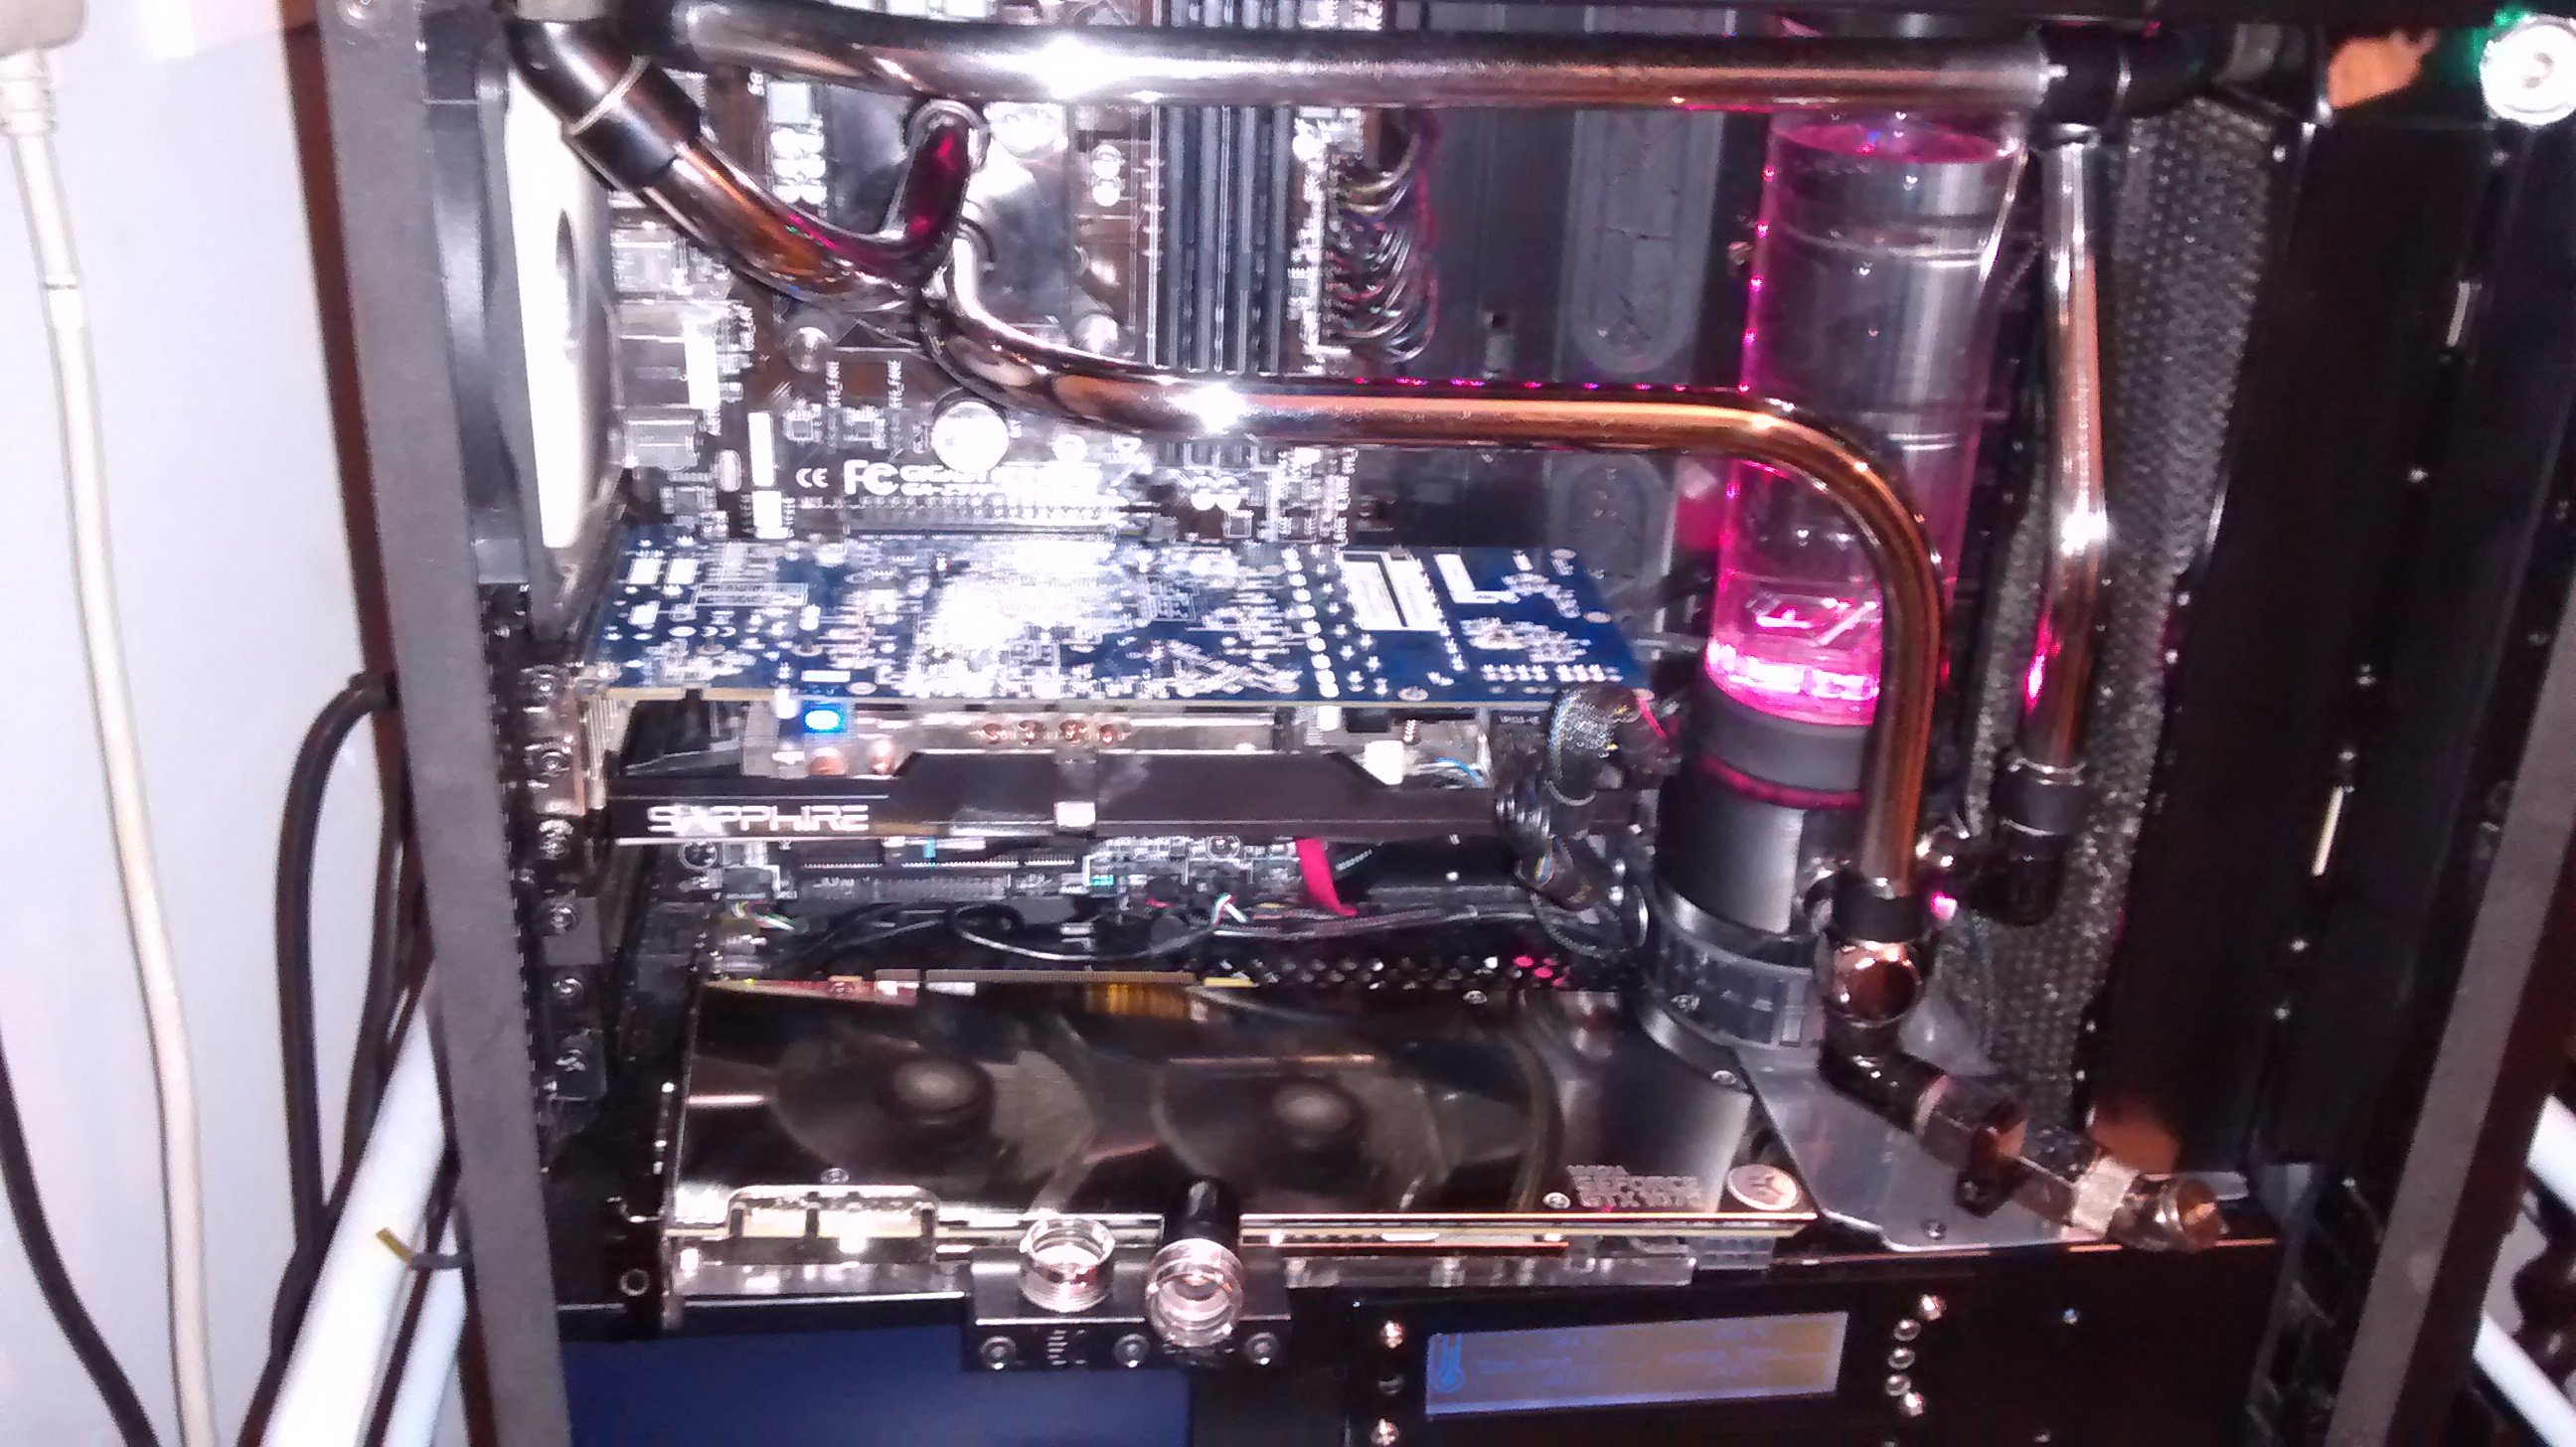
It is with great reget, and a sad heart. for the moment that my EVGA GTX 1070. Is going on a extended vacation (with other green team members) And just back from a long absence and ready to play the new season AMD Sappire R9280X (the Red Team)THE PLAYERS
 1 point
 -
Nice job well done1 point
-
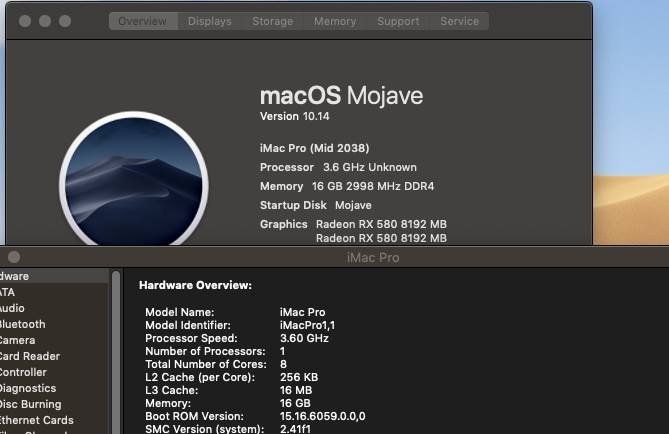
iMac Pro (Mid 2038)1 point
-
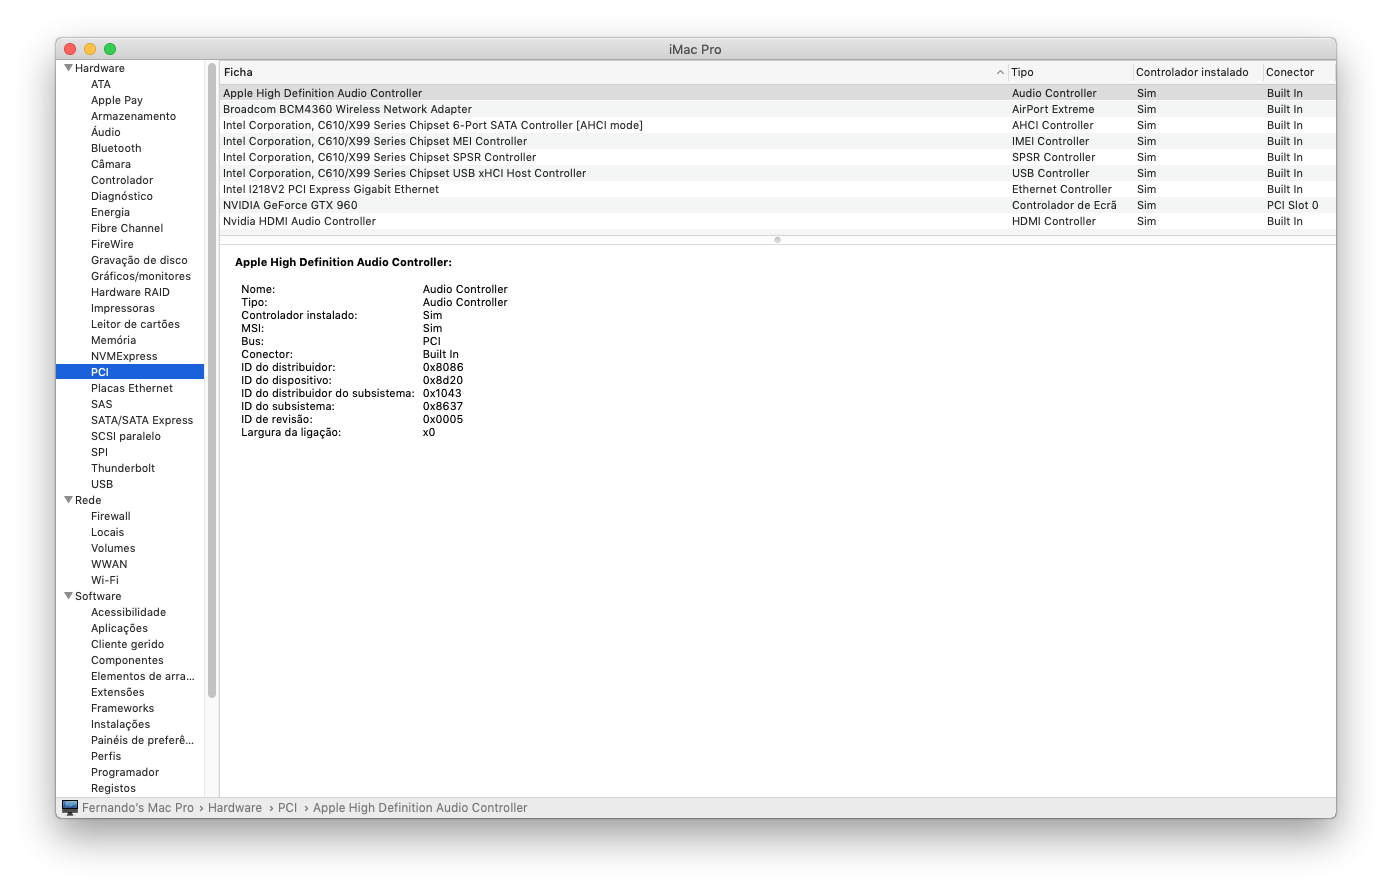
As always, everything ok in my X-99
 1 point
 -
The specific model was specified.
 1 point
 -
olá kext atualizadas bom hack
 1 point
 -
Sigh… I have already told you to try disabling AGDP patches, but I guess nobody understood it. WG currently automatically disables AGDP (AppleGraphicsDevicePolicy) support on all the boards with discrete GPUs, because it leads to AMD visual glitches in Mojave, breaks multimonitor support on both AMD and NVIDIA, and may result in blackscreen with NVIDIA on several models. Indeed, it may result in some features being disabled, and for this reason there is a way to configure this via agdpmod boot argument. By default it works as if you wrote "agdpmod=pikera,vit9696" but you may write agdmod=none to get the behaviour of the original kext. The values are listed here: https://github.com/acidanthera/WhateverGreen#boot-arguments Also watch out for CFG_USE_AGDC property, see details in the bottom of: https://github.com/acidanthera/WhateverGreen/blob/master/Manual/FAQ.Radeon.en.md1 point
-
I’m sure it’s not something that people will be very eager to do. I wasn’t either. And I would have been very happy if anyone came up with an actual fix to this. But I don’t think there is one. And as you said, some will be ok with it. Personally, I don’t like it. And since a monitor upgrade was due anyway, I don’t see the problem. Hope you understand.1 point
-
I confirm that userspace patcher does not work on Mojave beta 5: Lilu: user @ failed to obtain write permissions for patching This is the log line that confirms it (dumped via liludump=60 -liludbgall to /var/log/LiluXXXX...) Find the latest Mojave version that works with SIP fully enabled, 0 and upload the kernel (/System/Library/Kernels).1 point
-
Rev 4719 Added prelang kbd option if want to keep language when updating macOS with native NVRAM. - This is the key to fixing macOS language problems when using native NVRAM. - This is macOS bug for long time ago. - When using only AptioMemoryFix or OsxAptioFixV3 without emuvariableuefi.efi - When using a language other than English - can fix issues blow if use this key. <key>GUI</key> <dict> <key>KbdPrevLang</key> <true/> <key>Language</key> <string>ru:0</string> <----- you want language </dict> 1. mixed language in restart popup after updating macOS. 2. always keep english when updating macOS in recovery despite to user already use other language in macOS.
 1 point
 -
use my app, check my sig, use clover folder chipset series 10, 20 and 30 DSDT.aml.zip done in other topic, i think in olarila forum, check there1 point
-
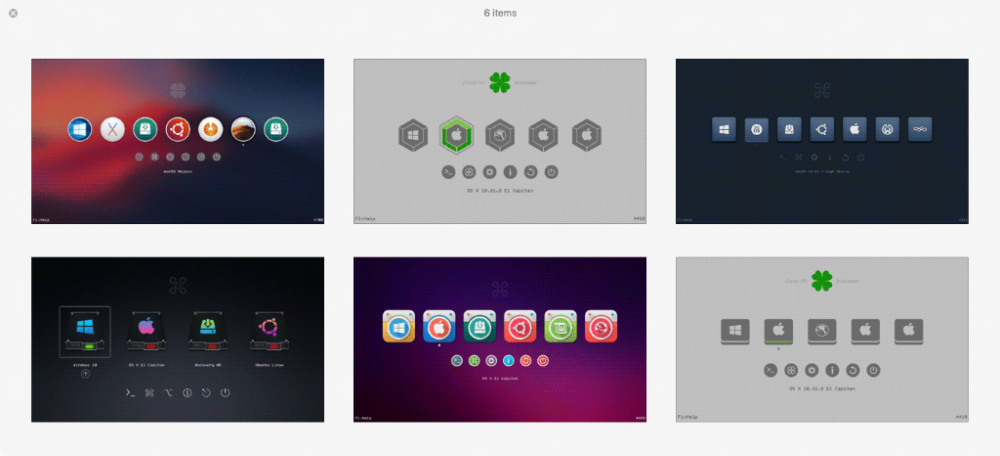
Sorry, bit late uploading this (already finished few weeks ago, actually); You could use "MojaveX" theme (with 128px for MainEntries) from link below (among other themes). Thanks. https://github.com/badruzeus/MyCloverThemes/tree/master/Deprecated
 1 point
 -
Just to update everyone. We are currently trying to work out why Nvidia performance is worse when used with an AMD CPU. We have a few willing devs helping out now.1 point
-
Update for "Mojave" theme v1.2: Now, it uses (fake) Dynamic background by default
 1 point
 -
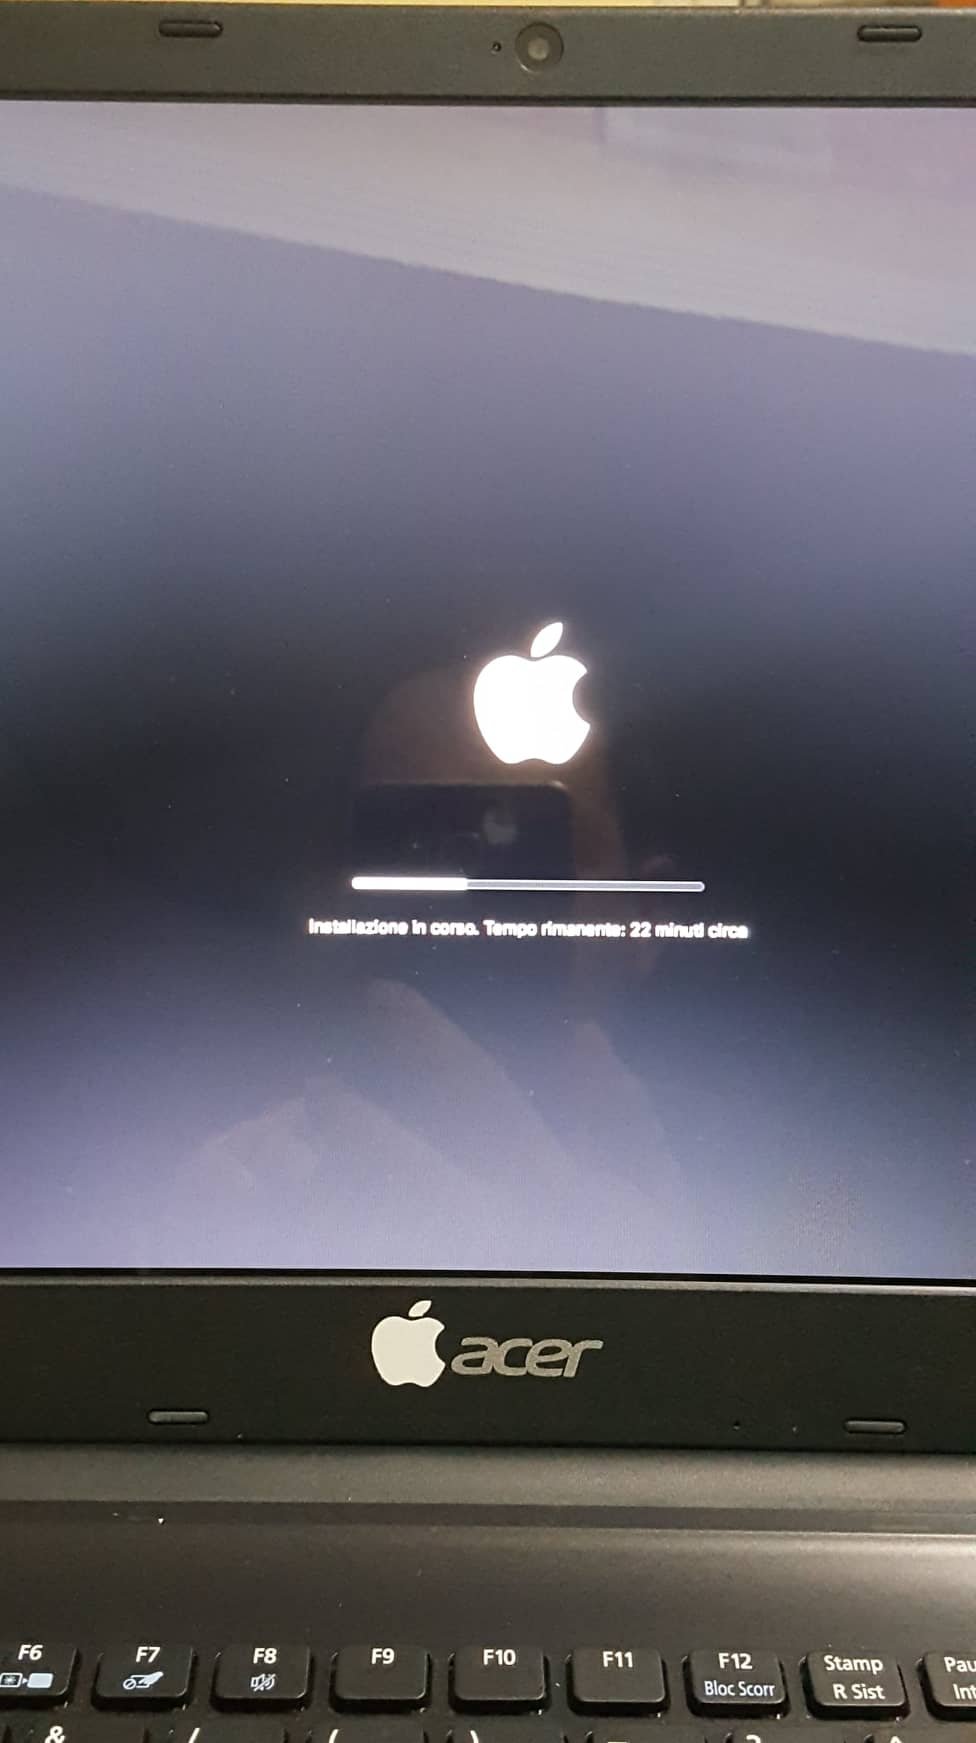
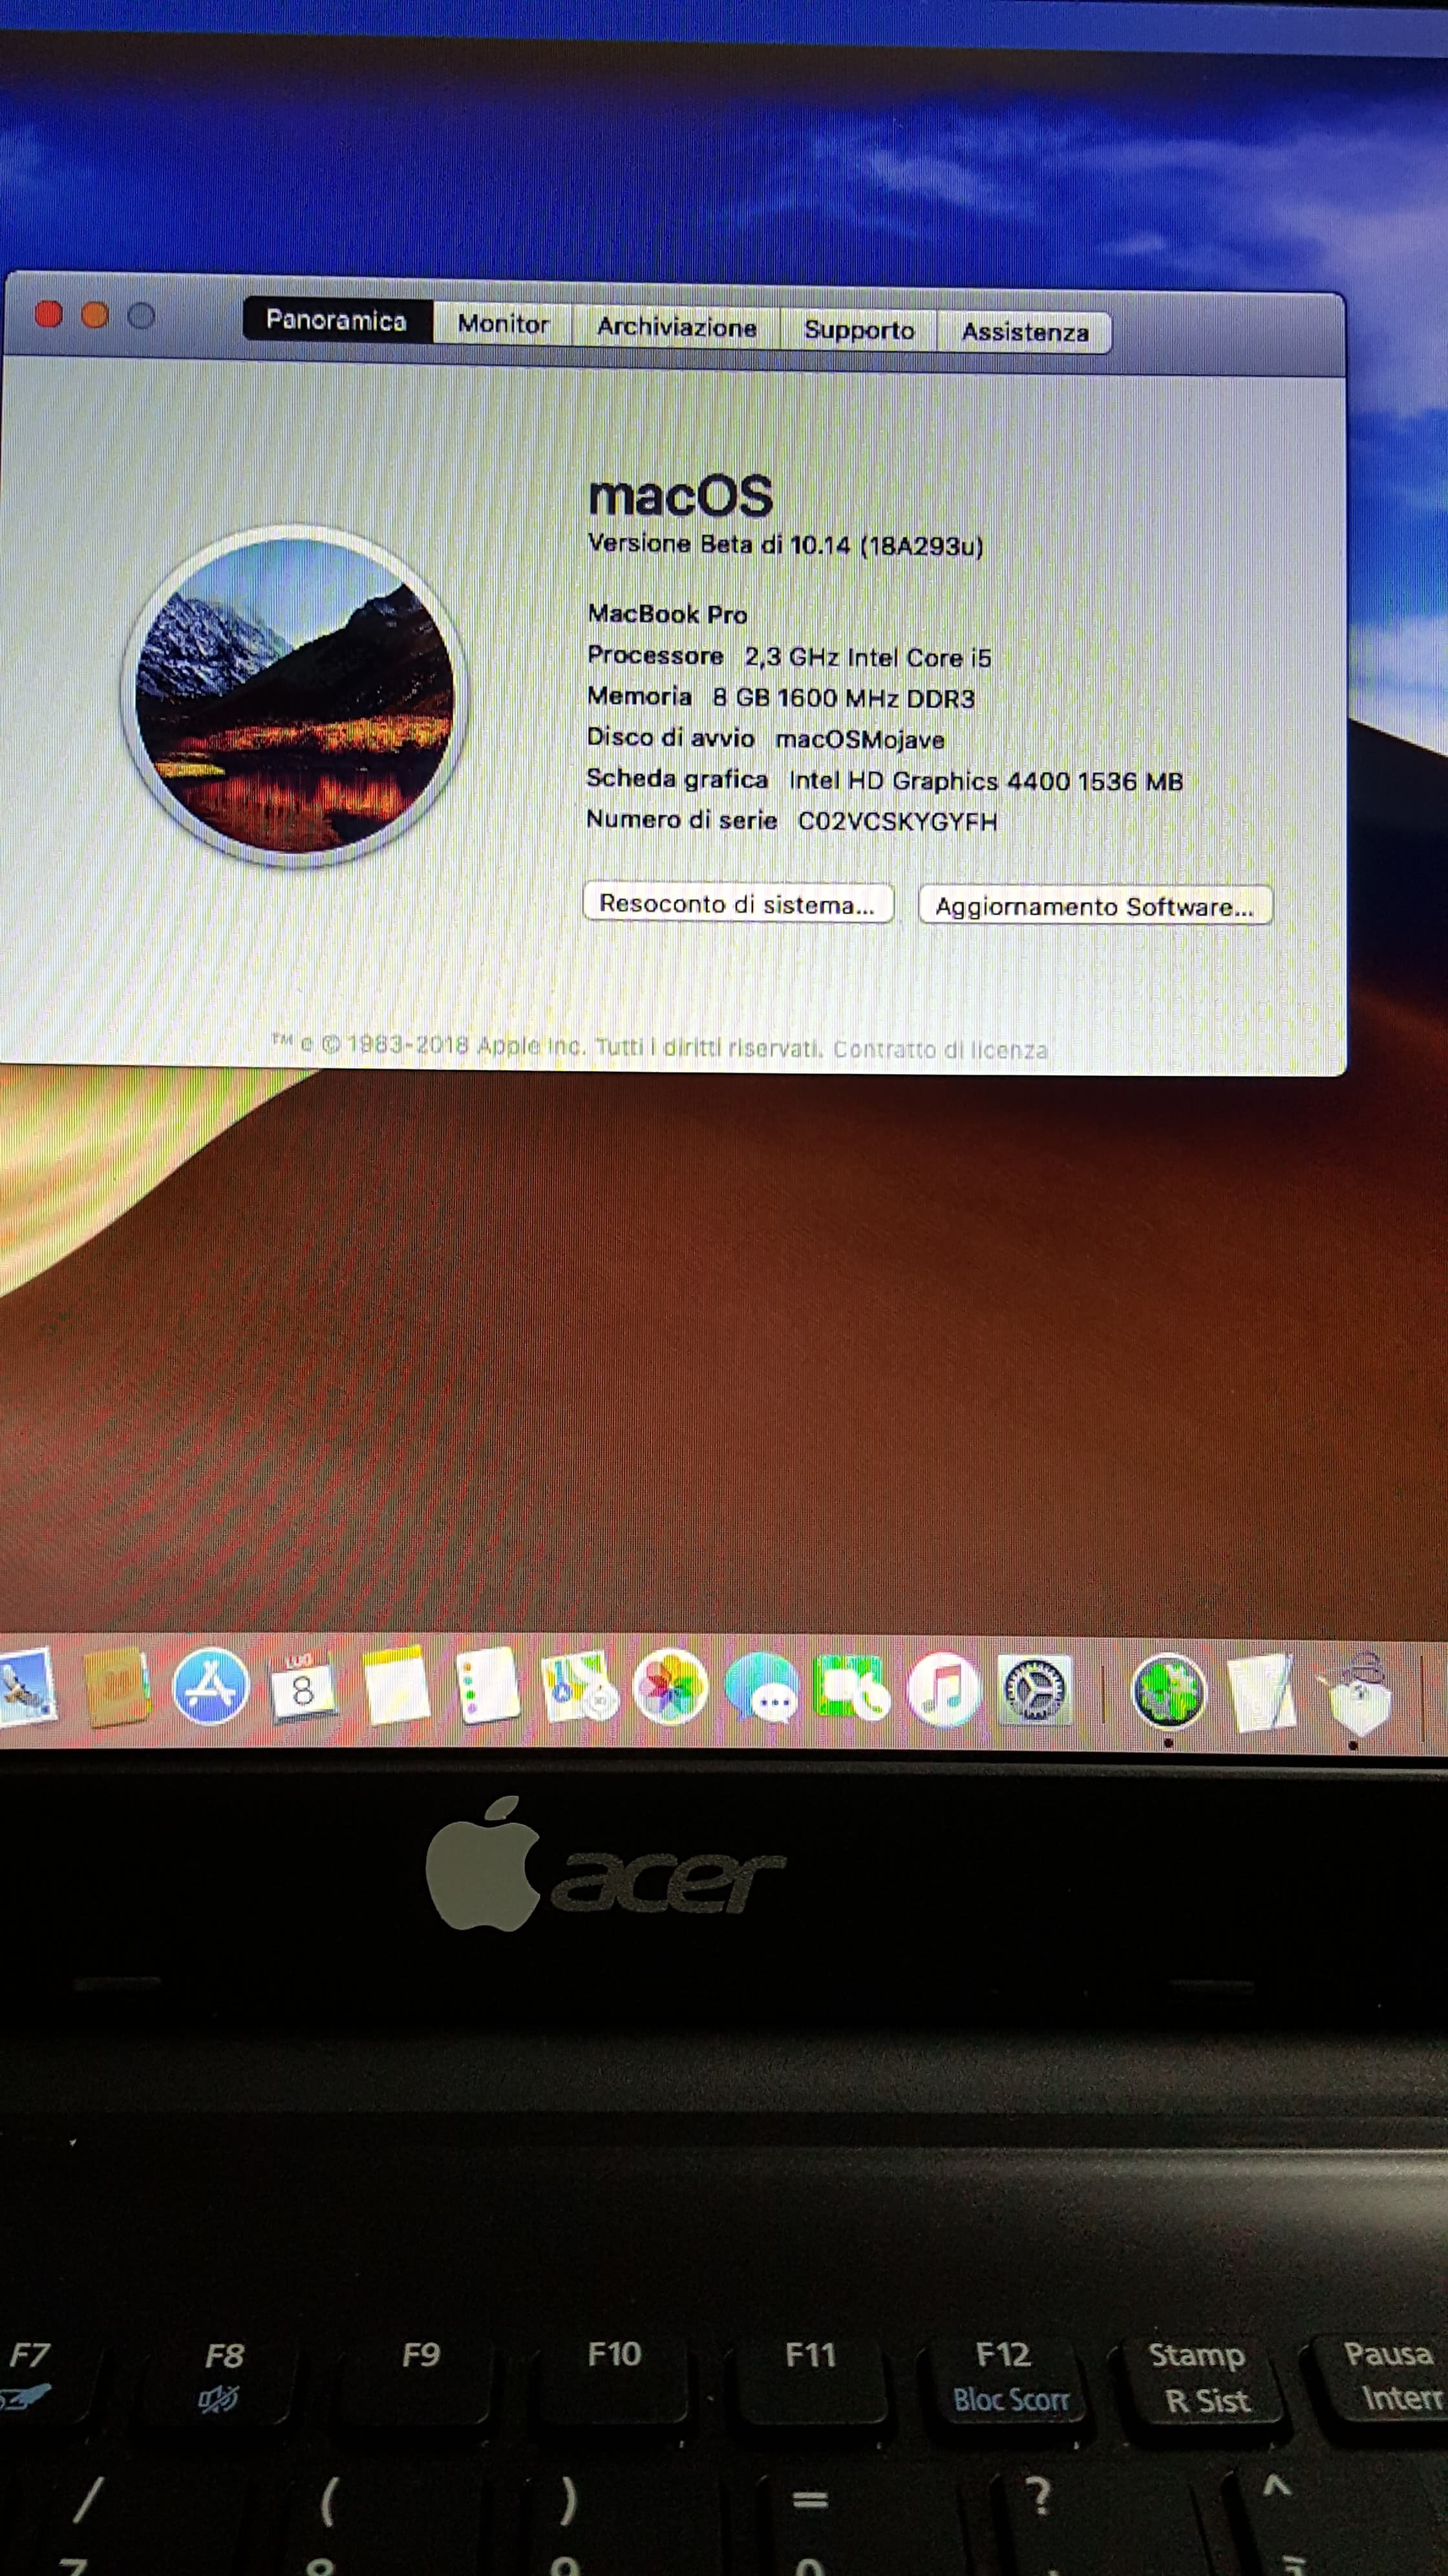
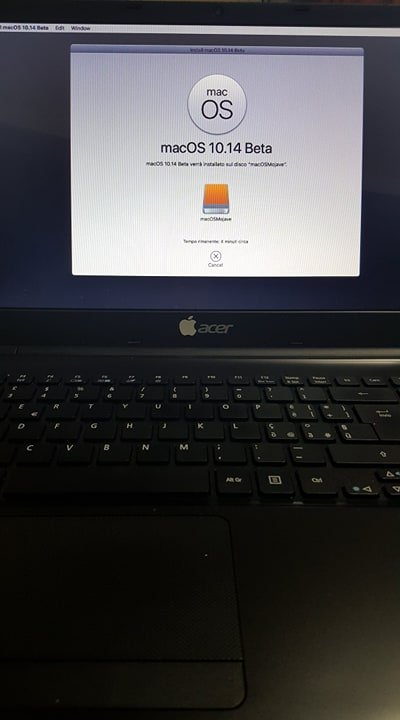
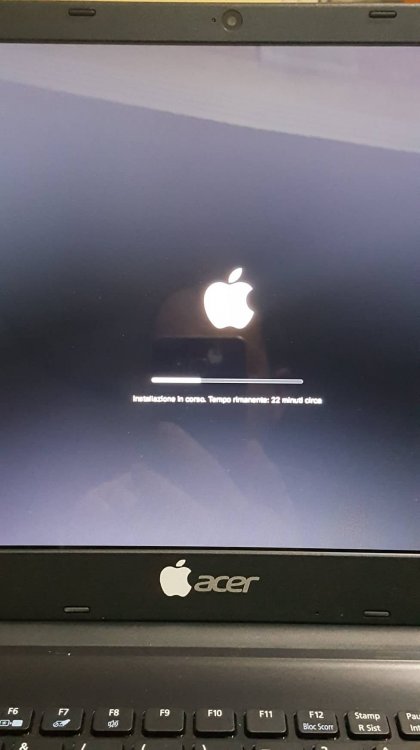
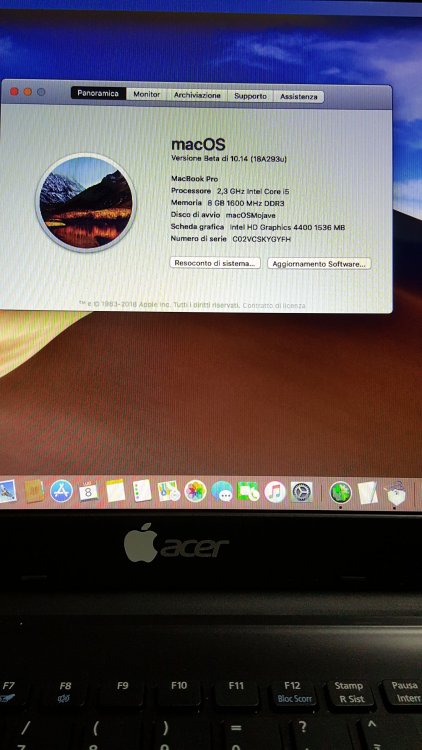
Salve a tutti Ho installato con successo al primo colpo la beta di Mojave sul notebook in oggetto descritto e in firma. Funziona tutto, parte normale Ho usato la stessa configurazione EFI di High Sierra Testato Final Cut Pro X tutto OK Ciao
 1 point


.thumb.png.a43579d9e280a5c4c80807bf93412ae7.png)